How To Hang a Gallery Wall in 4 Easy Steps
Sometimes, the idea of hanging a collection of multiple pictures on your wall can be downright daunting. What kind of hardware should you use? How do you plan a gallery layout? How do you line all the pictures up on your wall?
I’ll answer all these questions in this simple post on how to hang and arrange pictures in a gallery wall layout.
Pin for later!
This post contains some affiliate links for your convenience. Click here to read my full disclosure policy. Thanks for supporting Bloom in the Black!
How to Hang and Arrange Pictures in a Gallery Wall Layout
To hang a gallery wall of pictures, you simply stage your layout on the ground, take a photo, then replicate the photo on your wall starting with the largest piece and working your way out. Depending on how many pieces of art you have this should take no more than an hour.
Step 1: Gather Your Picture Hanging Tools
Do yourself a favor. Before you begin, make sure you have the tools you need, gather them all up, and have them close at hand during the process. There’s nothing more frustrating than having to stop what you’re doing to run to the hardware store.
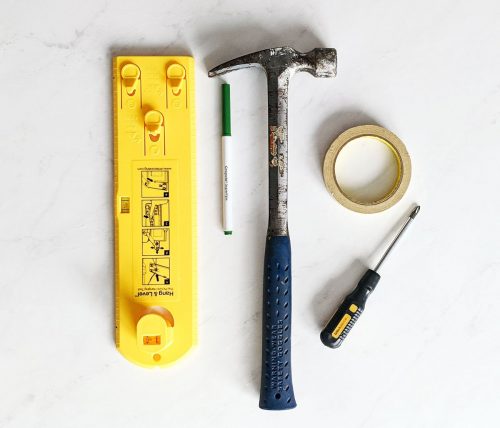
TOOLS YOU’LL NEED
Masking tape
Pencil
Screwdriver
Hammer
Step 2: Stage Your Gallery Wall Layout
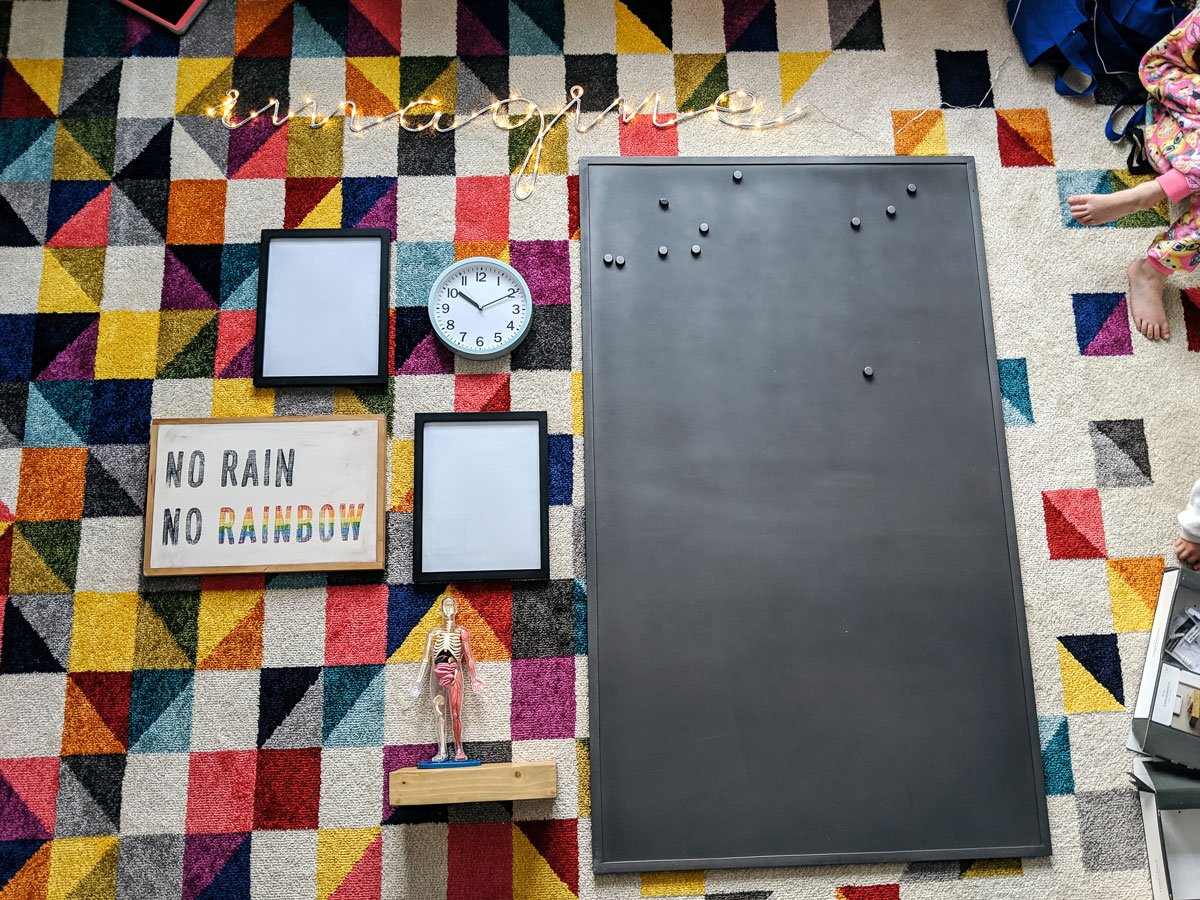
Lay all your pieces of artwork out on the floor in the arrangement you want for your gallery wall. Play around with the spacing and positioning until you like what you see. There’s no commitment yet so be brave and try everything!
Once you’ve landed on your picture arrangement — here’s the most important part — take a photo. You think you’ll remember your plan but you won’t. I speak from (painful) experience.
QUICK TIP: SELECTING YOUR PICTURE HANGING HARDWARE
In other words, how do you know if you need a screw or a picture hanger? In general, I use picture hangers for pictures (duh) and if a heavier piece (like a huge magnet board or a mirror) comes with screws, I use those. You should also use screws for anything that’s intended to hold things, like a hook or a shelf, even if the item itself is fairly light.
Step 3: Hang Your Anchor Piece First
What’s your anchor piece? Your anchor piece is usually your largest picture or art piece but could also be the center of your arrangement, so hang that piece first. Basically, it’s the piece that will determine the position of everything else.
Full disclosure: I rarely measure for position, I just hold it up, eyeball it and figure, “Close enough.” This generally works out well as long as I hang it level.
If you prefer more precision, you can measure down from the ceiling to where you want the top of the frame to hit, mark a horizontal line along the top edge of the frame with a light pencil mark, then do the same from the closest wall to the closest edge and mark the vertical line of the side of the frame. It’s still an estimate but a little more methodical.
In the examples in these photos, the ginormous magnet board is clearly my anchor. For really large pieces, especially those with two or more hanger holes for screws like this beast, I use Jenn’s masking tape method for marking where I need my screws to go.
Essentially you stick masking tape on the back of the piece, mark the tape where the screw holes go, then stick the tape on the wall. Use a level to be sure the tape is straight, and use the marked tape to position your screw holes.
I needed wall anchors for the magnet board since I had zero interest in trying to locate studs. Wall anchors are great because they allow you to hang heavy items in drywall without having to drill into a stud.
QUICK TIP: USING WALL ANCHORS
I used to have a wicked time with wall anchors until I discovered this kind. I love them so much! They’re actually self-drilling but I find it’s much easier to do this:
- Mark your spot with a pencil
- Push lightly into the mark with a Phillips head screwdriver to make a small divot
- Hammer the screwdriver tip through the drywall to make a hole
- Remove the screwdriver then use it to screw the anchor into the hole you just made
Easy peasy!
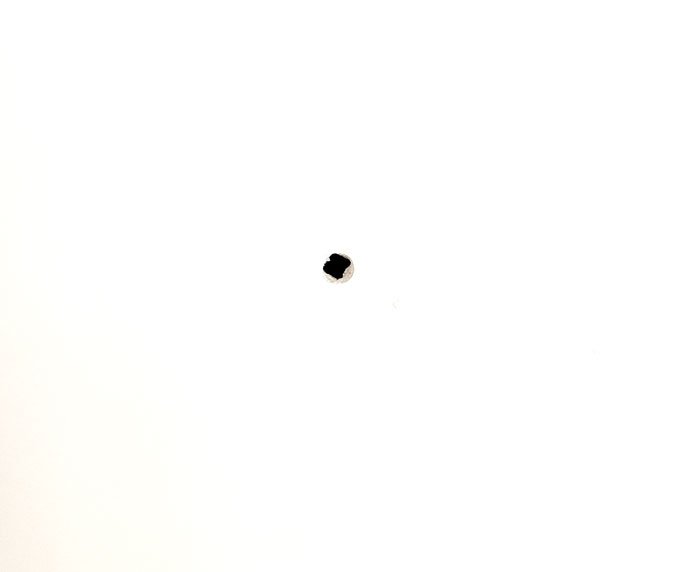
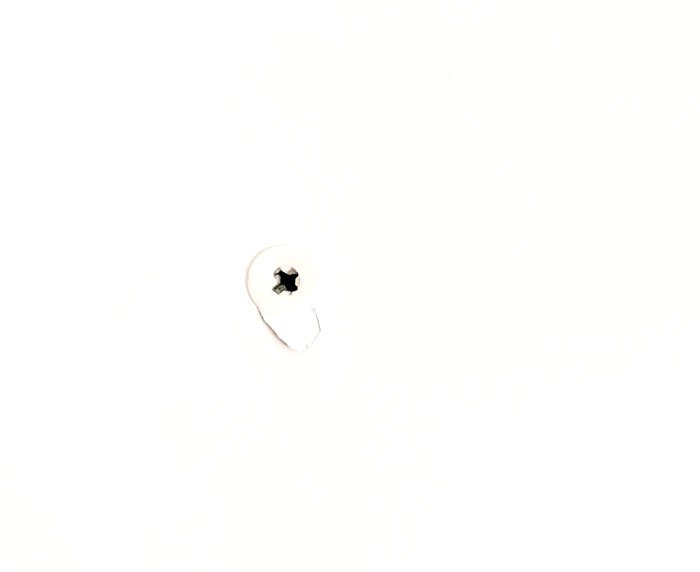
^^^This is what the hole will look like.
^^^This is the wall anchor in place. Don’t worry about a slightly chipped wall. You’ll need to patch the hole down the road anyway.
Step 4: Hang Your Remaining Pictures
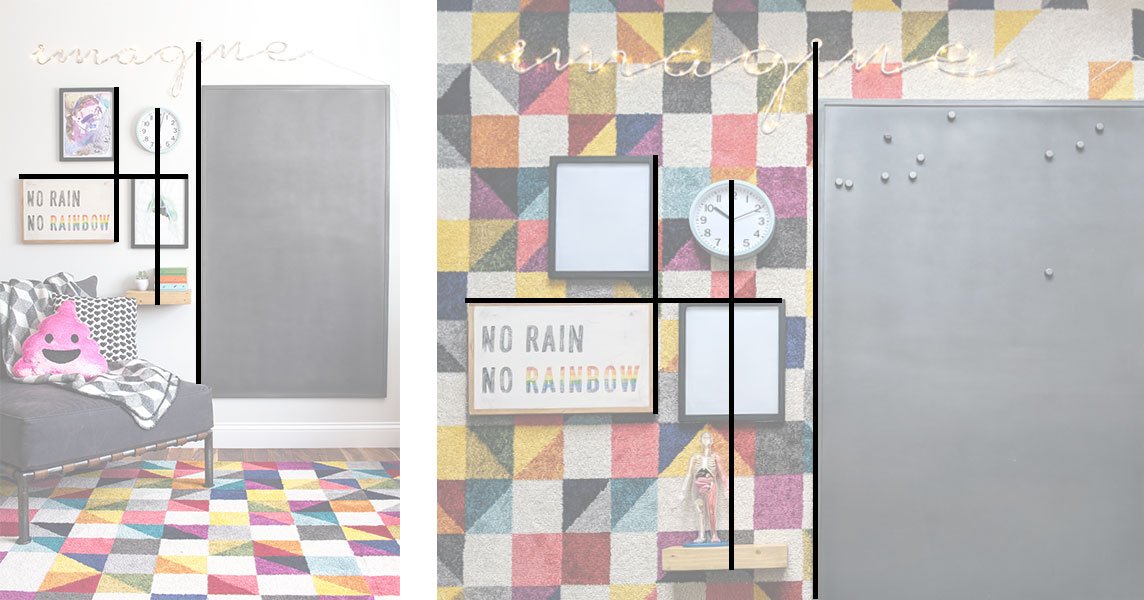
Finally, hang each remaining picture using the anchor piece as your frame of reference. You’re going to be referring back to the photo you took in step 2 a lot.
Start by identifying an easy reference point on your anchor piece. An edge is usually the easiest but depending on your layout, it could be the center or maybe a part of the art itself. Now grab an adjacent piece from your layout and position it on the wall in relation to that reference point.
In this example, I placed the “Imagine” sign first after hanging the anchor piece because I knew I needed that lowercase “g” to dip below the top of the frame just-so. The left side of the “i” is aligned against the left edge of the frame.
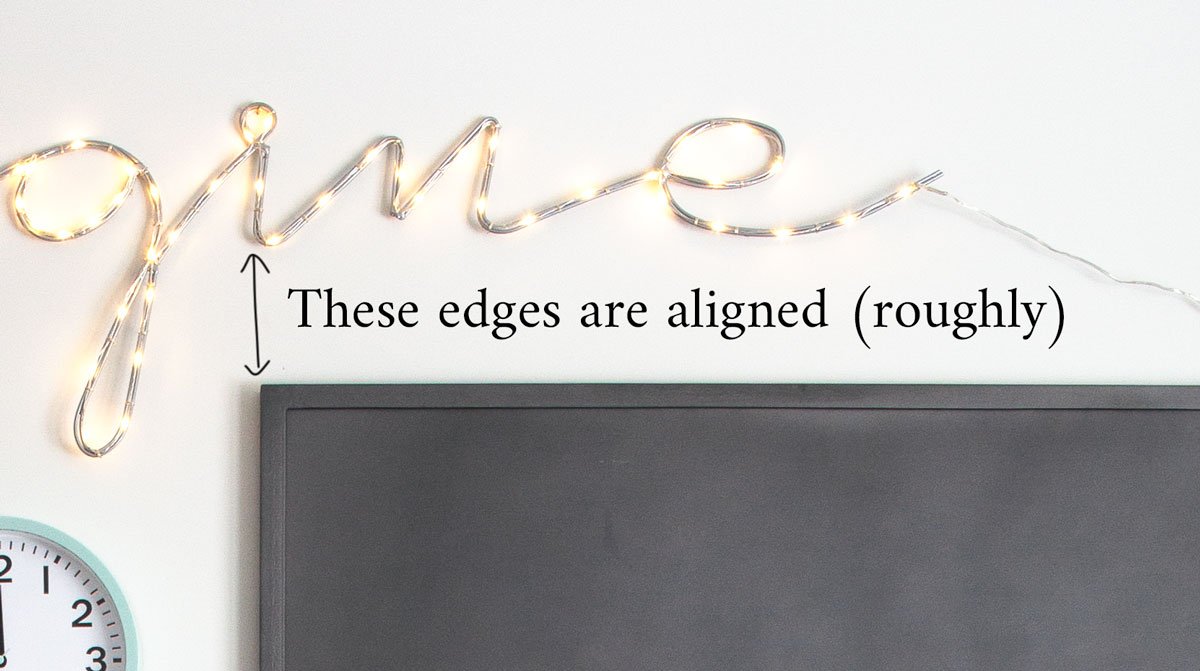
The center alignment of your pictures should match your photo, as well as the edges, but don’t get super tense about it. If the picture layout is close, it will be fine. Just do your best to generally line the frame edges up the way you planned:
Here’s where your picture frame hanger is going to come in handy. The instructions on the box are very easy to follow but in a nutshell:
- Hang your picture on one of the tool’s hooks
- Position the picture frame on the wall (while it is still hanging from the tool)
- Remove the frame from the hook without moving the tool itself
- Push the little “button” (the flat part of the hook) to mark the wall where your nail or screw should go
Now you know exactly where you need to place your nail in order for your picture frame edges to align where you want them. This thing is awesome.
Continue in the same way by choosing the next adjacent picture and carefully setting your alignment based on the previous piece. Before you know it, you’ll be done!
It sounds like a lot, but I promise if you just take this one step at a time you’ll be amazed at how easily you were able to hang your pictures in a gallery layout.
There you have it! How to hang a gallery wall in 4 easy steps. I hope you enjoyed this decorating post and learned something useful in the process!
Want more? Here’s the full collection of Bloom in the Black decorating posts. If you’re interested in having me cover a particular topic, shoot me an email and I’ll add it to the list!