Backyard Makeover! DIY Fire Pit with Seating Area
This post is sponsored by Longaberger.
I have a beautiful wooded backyard, but it was kind of… empty. When my family went outside to spend time together, we didn’t have a place to sit (and sitting on the ground isn’t that comfortable after age 40), so we’d end up wandering back inside.
I’ve been dreaming about making a simple firepit with a seating area for years, and finally, I decided just to go ahead and do it.
Pin for later!

This post contains some affiliate links for your convenience. Click here to read my full disclosure policy. Thanks for supporting Bloom in the Black!
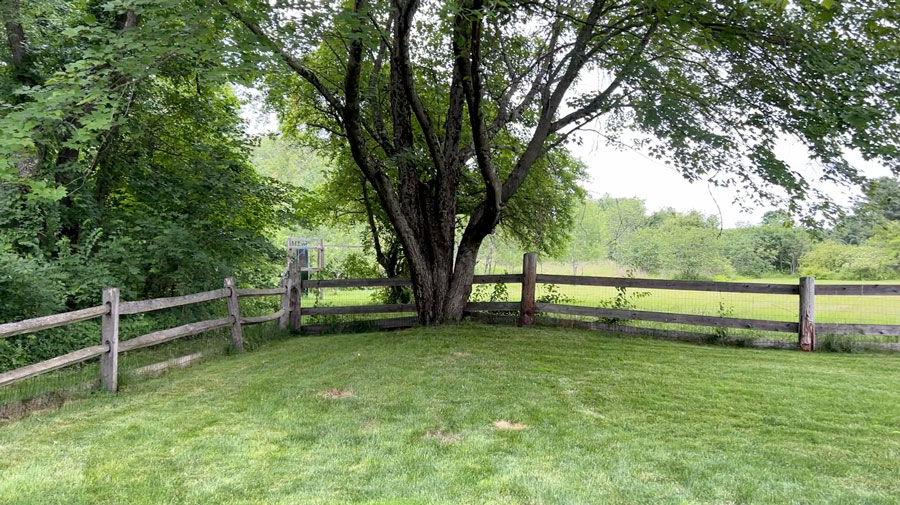
Here’s the before view of my backyard. Super pretty and so much potential!
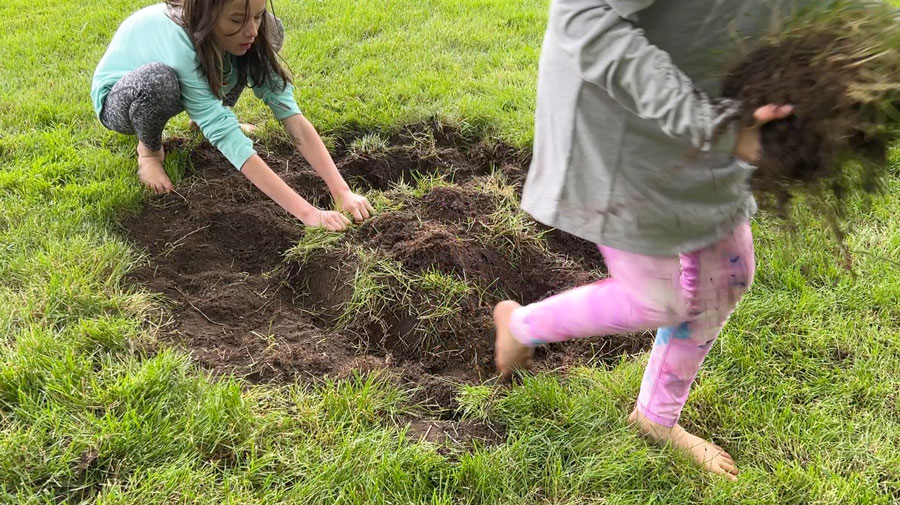
The first step was to measure where the firepit would go. From there, I just had to dig down a few inches and remove all of the sod.

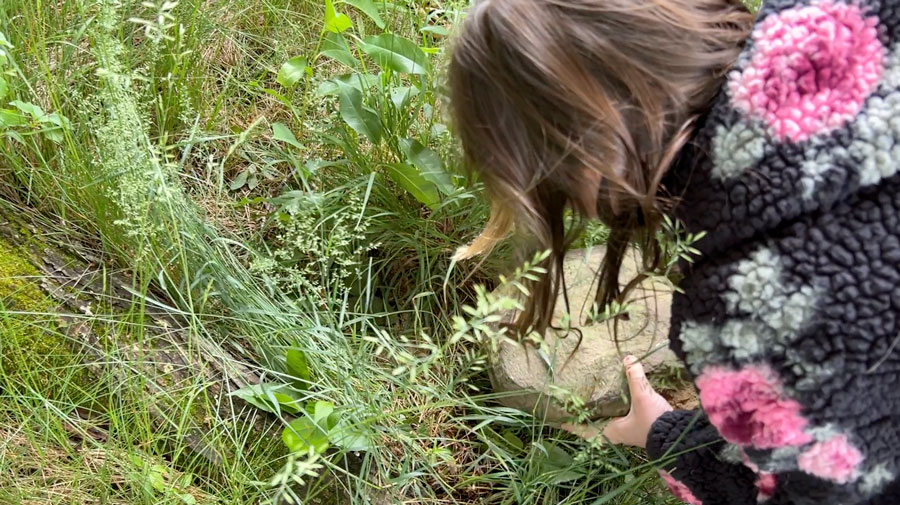
My kids were a huge help with this!
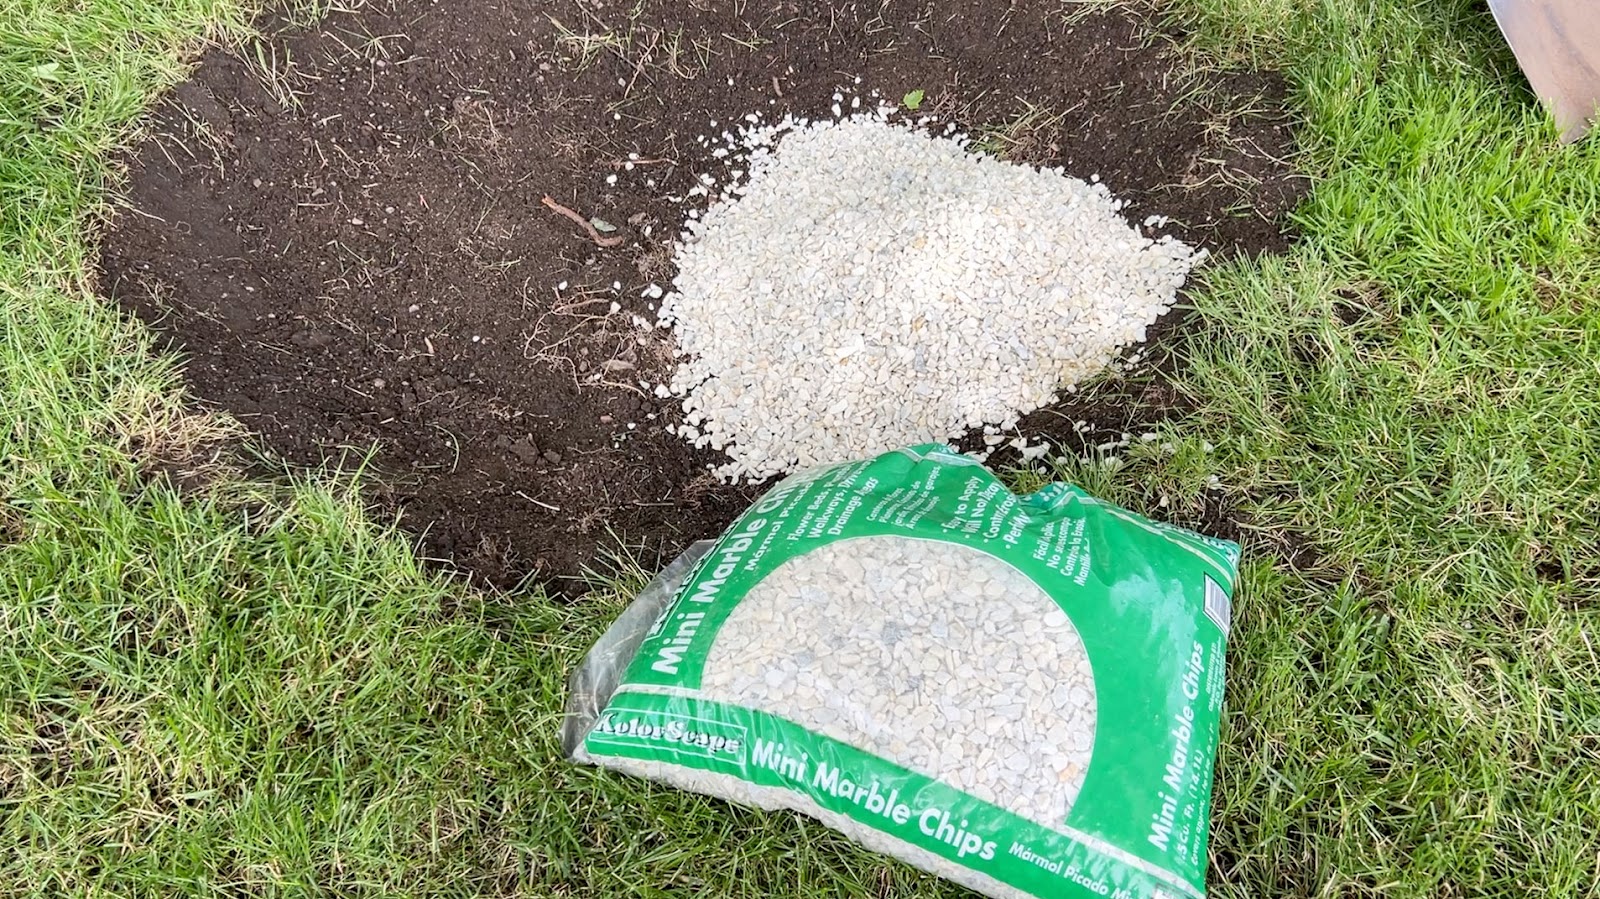
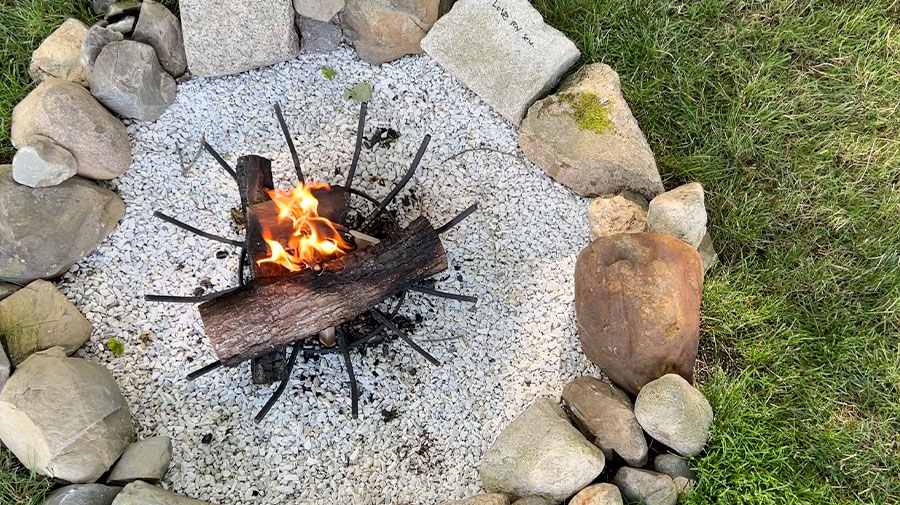
I evened out the bottom of the hole and filled it with four bags of pea-sized marble chips. I decided to use marble because I thought the white of the stone would be pretty against the stone ring we were about to build.
Next, the kids and I headed out to scour our property for various stones to create the barrier around the firepit.
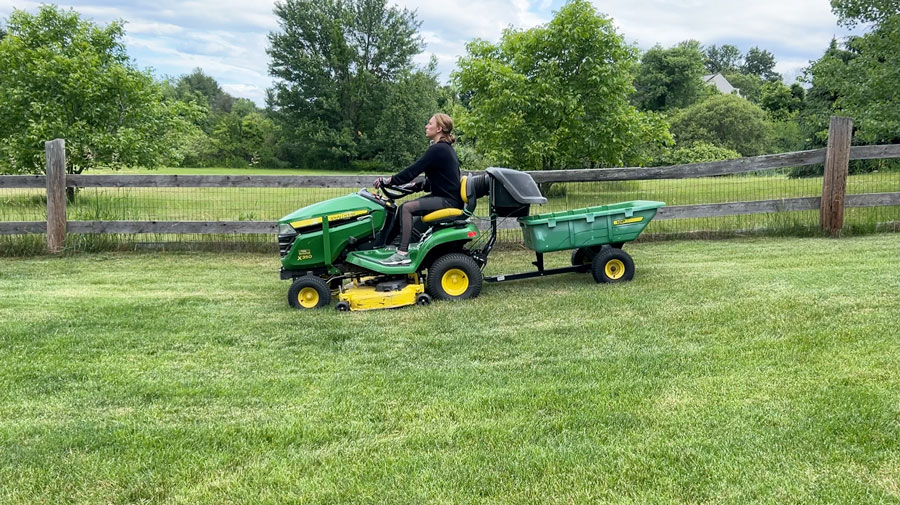
Luckily, I was able to transport all those heavy stones with our tractor to my work site. #countrylife
We grabbed a few larger stones to create the main ring and filled them in with small and medium stones for variety. I love the quintessential New England vibe this casual stone formation gives. It reminds me of all the old stone walls that used to divide all the property lines where I grew up.
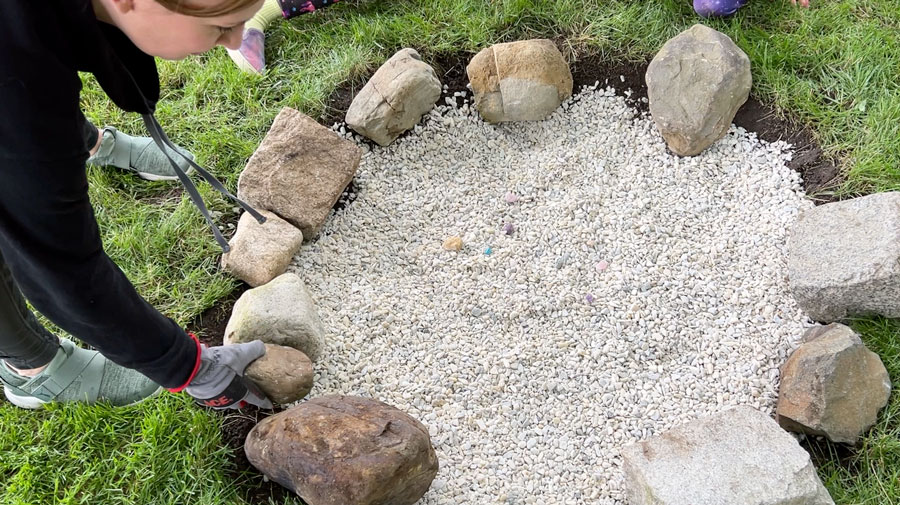
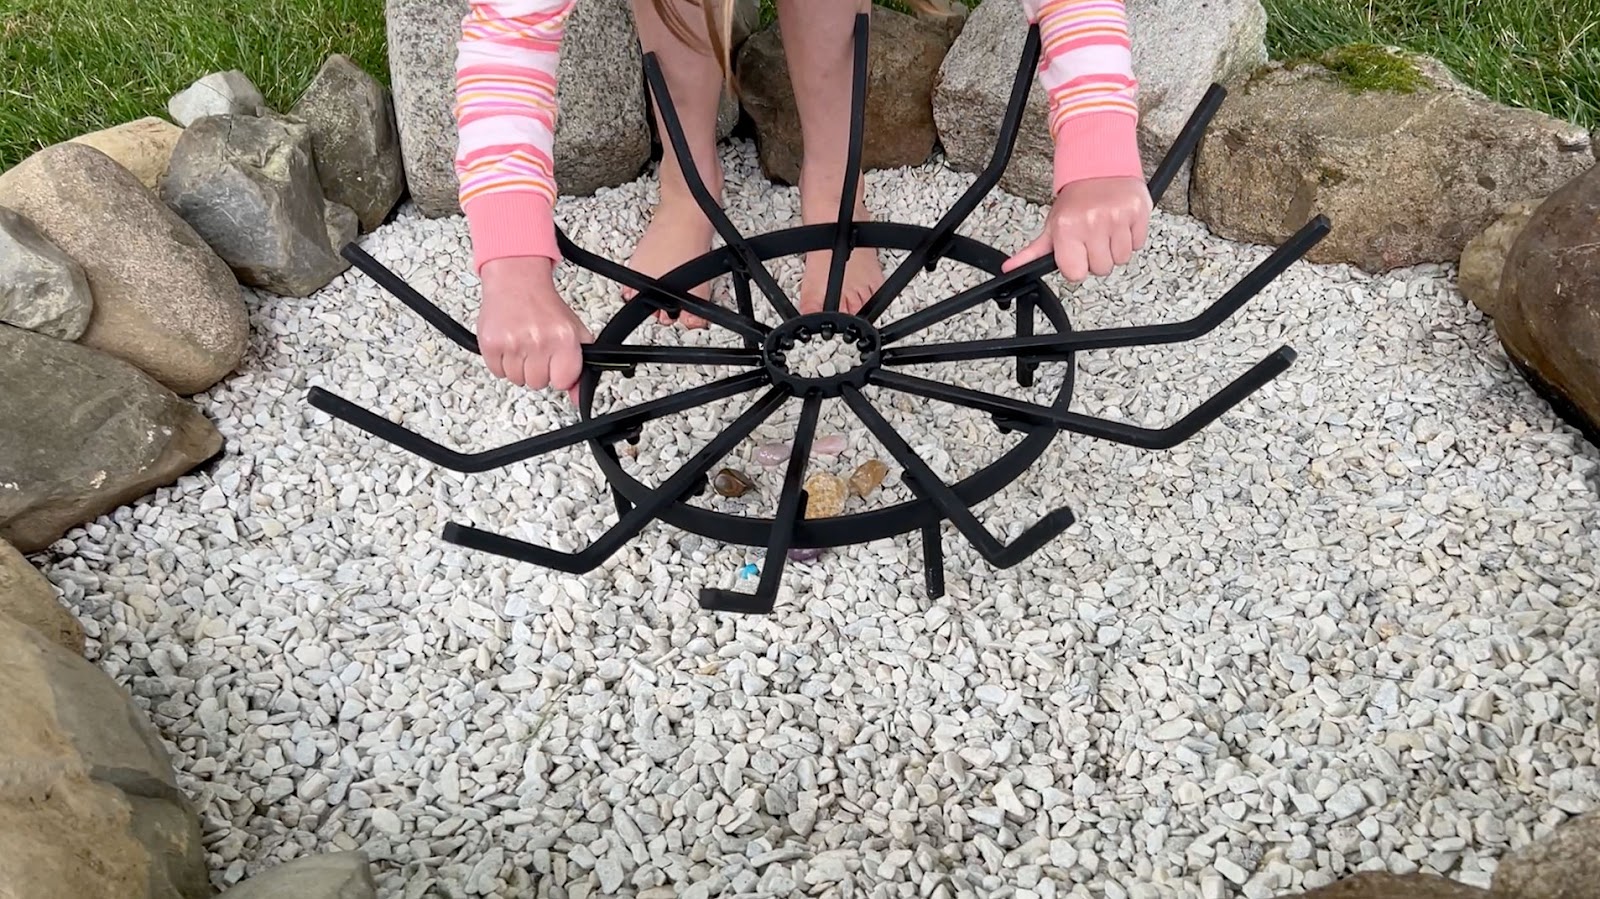
Once we placed the field stone, I had my younger daughter do the honors of placing the bonfire grate. It was surprisingly affordable – this whole firepit cost only $78 and a few hours of labor to make!
Now for some furniture.
I had a really beat-up table that I was keeping on our front porch, and I decided to refinish and seal it to use in the backyard.
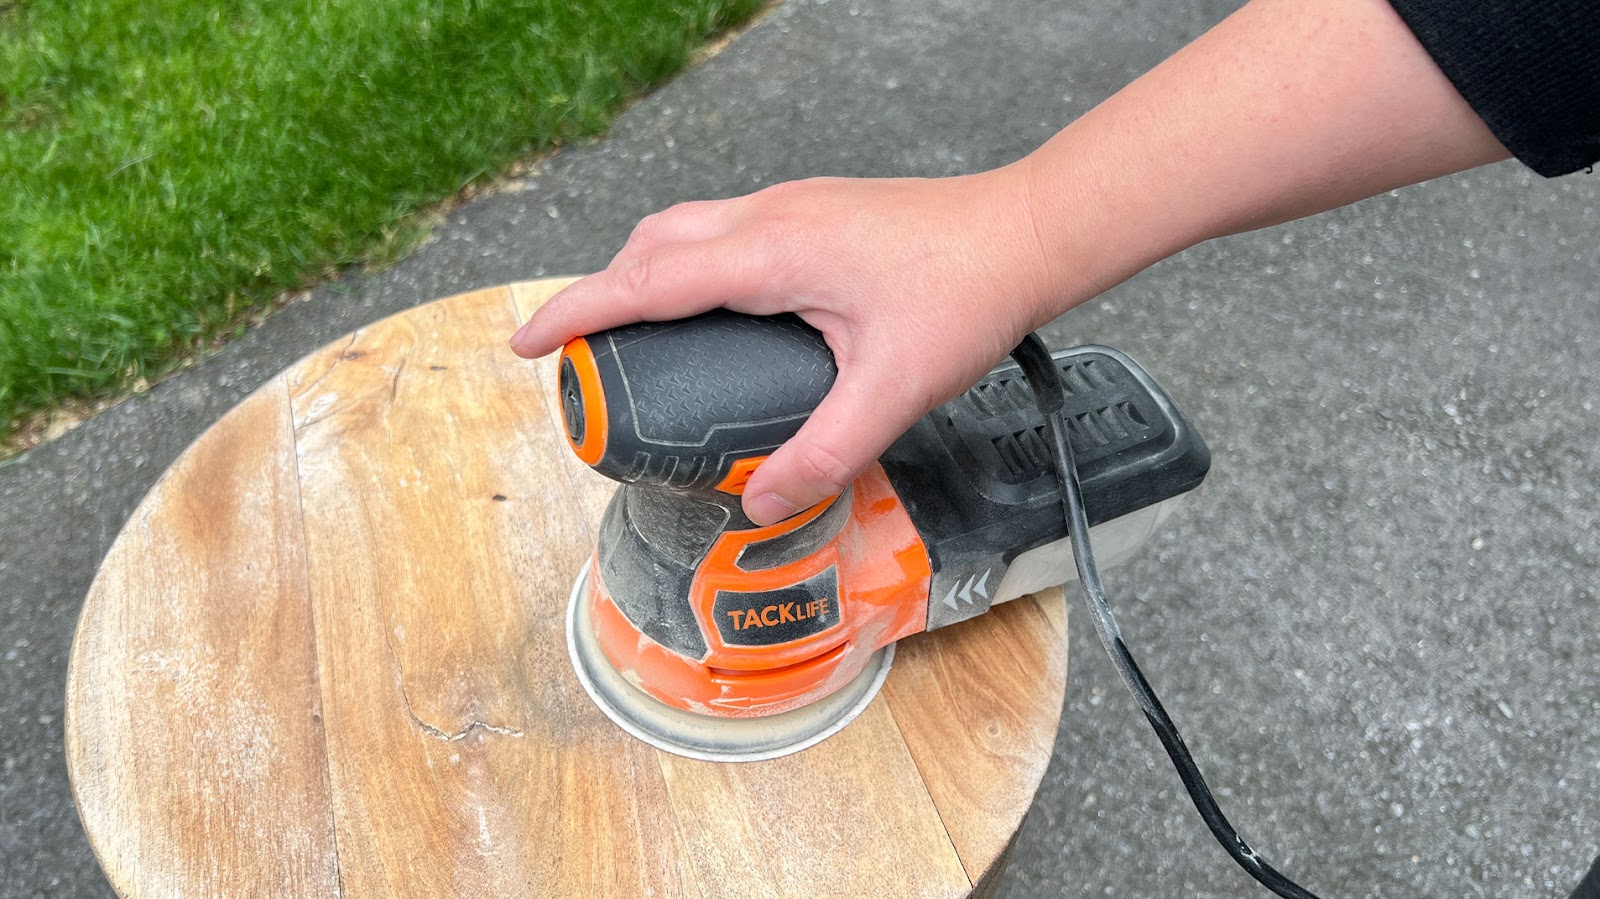
I scoured the finish off with my orbital sander and sealed it with a few sprayed-on coats of clear waterseal.

Easy peasy.
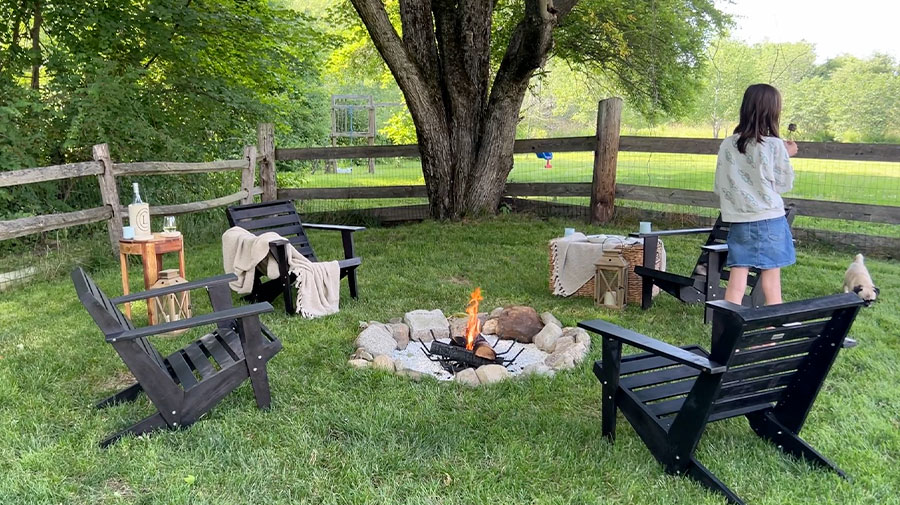
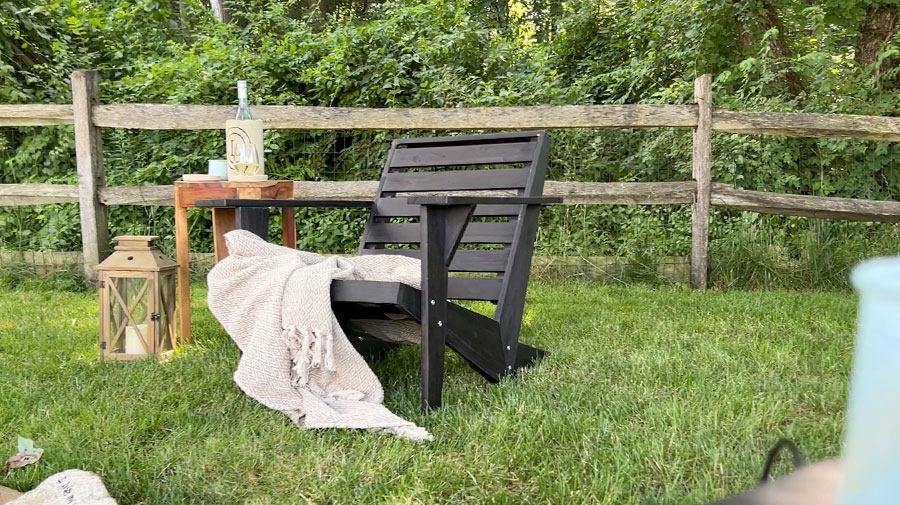
For the seating, I selected four gorgeous modern Adirondack chairs from Longaberger. These chairs are PERFECT for my outdoor space. The classic chair feels very at home in my rural New England backyard, but the modern, clean lines are a surprising contrast and add an amazing level of design to the space. Plus, I love how the dark slate color pops against all that weathered wood and green grass. I can’t even imagine how epic these will look against all of the fall foliage.
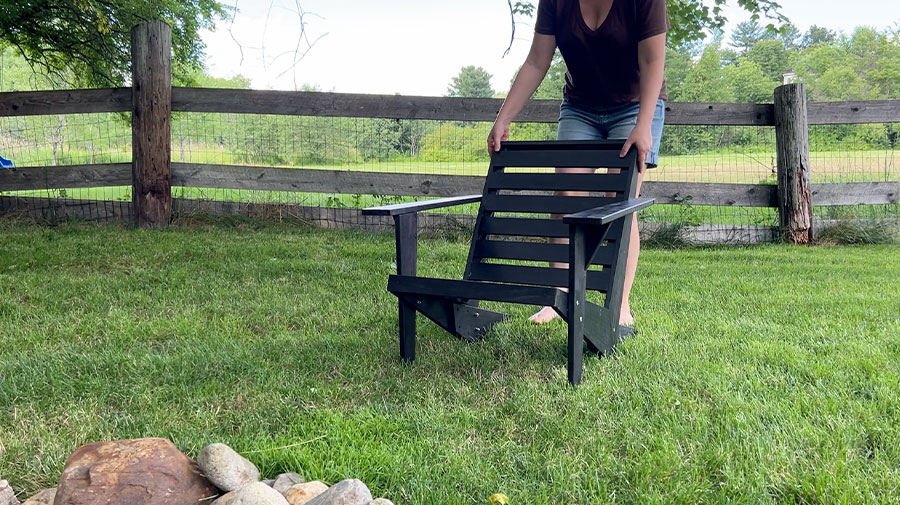
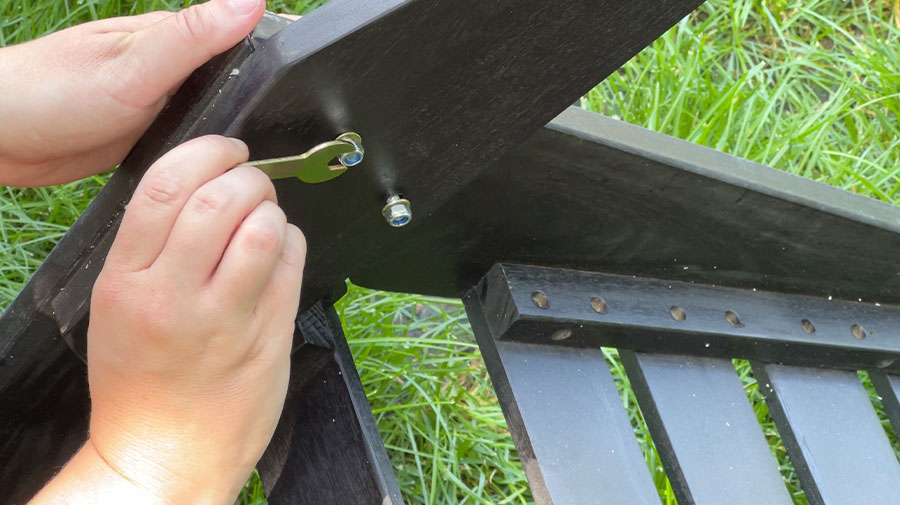
The chairs came together easily with the tools that were included in the box.
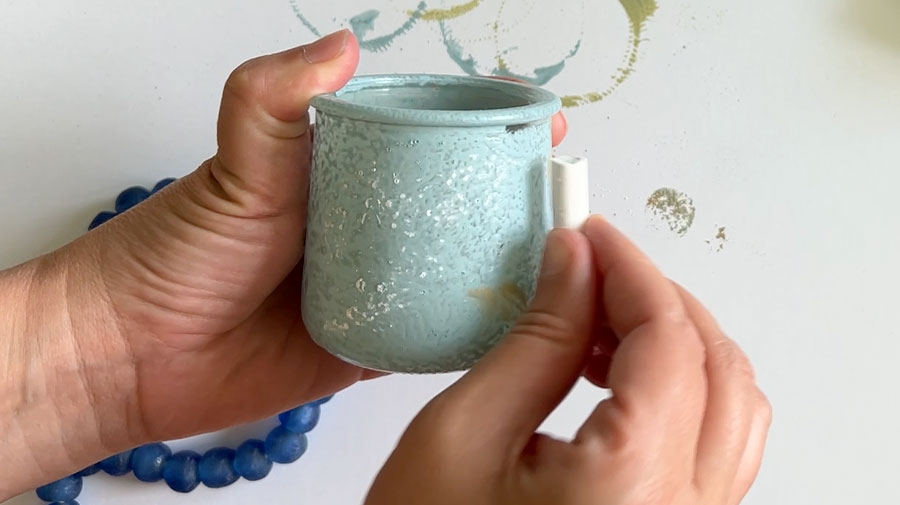
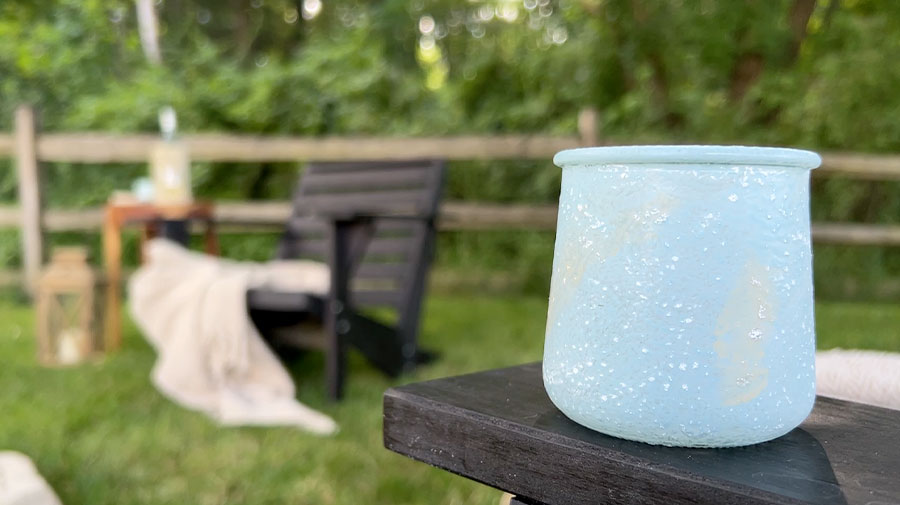
The bones were there, but I wanted to add one more little DIY touch before jumping into the decorative elements. I decided to create simple votive holders from some glass jars I saved from the recycling bin.
These were incredibly easy. I simply mixed together some Mod Podge and a few drops of acrylic paint.

Then I dabbed the mixture onto the glass with sponge brushes and baked them in a cool oven until the finish was set (just bring the temp to 350 then turn the oven off and let sit for a couple of hours).
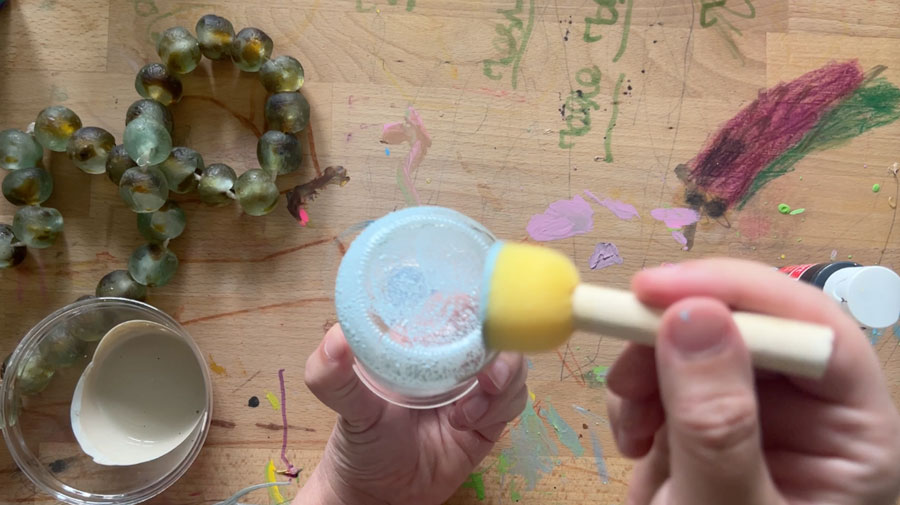
Finally, I scrubbed on a layer of chalk to give them a matte, dusty appearance like found glass.
For the full tutorial on creating these DIY votive holders, visit my craft blog!
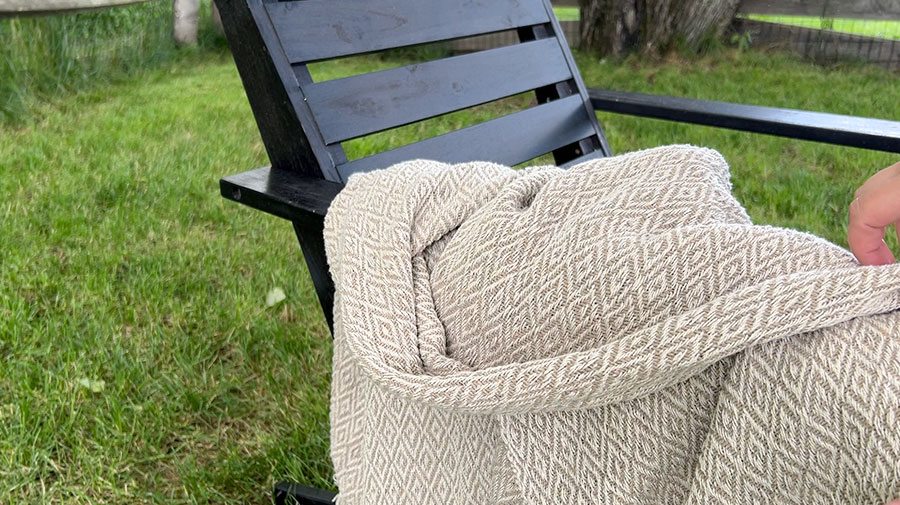
I knew I needed some cozy throws and refreshments to style the space. Longaberger to the rescue again! They had some beautiful sand-colored throw blankets that are so inviting on the comfy chairs.
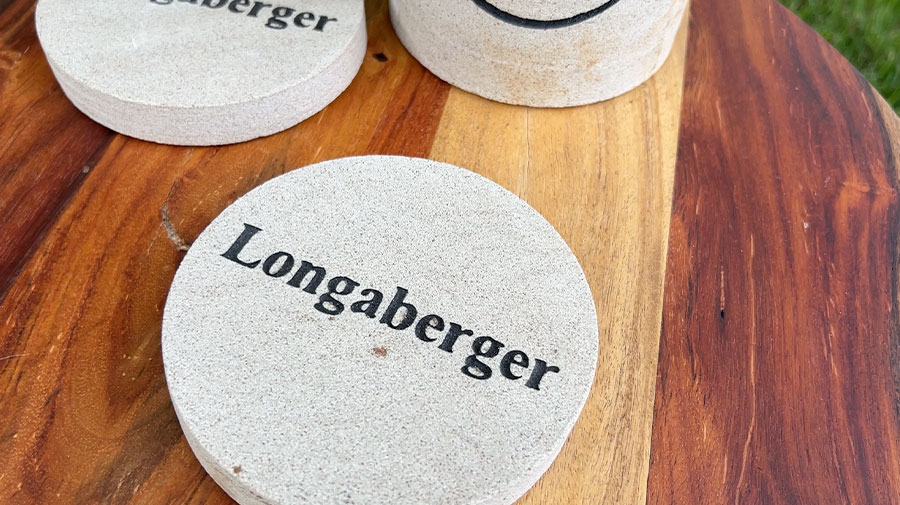
I also love nothing more than a chilled glass of wine at the end of the day, so this stone wine chiller and coaster set were the perfect finishing touch to the side table and adult side of the seating area 😉
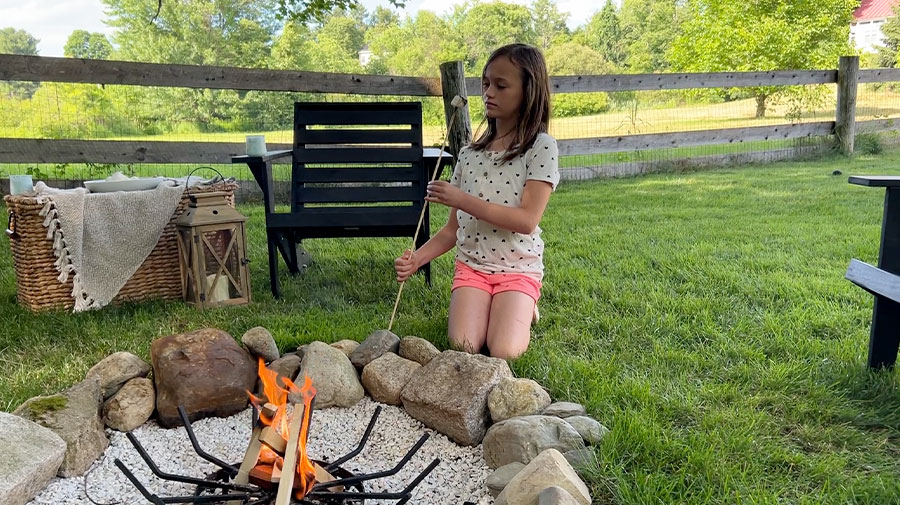
For the kids? Obviously, I needed to set up a s’mores station! I grabbed a huge basket from the house to transport all the goodies to the backyard, doubling as a second table.
I added my votive holders and some larger lanterns, and my 48-hour flip was complete!
I’m so thrilled with how this little backyard oasis came out. We finally have a place just to sit, chat, and, of course, make s’mores!
These chairs are crazy comfortable. I’ve sat here for hours in the evening, reading a book with my glass of wine.
I think one of my favorite parts of this project was building it with my kids! The pride that they took in building this fire pit had my heart filled to bursting.
I know we’re going to enjoy this space together for many years to come.