How to Make a Clipboard Wall Plus My Life-Changing Organization System
Are you DROWNING in paper? Now that we’re all working and schooling from home the clutter is very real.
Between the 8037 worksheets and choice boards I’m printing out each week, my endless Zoom meeting notes, jotted down blog post ideas, and little scraps of paper I doodle on constantly, the amount of paper we’re dealing with has grown exponentially.

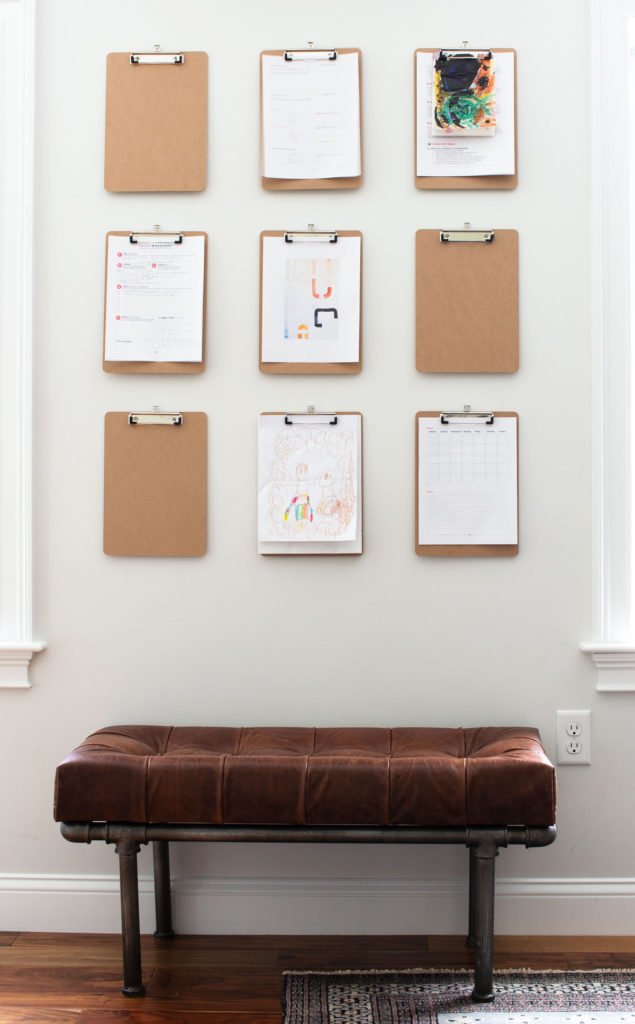
Our saving grace? The clipboard wall. I have a system for organizing our paper and this wall is the lynchpin to it all. It’s so epic that it’s even been featured on Today.com and House Beautiful!
Could you use something like this, especially now?
Here’s how to make a clipboard wall of your own in about 30 minutes for $12.
Pin for later!
This post contains some affiliate links for your convenience. Click here to read my full disclosure policy. Thanks for supporting Bloom in the Black!
MATERIALS NEEDED:
- Attractive clipboards (these have a small retractable hanger, score!)
- Simple, flat headed nails
- Hammer
- Level (optional if you prefer to eyeball)
- Ruler (optional if you prefer to eyeball)
Step 1: Plan Your Layout
The first step to making a clipboard wall is figuring out how much paper you need to organize. Do you need three clipboards or 20?
A good way to approach this is to assign at least one clipboard for each type of paper (more if there will be a lot of it). For example, I have one for each of my kid’s assignments, one for my blog ideas, one for the log-in info for the 38 learning platforms we use each day, etc.
Once you determine how many clipboards you need, find a wall space to fit them all.
Tip: Make sure you can easily reach all of your clipboards.
SAMPLE CLIPBOARD WALL ARRANGEMENTS
Now to arrange everything you have a few options. You could do a simple 3 x 3 grid like I have (above), or you could try one of these options:
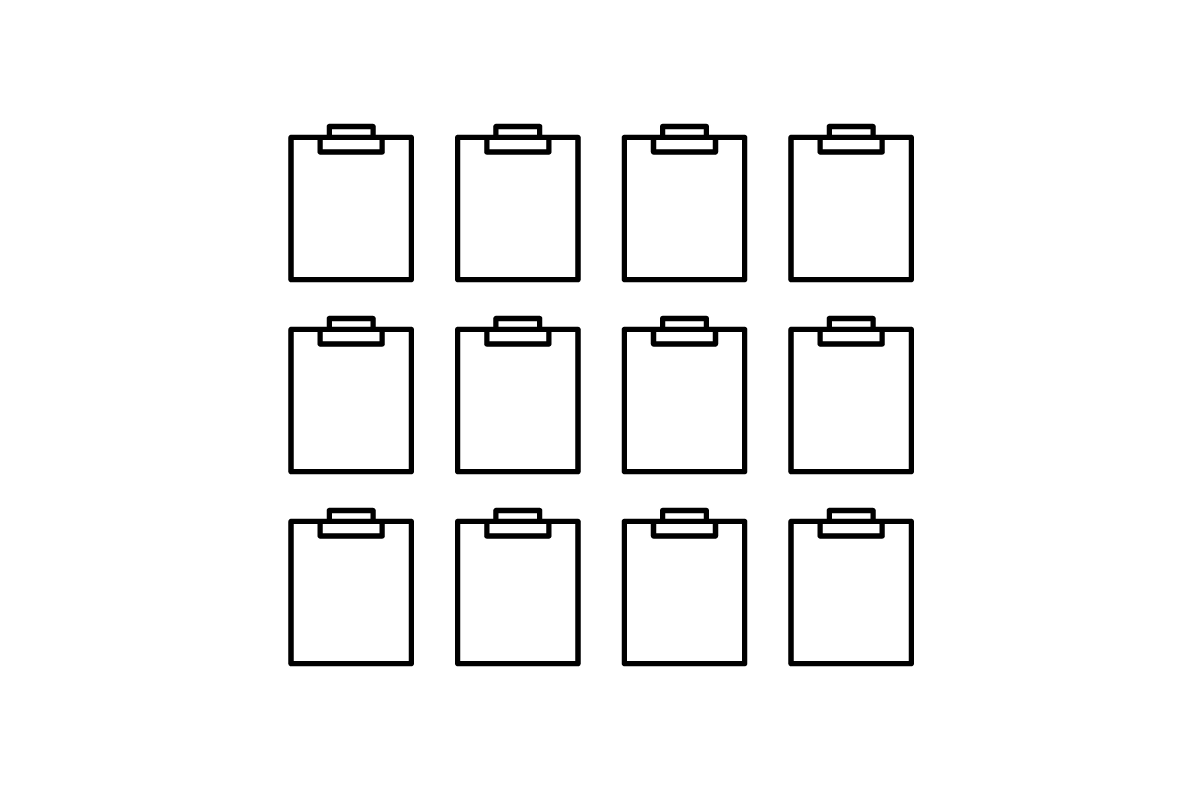
4 x 3 (or more) grid
For a large wall
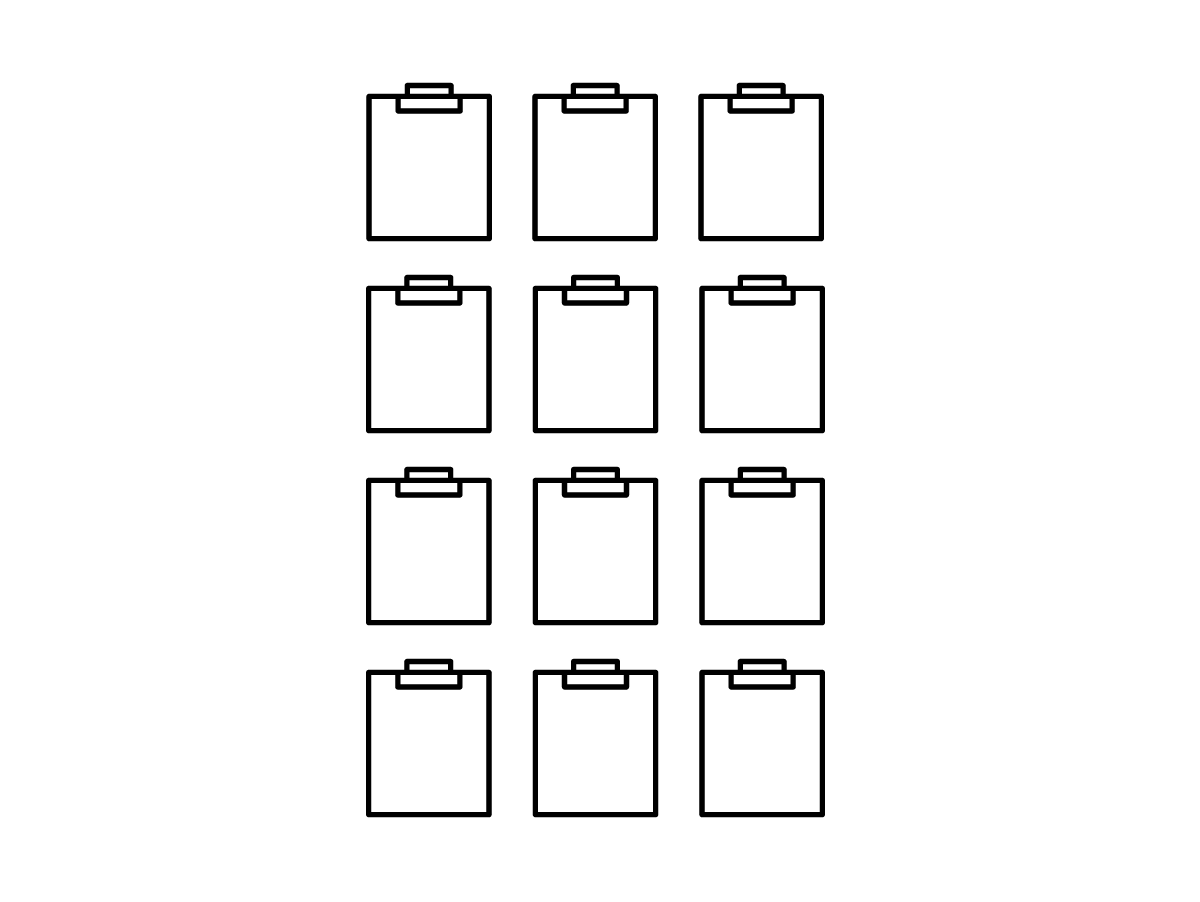
3 x 4 (or more) grid
For tall walls and tall people
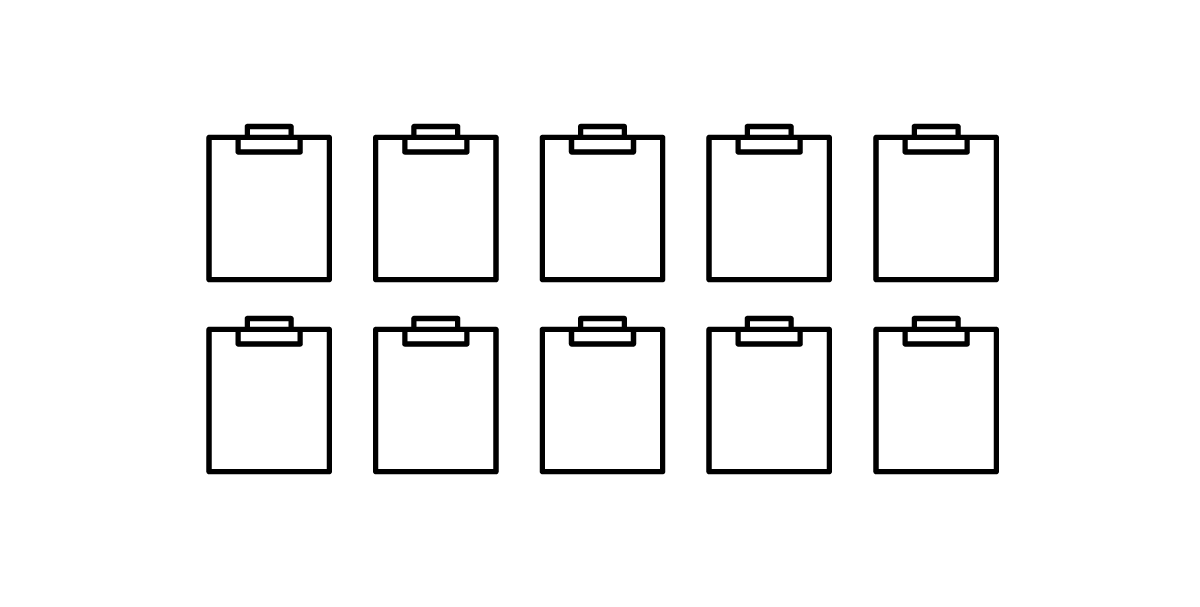
5 (or more) x 2 grid
For long walls
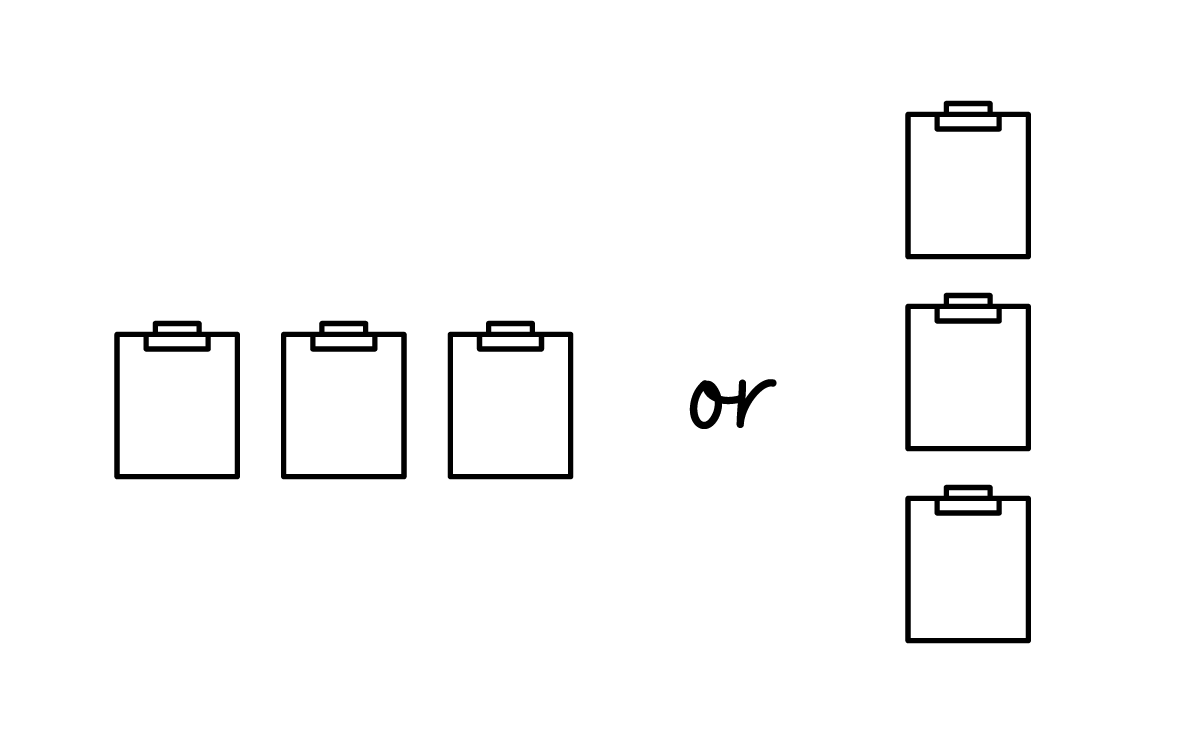
3 x 1 or 1 x 3 grid
For small spaces
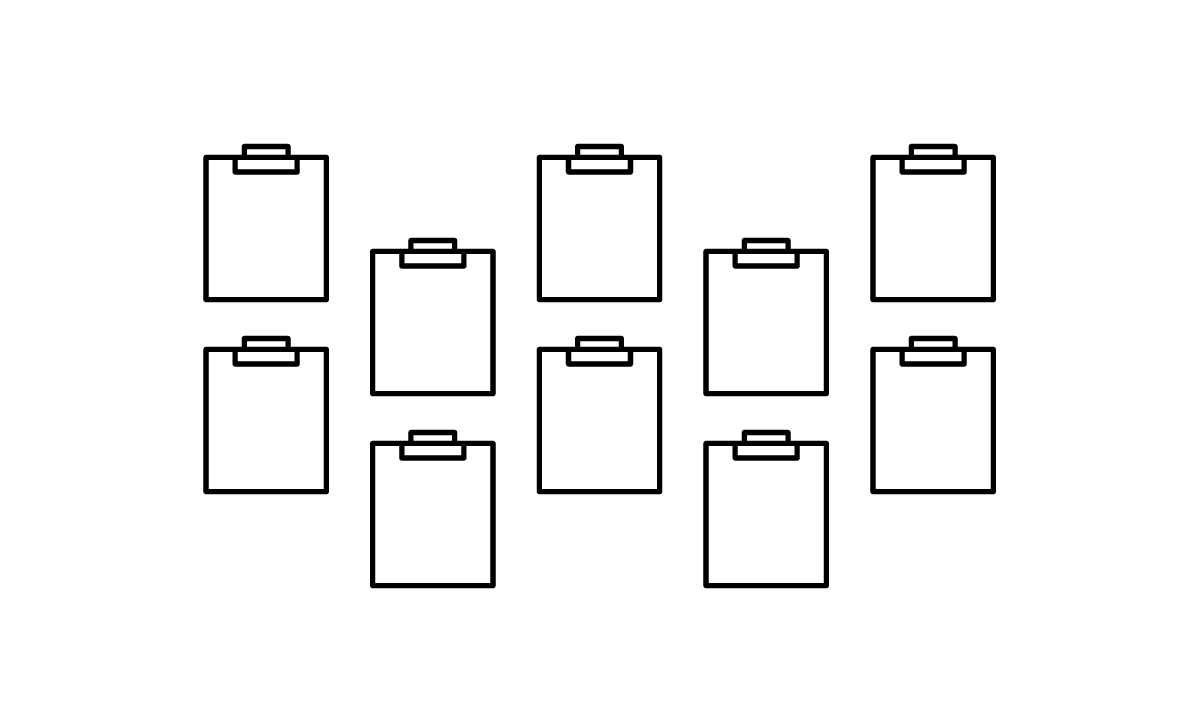
Staggered
If you wanna shake things up 🙂
Step 2: Find the Center
This is where your ruler could come in handy or you can just eyeball it. Either way, find where you want the center of your clipboard wall to be and mark it with a pencil or a nail hole.
Tip: The center height should be slightly above shoulder level.
Step 3: Start Nailing!
Hammer a nail into the mark you just made and hang your first clipboard.
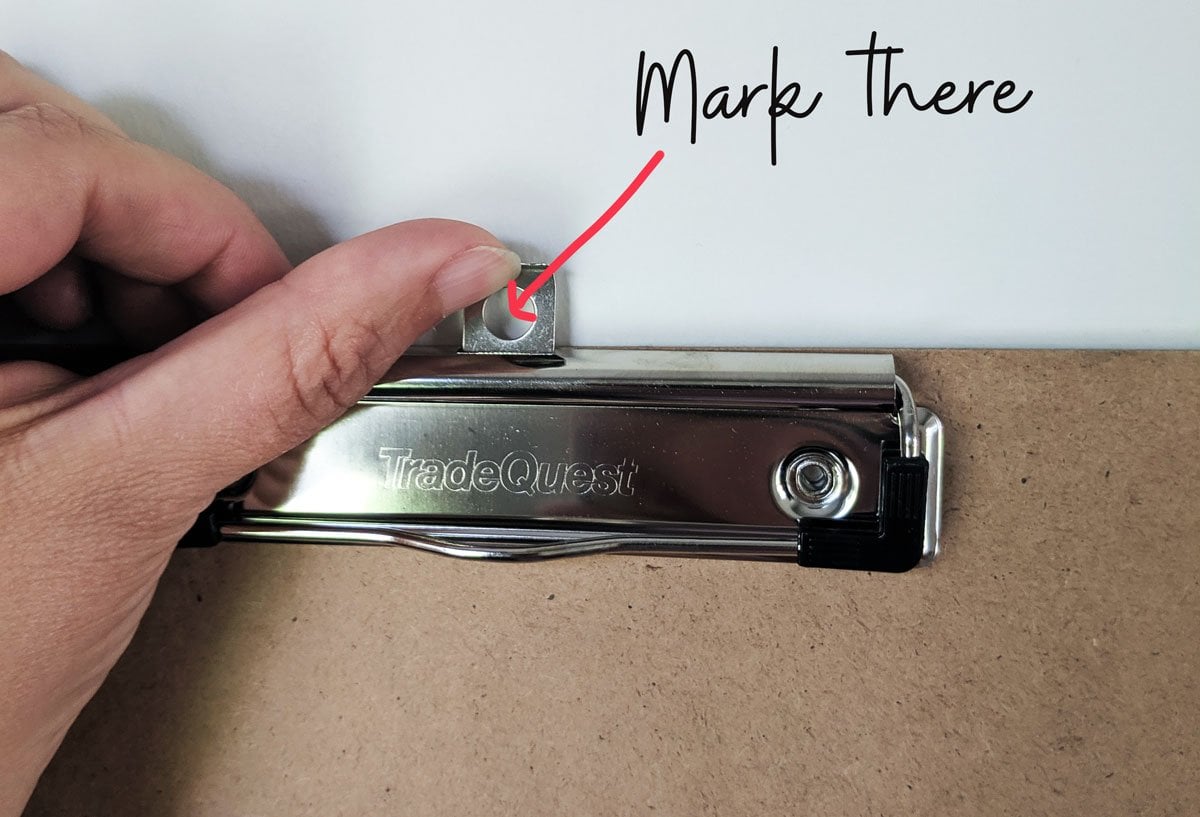
Next, take a second clipboard and hold it up to where you want it in relation to the center clipboard. Make sure the tops of the clipboards are at the same height. Pull up the hanger and make a pencil mark onto the wall through the center of the hanger hole:
Continue this process, working out from the center and spacing the clipboard edges evenly. Either by eyeballing them or with a ruler and/or a level. I personally eyeball it because I am slightly lazy #sorrynotsorry.
Step 4: Use It!
Arguably the most important step. You have to use your clipboard wall for it for it to work! Sure, it’s cute, but who cares if it doesn’t get you organized?
Here’s how I use mine:
- Group like with like. I clip my blog ideas, forms to sign, invoices, etc. together on their own, dedicated boards.
- When I’m ready to tackle a task, I grab the clipboard I need and go to town.
- Once I finish that task, I recycle or file the paper.
Bonus: this system is portable! Too nice out to do that math worksheet inside? Grab that worksheet clipboard and cop a squat in the yard. I usually take my blog outlining with me to do while I make dinner 🙂
This system is great for meal planning, time blocking, project planning… anything that you’d jot down on paper. Everything will be in one place with its own spot and OFF YOUR COUNTERS.
Plus you can see everything at a glance on a clipboard wall. Paper stacks don’t allow for that.
Tip: This system is still great for regular weekly homework or long-term projects for the kids, outside of this remote learning period. They can grab and go whenever there is a spare moment.
Making a clipboard wall takes minimal time, minimal investment, and minimal space. But guys, I’m not exaggerating when I say this project and the system that goes with it is life-changing.
