DIY Gold Leaf Pendant Light: Battery-Powered and Under $10
What are you supposed to do when you need a light, but the nearest outlet is across the room? Easy — DIY a battery-powered pendant light!
I ran into this exact problem when designing my girls’ bedroom. Somehow there was not one outlet where I needed it, and most were stuck awkwardly alongside a bed or sitting in the middle of a wall with nothing on it. Accent lighting is key to creating a cozy, well-designed room so I came up with this easy, inexpensive lighting solution.
In this post, I’m going to teach you how to make a battery-powered pendant light that costs less than $10.
Like it? Pin it!

This post contains some affiliate links for your convenience. Click here to read my full disclosure policy. Thanks for supporting Craft Your Happy Place!
Other DIYs from the girls’ room design include:
How to Make a DIY Battery Pendant Light
To make this pendant light, I started with a basic yarn ball structure by wrapping glue-soaked jute string around a play ball, then added a glam layer with some gold leaf. These materials are super inexpensive and you only need a small amount of each.
Pro tip: Make multiple pendant lights and hang them in a group to create a huge visual impact.
MATERIALS NEEDED
Step 1: Mix glue and water together
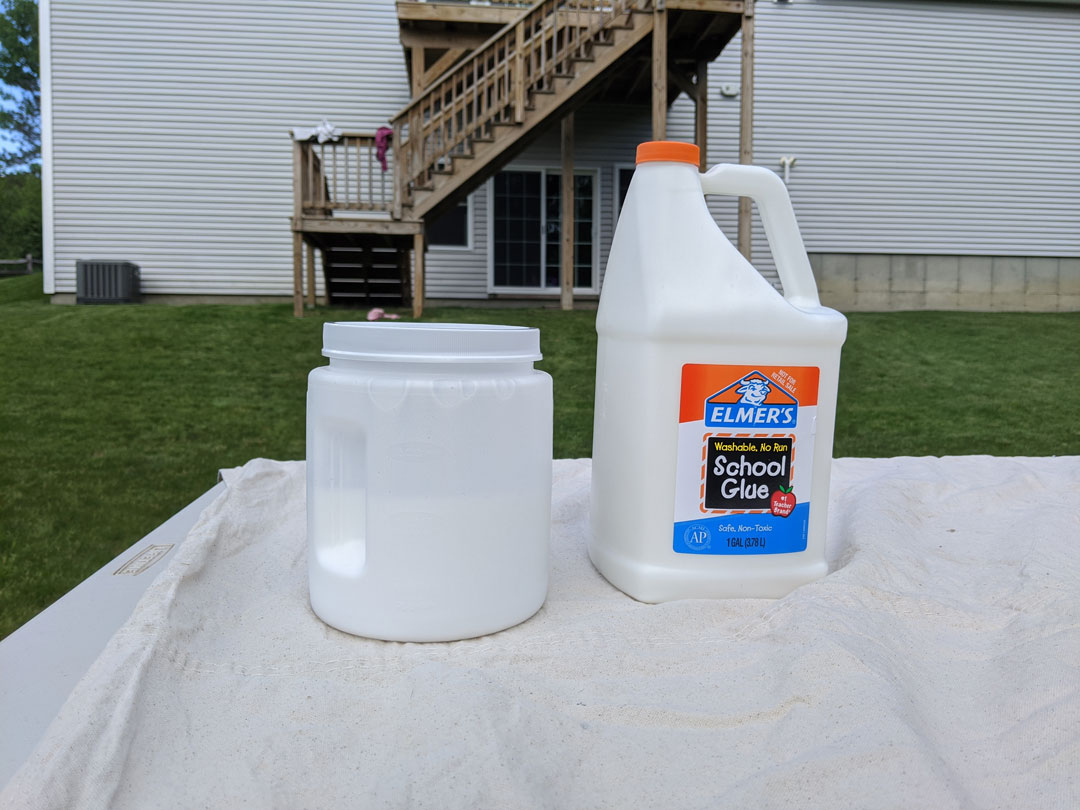
Create a glue and water mixture at a 2:1 ratio of glue to water. For this style of pendant, I wanted to create an organically shaped, translucent “shell” of glue to act as a diffuser for the light. If you’d prefer to have just the string with no shell, use a 1:1 ratio instead.
Personally, I recommend the shell because it will give more surface area for the gold leaf to cling to but it all depends on the look you’re going for.
I use a cheap plastic container from the dollar store with a screw top lid to make mix the glue in. That way, I can save what’s leftover for another project.
Step 2: Drop the jute string into the glue mixture

Next, drop the whole ball of jute string into the container of glue and water. You’re going to want that yarn to get good and saturated, but you don’t need to leave it to soak. As you pull the string out to wrap the ball, it will pick up a generous coat of glue.
You won’t even come close to using all of this string. The good news is that it keeps very well sealed up in the container as long as the ball of yarn is completely covered by the glue mixture. Save the rest for another project!
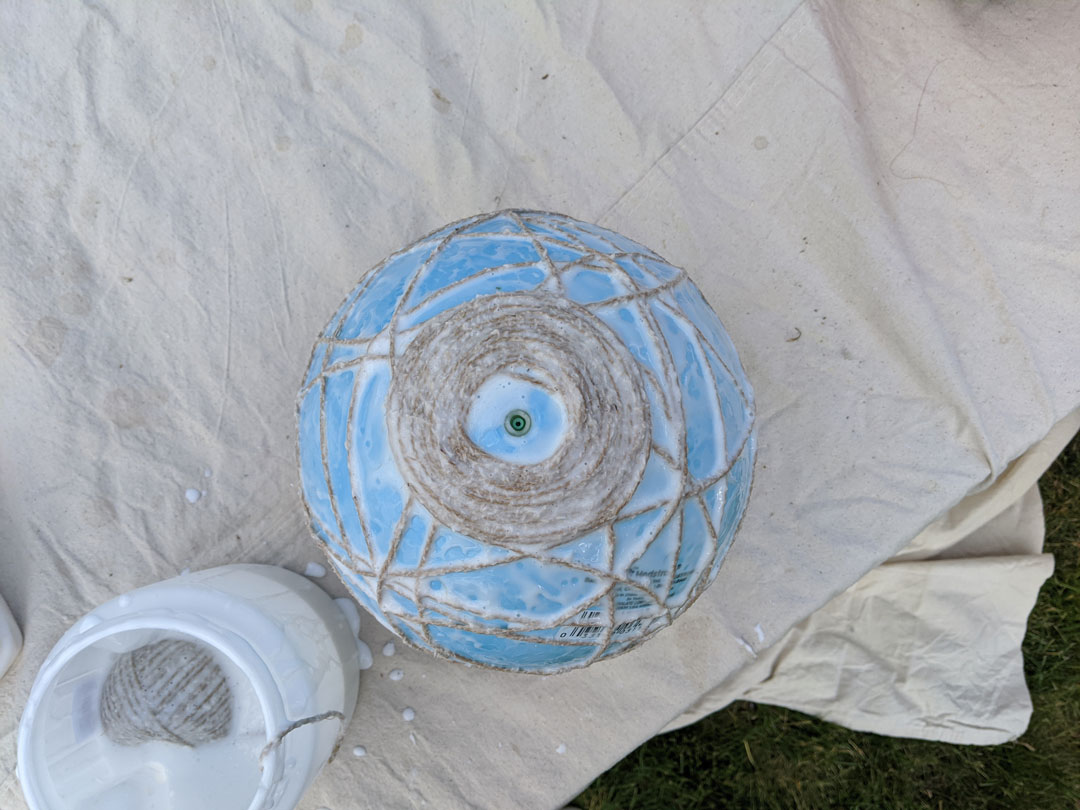
Step 3: Mark your ball
In order to keep your pendant centered and symmetrical, you need to mark the desired shade perimeter on the ball. I like to use the inflation hole (what the heck is that thing called?) as the center point for the top opening of the shade.
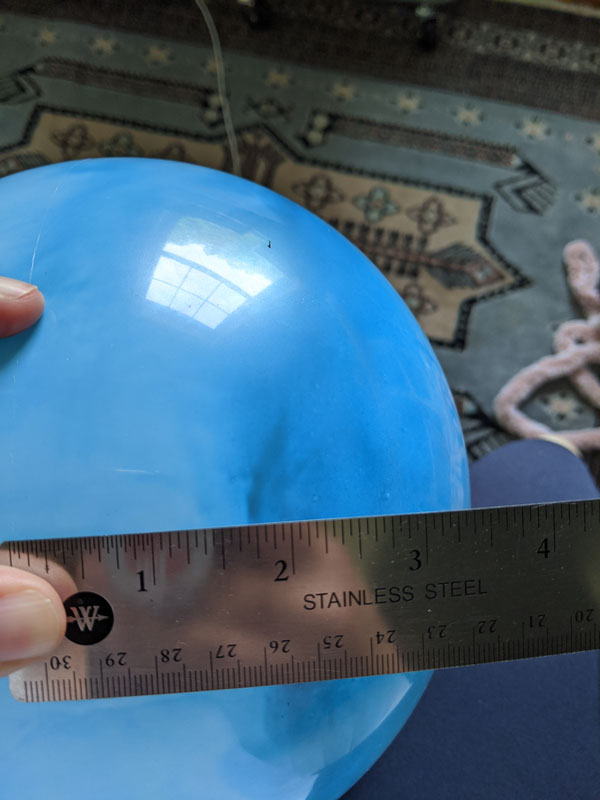
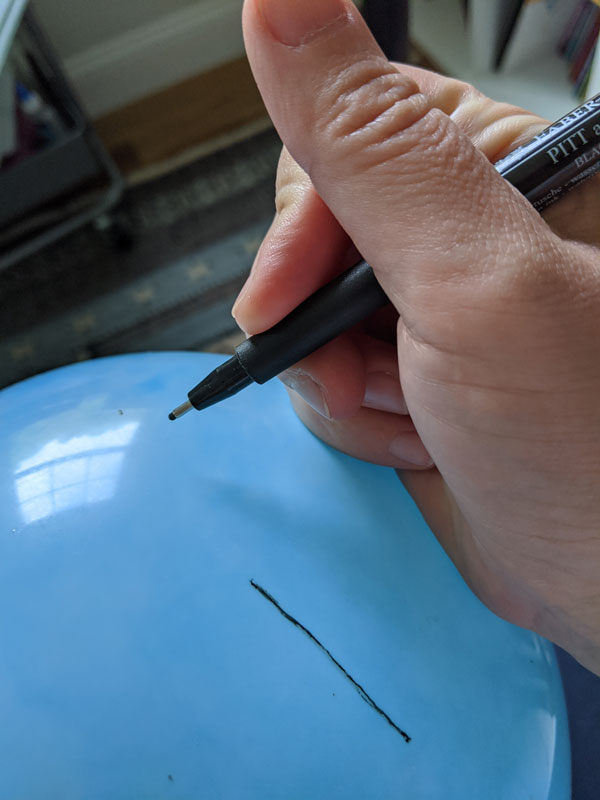
Then, I measure down from the center seam of the ball and make a dot with a marker every few inches around the entire circumference. Finally, connect those dots. This is where the bottom edge of your shade will end.
In this case, I used an 8.5″ play ball and marked 2″ down from the center seam of the ball.
Be sure to keep the inflation hole (?) at the top, and draw your guide below the centerline. Other than that guidance, you can make your lampshade as spherical or bowl-shaped as you like as long as you keep the opening at the bottom large enough to pass your puck light through.
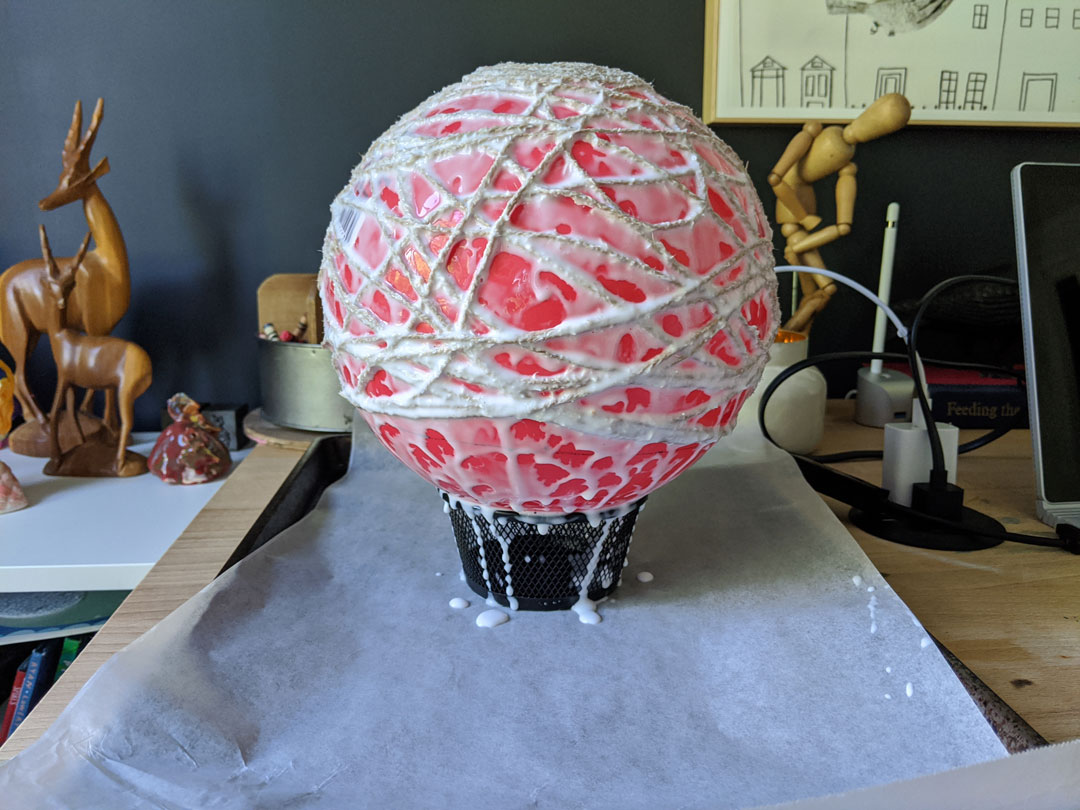
Step 4: Wrap the string around the ball
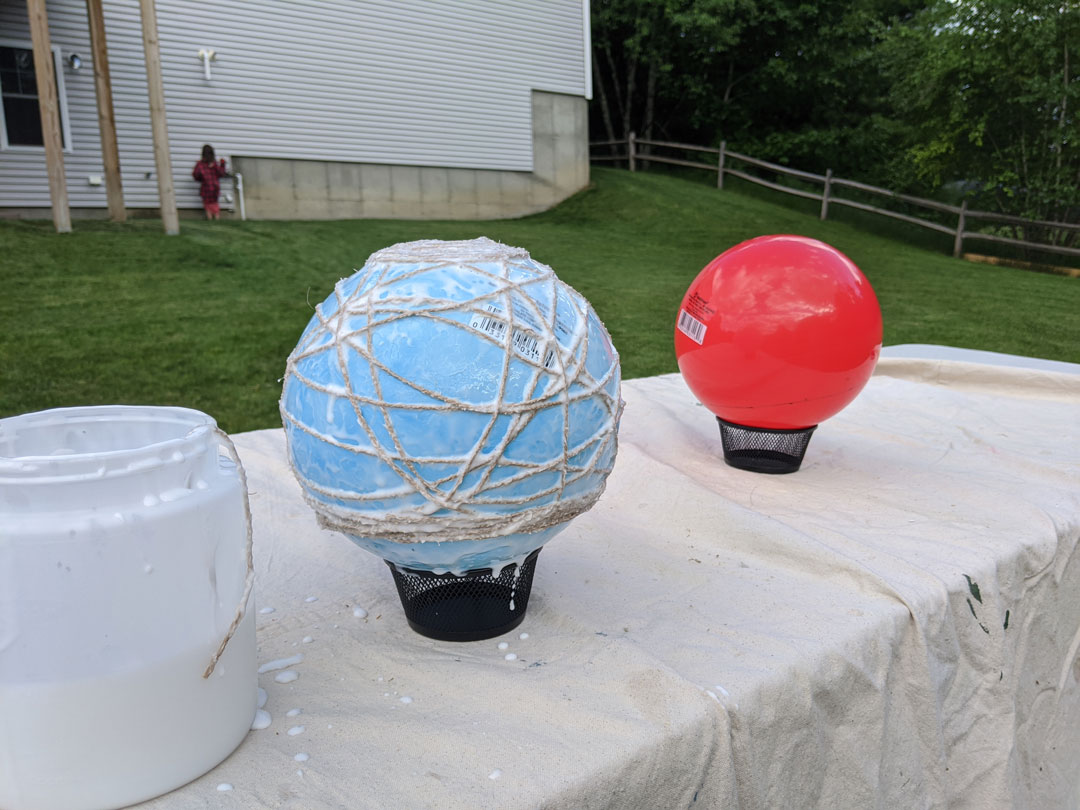
Using the glue-soaked jute string, wrap your ball in a random, overlapping pattern. It was impossible to take multiple photos of the process due to my glue soaked hands, but the photo above is a good illustration of what you’re going for.
It’s important to leave an opening at the top large enough to pass the hanging string through but smaller than the circumference of your puck light. The shade will essentially rest on top of the light. I opted to do this tight coil pattern at the top to mask the light casing, but that’s purely a preference thing.
At the bottom, try to generally align your string pattern to the mark you made around the ball. Since we’re aiming for a very organic shape here, don’t stress about being super precise. You just want it to be generally symmetrical.
Step 5: Allow to dry
At this point, set your wet shade aside to dry for 24 – 48 hours. Find someplace out of the way so your pendant shade doesn’t accidentally get knocked over. That would be a HUGE mess.
Rest the ball on top of a small bowl that doesn’t touch any of the jute string, otherwise, the string will fuse to the bowl as it dries.
Step 6: Deflate or pop the ball
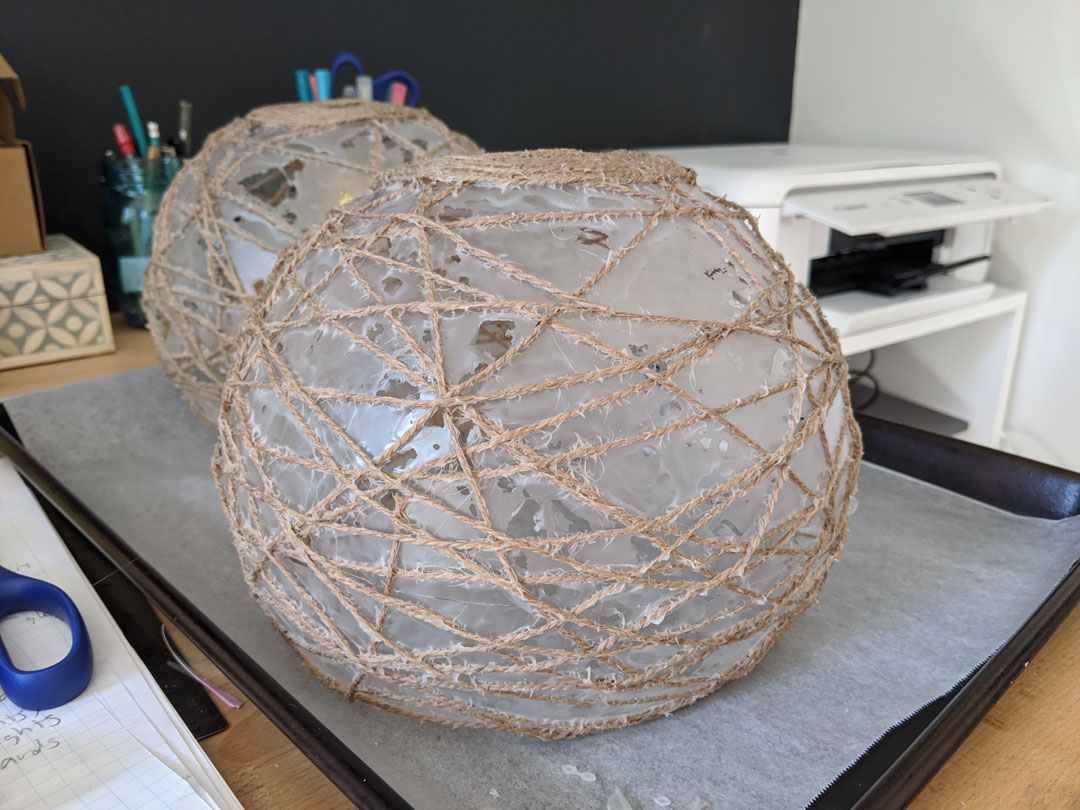
Once the jute string is completely dry, pop or deflate the play ball. This set is great because it comes with a pump and a pin that will allow you to inflate and deflate the balls as many times as you want. Great to have on hand for similar projects!
That said, I just ended up popping mine because it was fun for the kids.
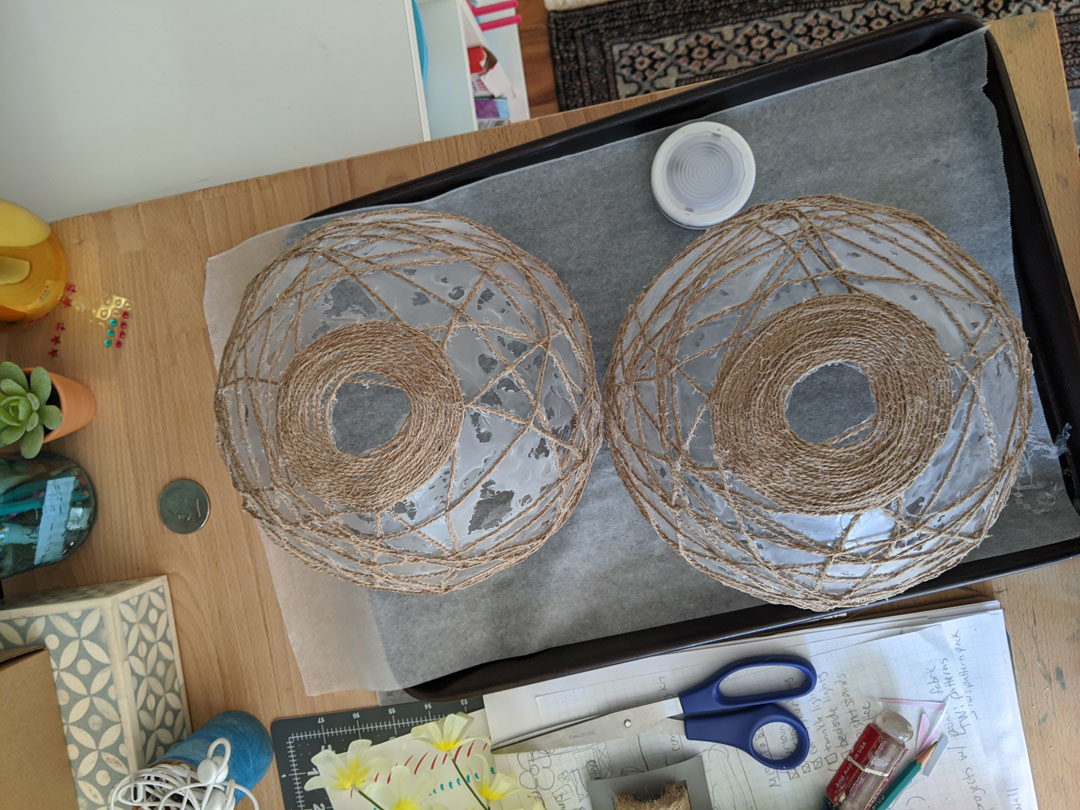
Once the ball has deflated, it will pull away from the shade mostly on its own. Gently pull the ball away from any areas that are still stuck (it will come away very easily).
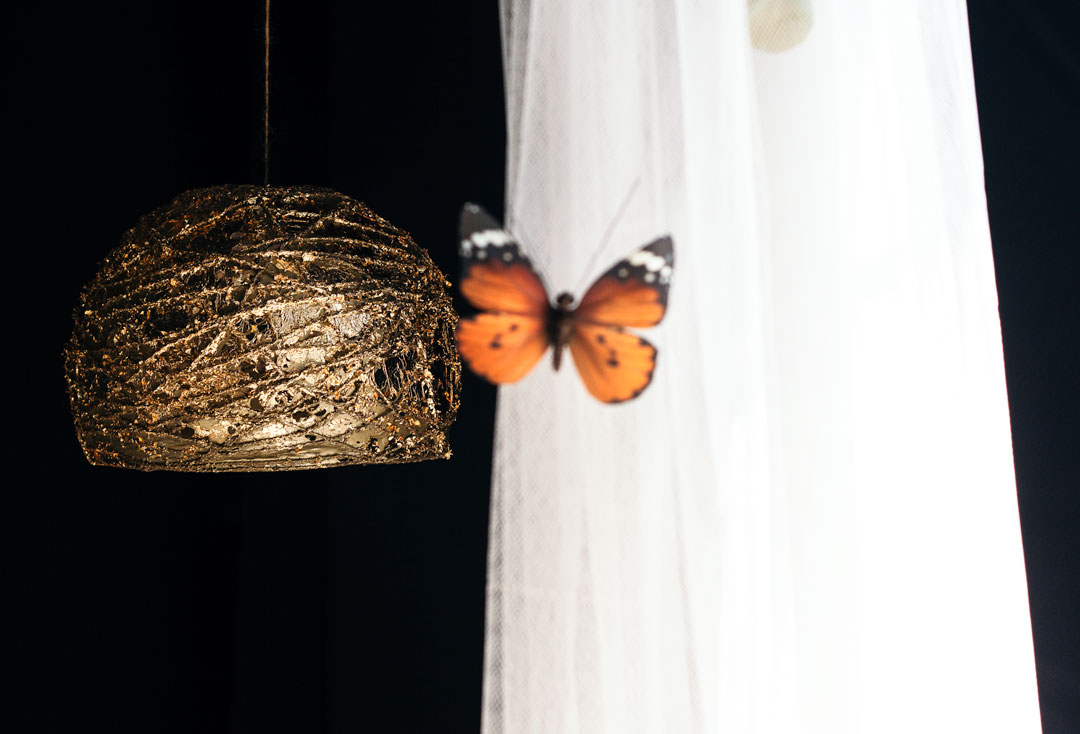
The glue shell will have some holes — that’s what you want! We’re going for sort of a wasp nest look. Very natural and organic, like something you’d find in a garden or in the woods. Those holes also look beautiful when the light streams through them.
Step 7: Glue string to the puck light
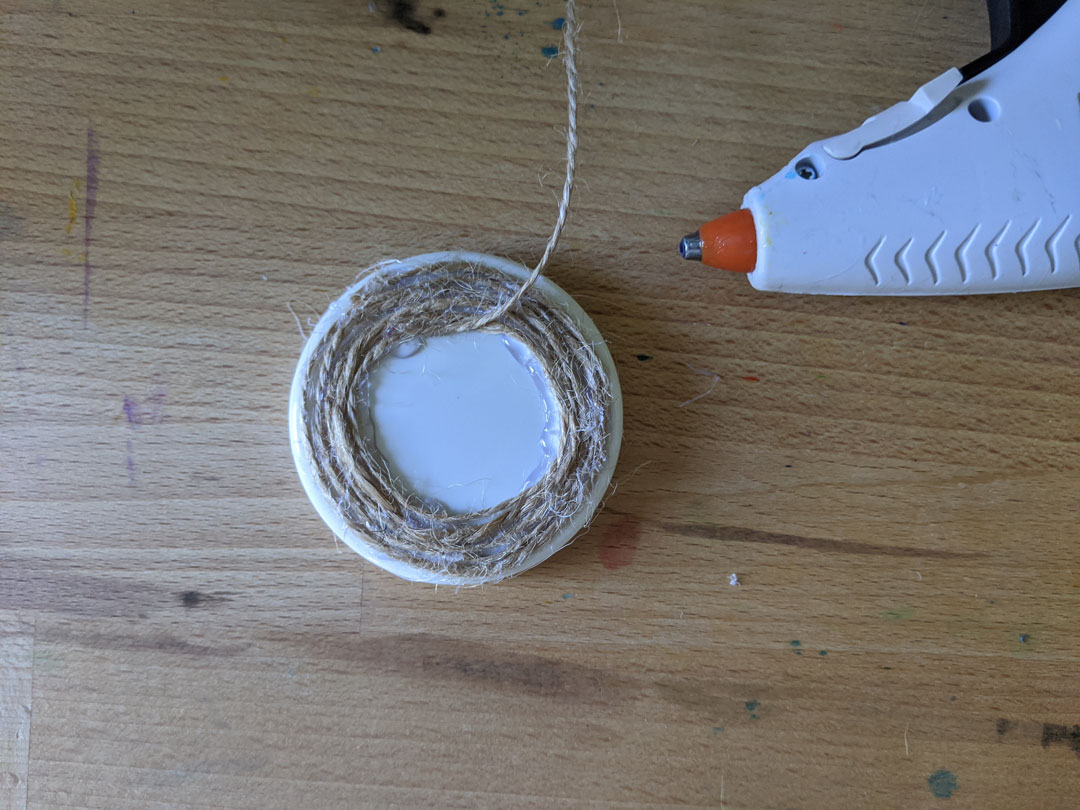
Starting at the outside edge, hot glue the jute string in a tight coil on the bottom of the puck light. By doing this, you’re creating the foundation to hang the light while still allowing easy access to the batteries. I found it easiest to squeeze a ring of glue onto the inside edge of the coil, and quickly press the string in until no more glue was exposed, then squeeze out another ring.
You won’t see much of this piece, so if your glue work is a little messy (like mine) it’s totally ok.
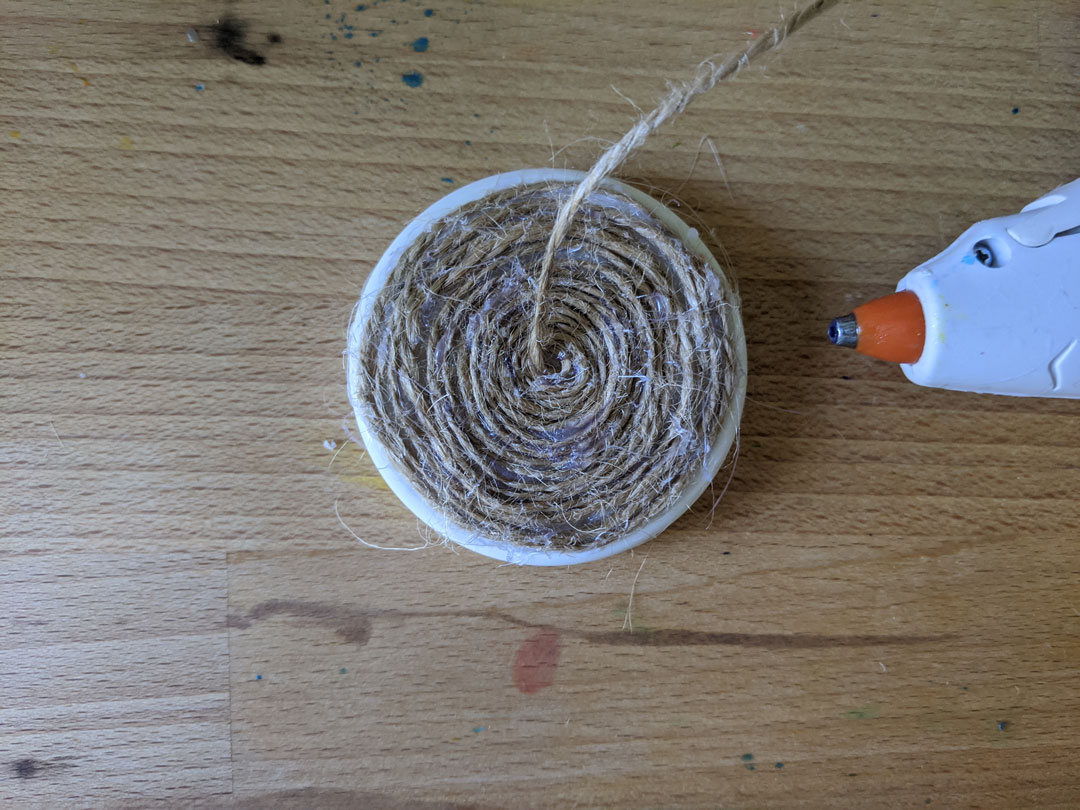
Aim to end the coil as close to the center as possible. This is the only step where I’d urge precision. The closer to the center it is, the straighter the pendant light will hang.
The string that’s now attached to the puck light will be threaded from the underside of the shade, through that top opening you created around the “inflation hole.” I’ve just decided that that’s what is called forevermore.
These photos illustrate how it works if you need further clarification:
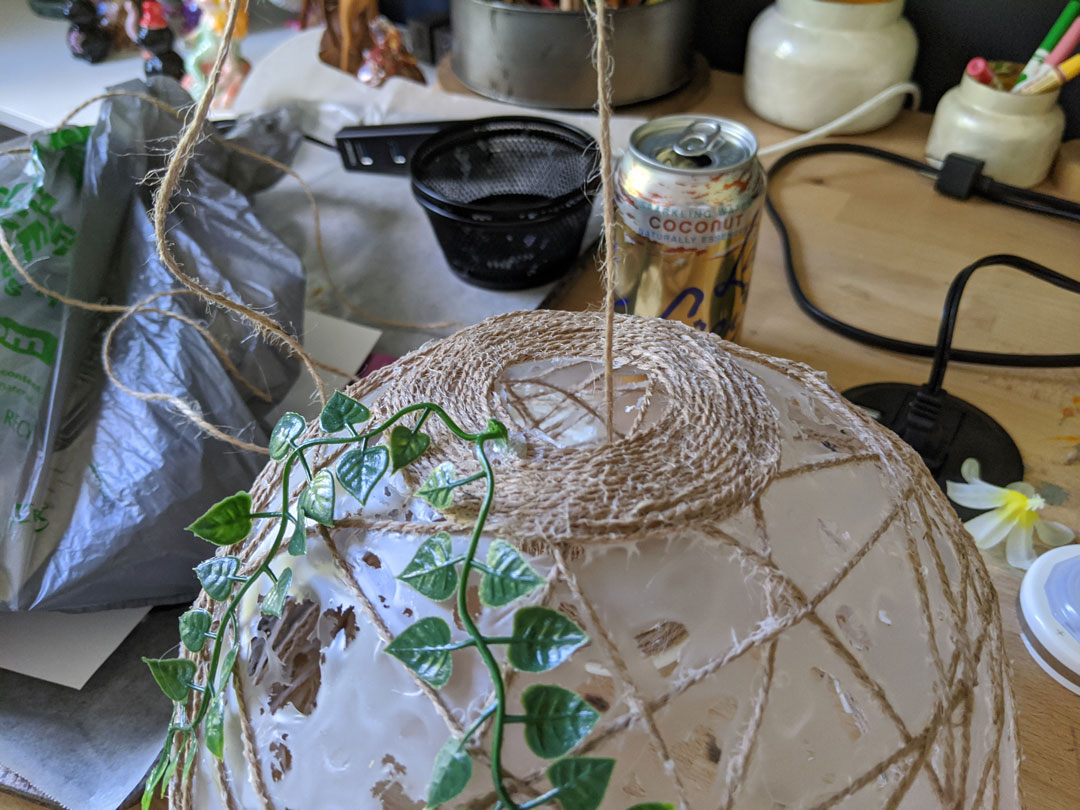
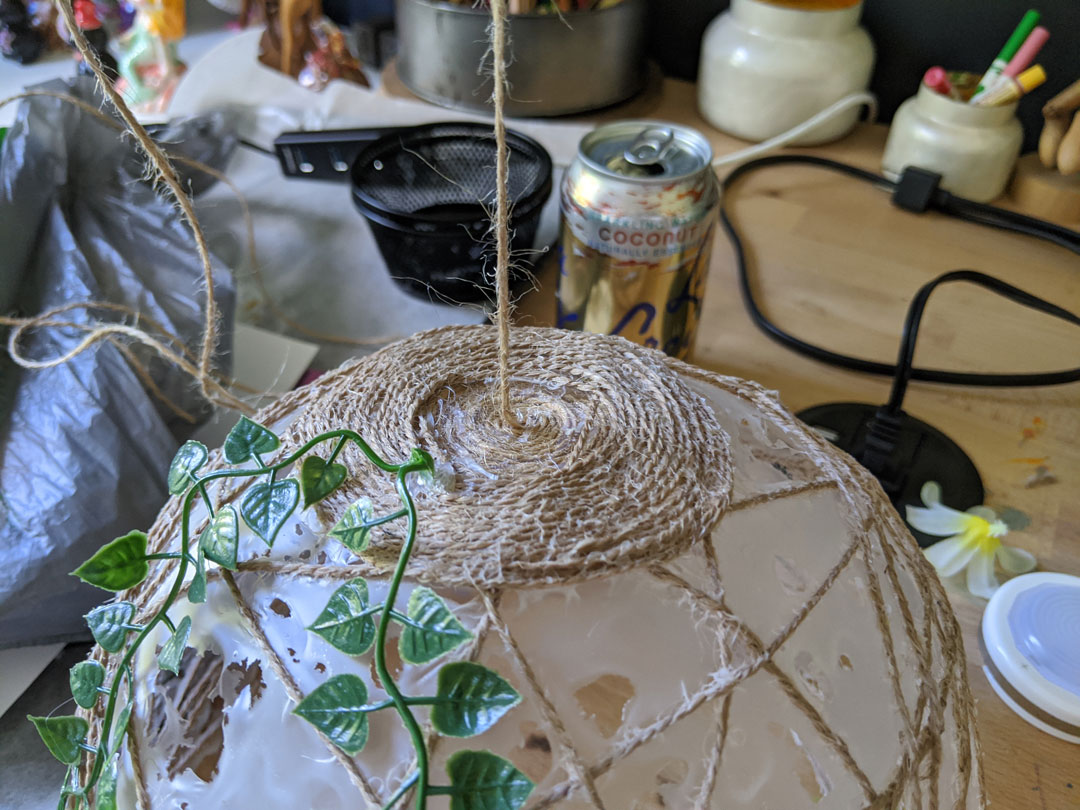
In these photos, I have some faux vines attached. I ended up pulling them off because I didn’t like the finished result, but feel free to add some if you like the look!
Step 8: Spray paint everything gold (optional)
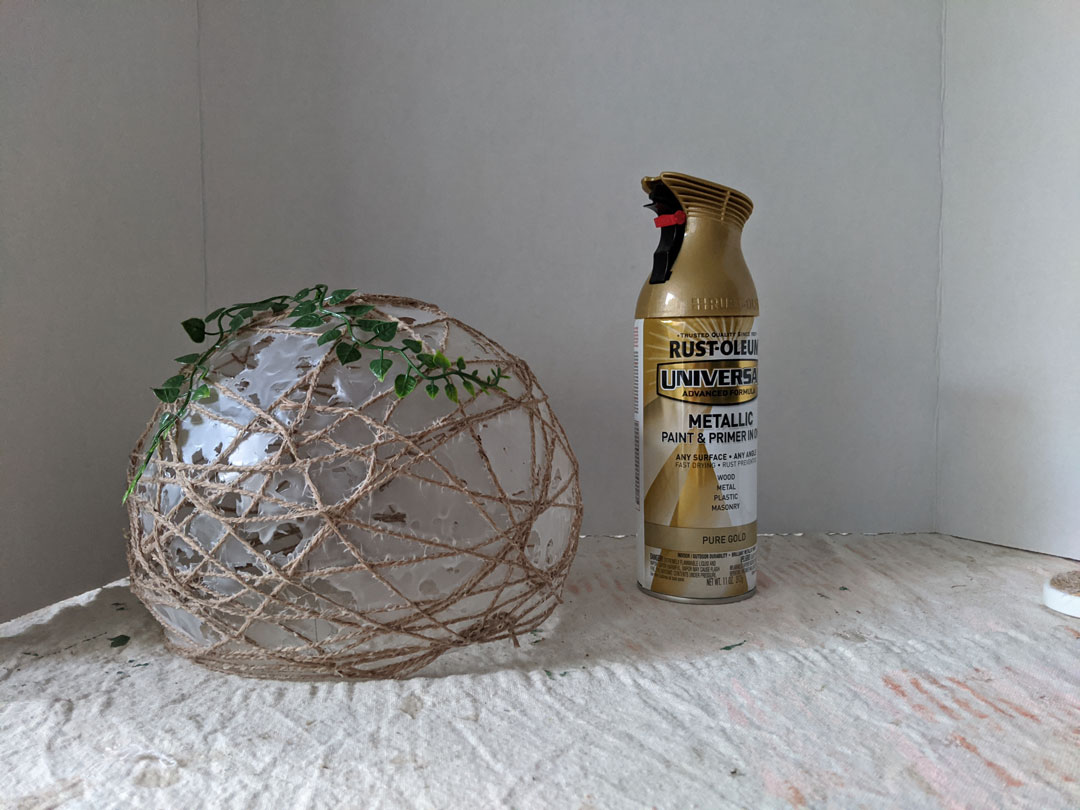
Protect your work surface and spray the pendant light gold. You could easily skip this step since most of the lamp will end up covered in gold leaf, but I like the depth of color the gold on gold treatment adds.
Just be sure not to spray the light source itself because it will dim the light output significantly.
Step 9: Cover the entire shade in gold leaf
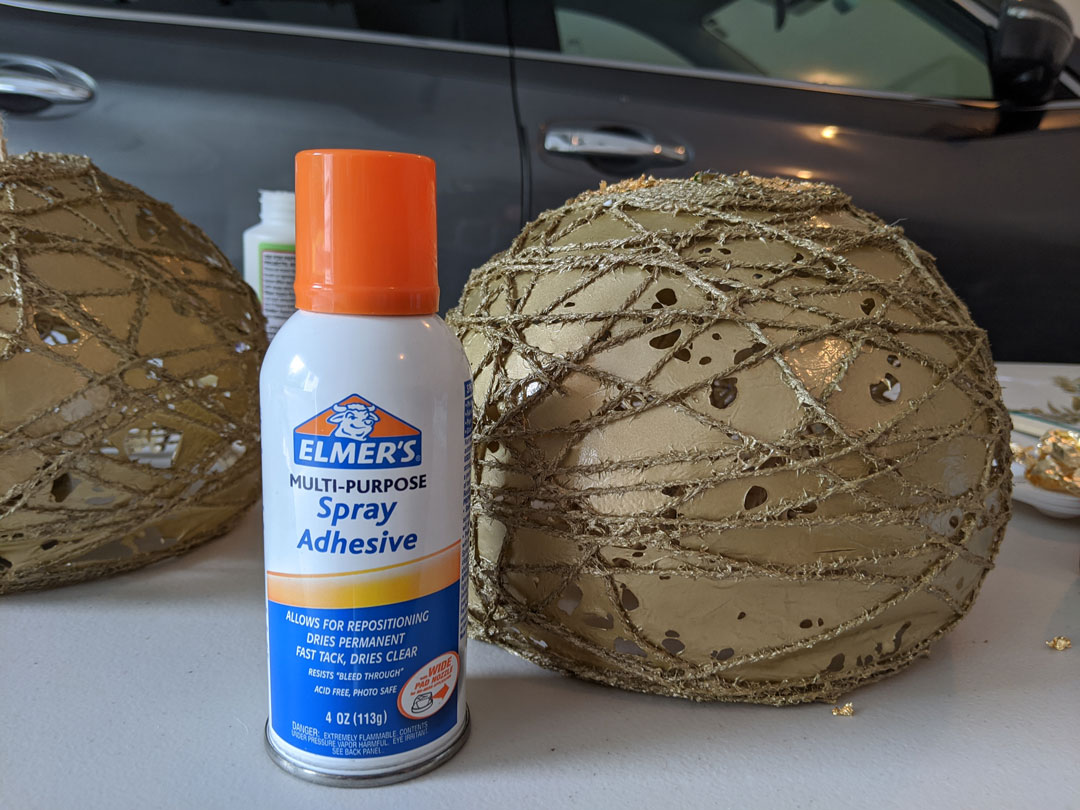
Use a spray adhesive to attach the gold leaf. Typically to apply gold leaf you’d brush on a special glue, but the spray adhesive gets into all the nooks and crannies that might be difficult to reach with a brush. Some may say this is the “wrong” way to do it, but it worked fine for me!
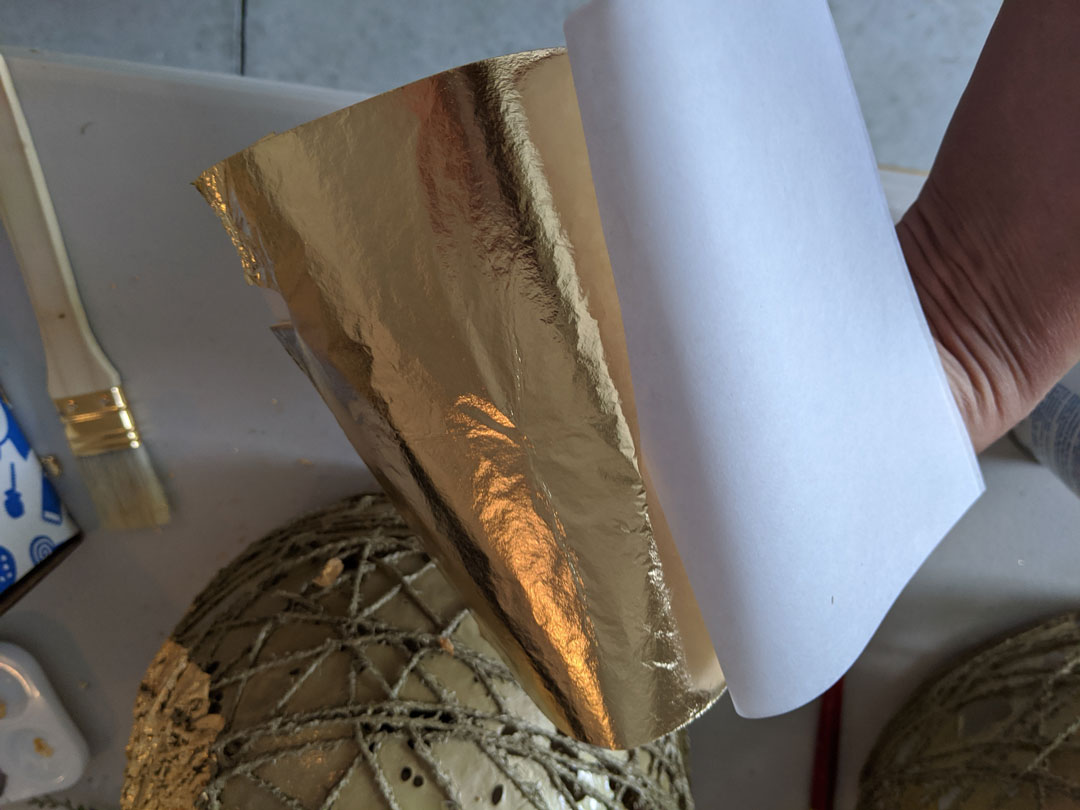

Blast a small section of the shade with the spray adhesive and begin to attach the gold leaf. Take care not to touch the leaf if you can help it (it sticks to everything and tears easily).
Gently fold back one of the separating sheets of paper — don’t tear it off! — and hold the entire book of gold by the folded end. Then press the gold leaf part onto the sticky surface of the shade, still holding on to the whole book. If the leaf tears at this point it’s fine. You just want to initially get as much of it onto the shade as possible.
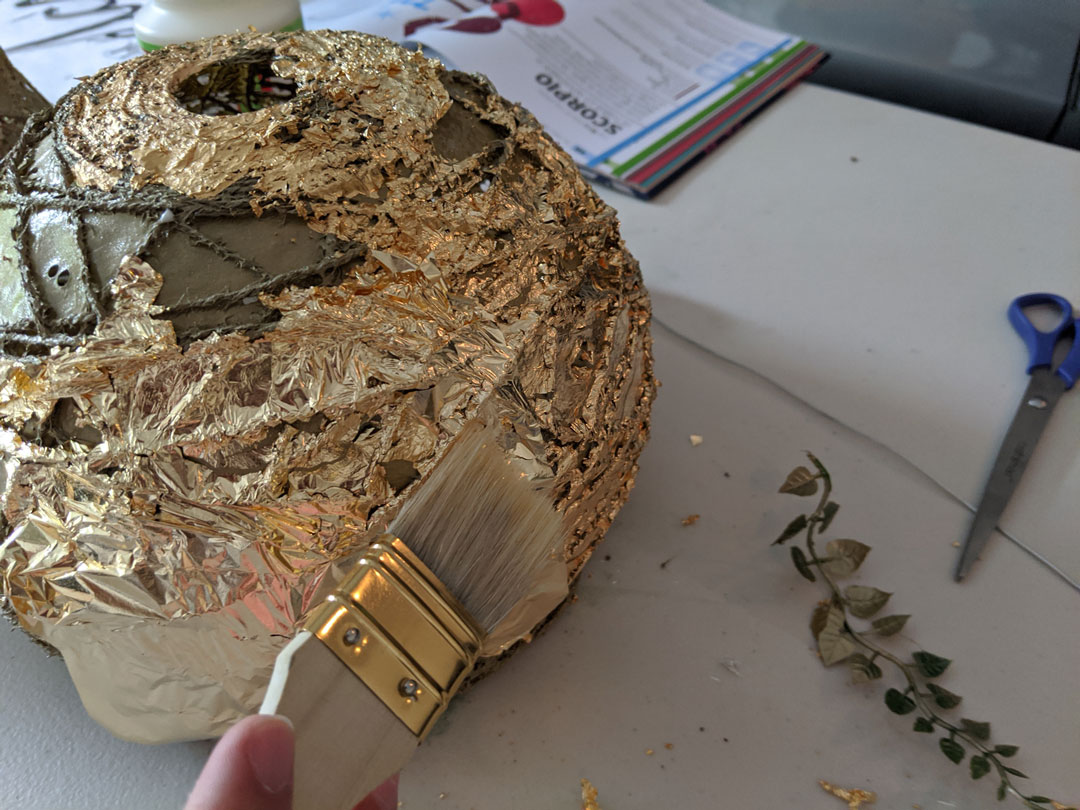
Next, use a chip brush to press and tap the gold leaf into all the cracks and crevices. Once everything has sort of melded into the shade, gently brush off the excess leaf.
Continue with the process until your entire shade is covered.
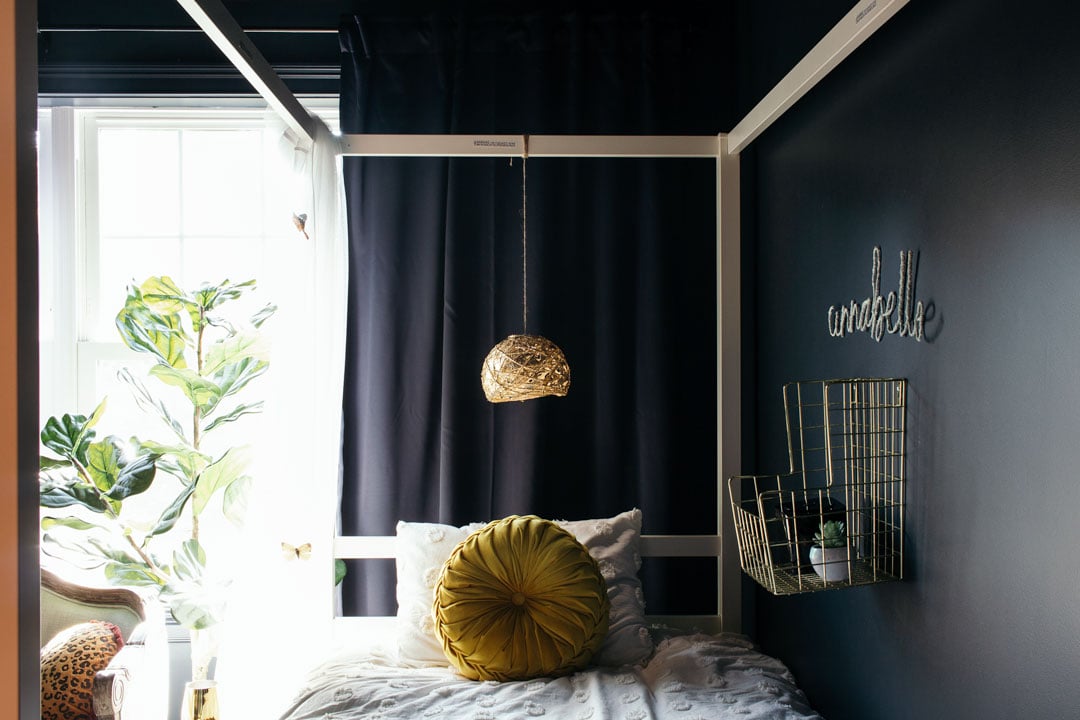
Project complete!
This is a very lightweight pendant light so hanging it is a snap. You can screw a simple cup hook into the ceiling and tie it to that, or hang it from a decorative plant hook on the wall.
I’d love it if you gave this DIY project a try! For less than $10 in materials, you can easily create this gorgeous, gold-dipped dream of a DIY battery pendant light. I think it would be such a cool addition above a desk or a dining room table, don’t you?
DISCLAIMER: This light is a strangulation hazard so don’t hang it somewhere a small child could reach. We have ours tied to a canopy bed rail but our children are at the age of reason. They understand that wrapping things around their neck is dangerous.