DIY Wired Word Signs (Free Template Included)
This post may contain affiliate links.
I absolutely love word art as home decor.
However, I don’t love being limited to the decorative word signs that are available to buy. So I set out to create an easy and inexpensive cursive letter sign that I could customize for various rooms, seasons, and occasions.
One of my FAVORITE ways to decorate with wire words is to use them for Christmas! They look amazing in a tree (read to the end to find out how to make one with twinkle lights) and are perfect for embellishing a ho-hum store-bought holiday wreath.
In this post, I’m going to teach you how to make words out of wire and share all the different ways to use and finish them. The example I’ll be making is a “Welcome” sign for decorating a Christmas wreath.
Like it? Pin it!

This post contains some affiliate links for your convenience. Click here to read my full disclosure policy. Thanks for supporting Craft Your Happy Place!
How to Make DIY Wire Word Signs
This simple DIY involves printing out your words, using that as the guide for your wire, then wrapping the wire in a material of your choosing. There are so many exciting ways you can finish these signs. I’ve already made a jute sign, a glow-in-the-dark sign, and a twinkle light sign. This method is incredibly flexible.
I’ve included finishing ideas and details on how to do the glow-in-the-dark and twinkle light sign at the end of this post.
MATERIALS NEEDED
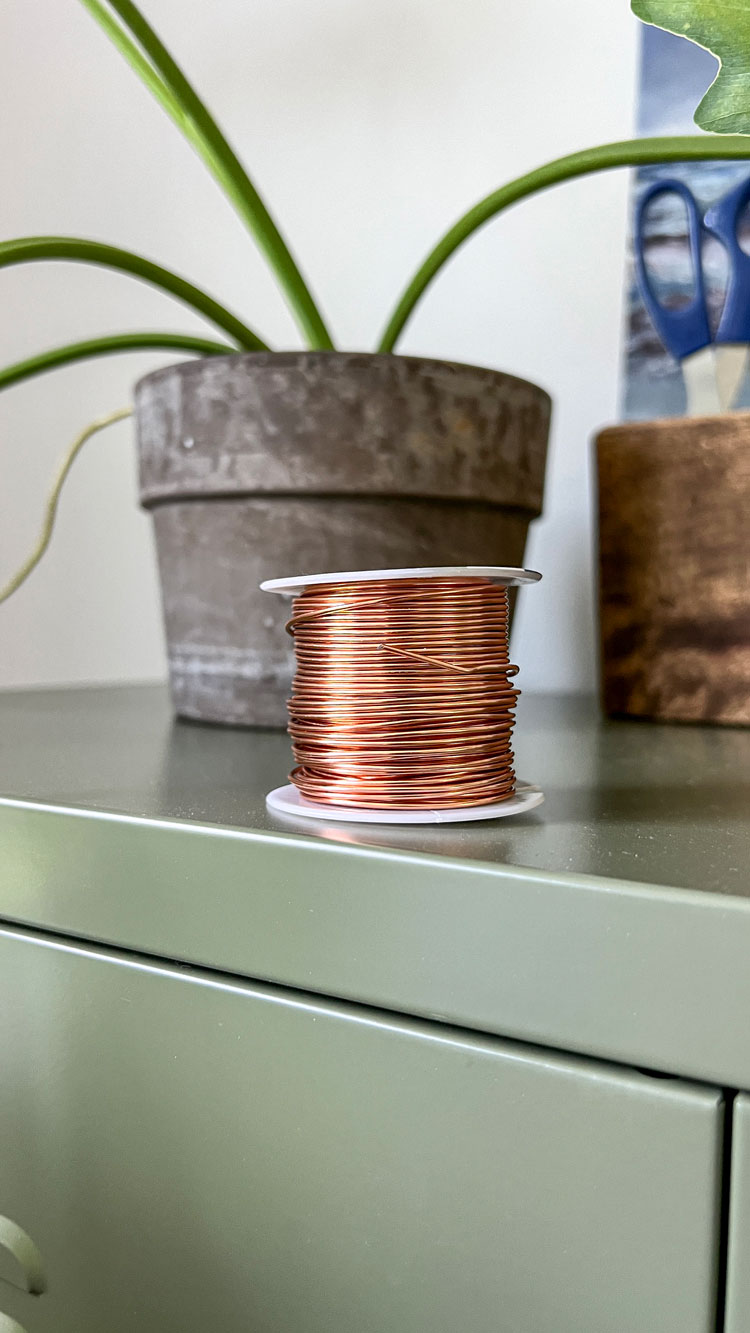
- Armature wire
- Scotch tape
- Needlenose pliers (optional but useful)
- Wire snips
- Glue gun (this is my favorite budget model)
- Jute twine (alternatives suggested later in the post!)
- Welcome sign template
Step 1: Print your sign template
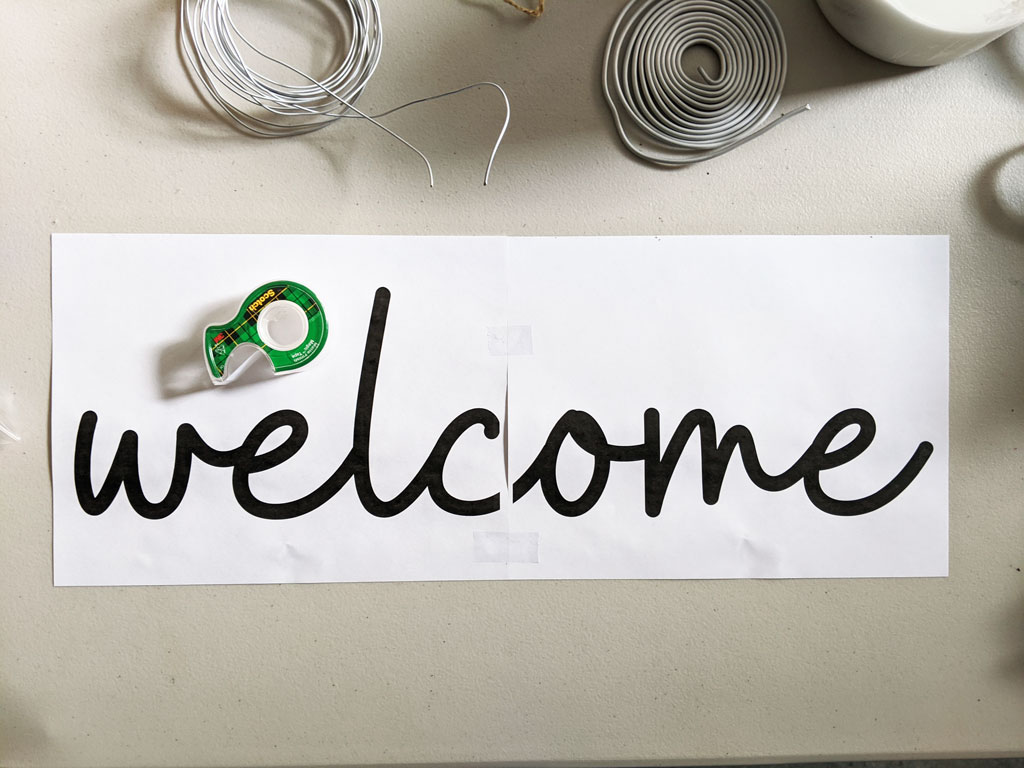
Type the word or phrase you want to turn into a wire sign, apply a font, adjust the size, and print it out. I use a design program to make mine large, then print it across multiple pages.
If you don’t have a program like this, you can download the free template for this Welcome sign or purchase the full template pack of 81 words for only $7. The PDF is already set up to print across two standard 8.5″ x 11″ pages to make an 18″ sign.
Tip: Use a script font that has a consistent line thickness for best results.
Line up the printed sheets of paper, tape them together, then tape the whole thing to your table. Don’t worry if your printer didn’t print the word all the way to the edge. Gaps are fine since we’re just using this to guide the wire placement for our word art.
Step 2: Guide the wire along your template
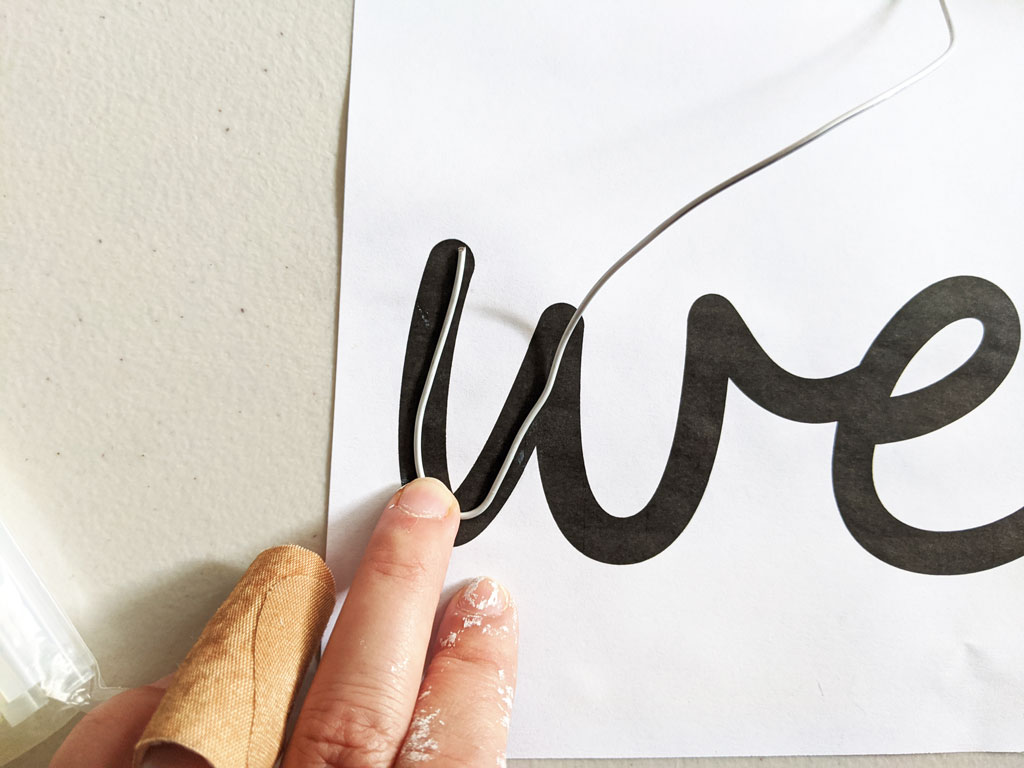
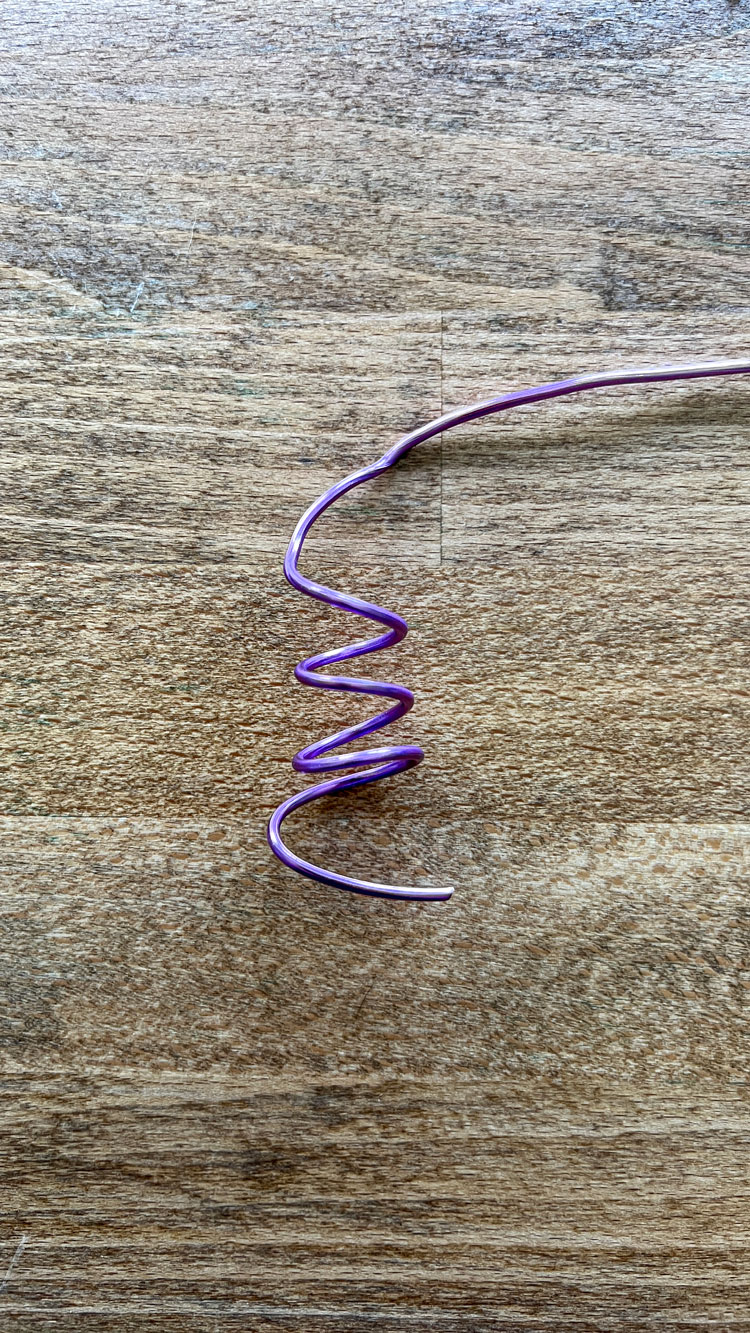
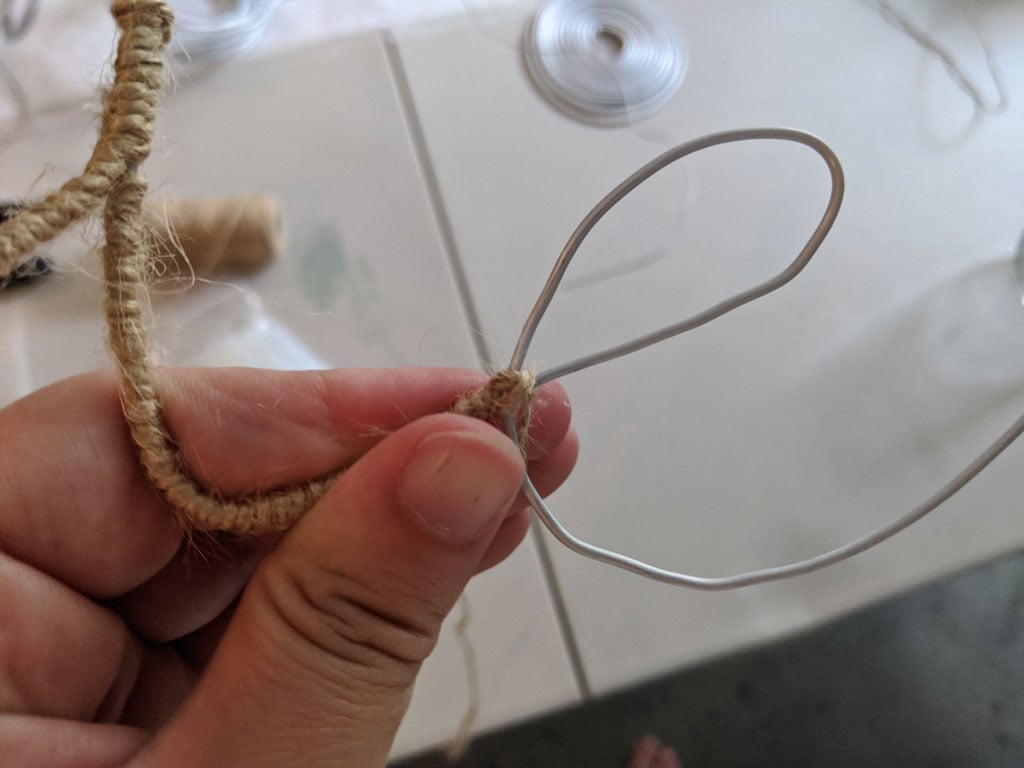
Starting from the left-hand side, guide the wire along your sign template. Armature wire is super easy to bend so this step is a snap.

Don’t worry if the wire isn’t laying perfectly flat or pops off track as you go. Making a wired word sign is super forgiving — the shape will sort itself out once you wrap it.
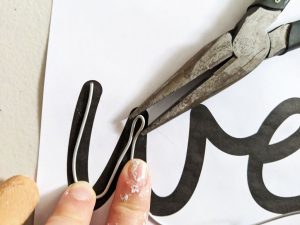
For sharp bends like this example above, use a pair of needlenose pliers to squeeze the wire into a point. You can do it with your fingers, but it’s a little more difficult than using pliers.
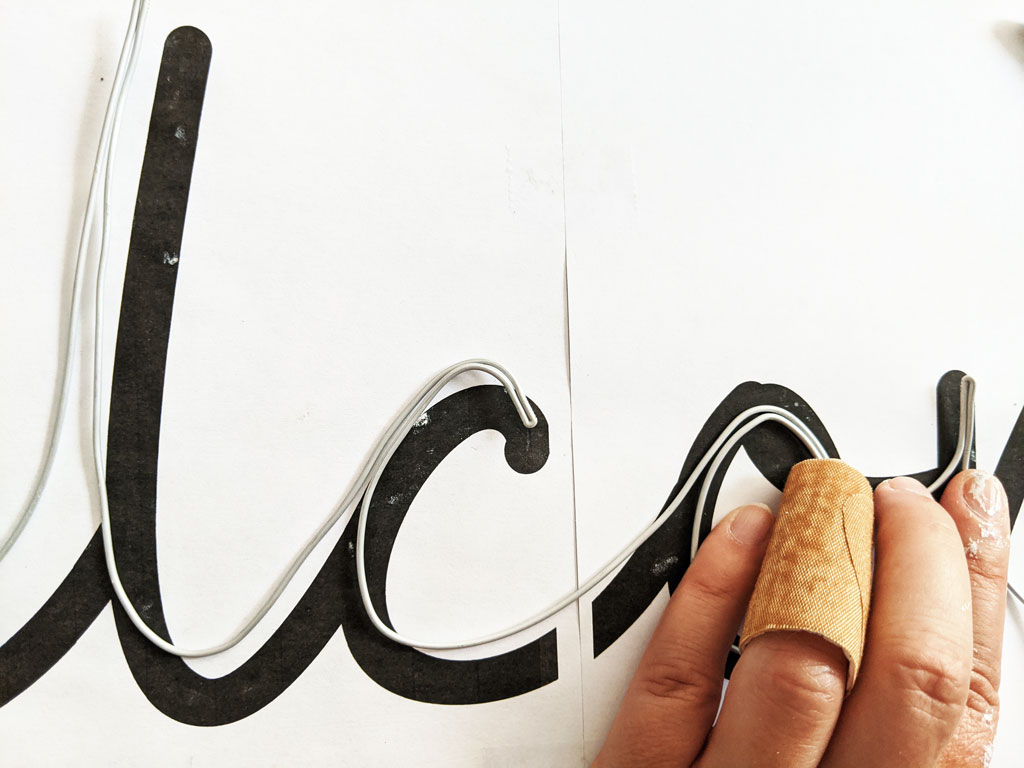
For some letters, you’ll need to double the wire back. Simply use the pliers again to squeeze a tight point and guide the wire back along itself. Try to keep the wire as tight to itself as possible (the jute wrapping will take care of any residual space).
Like projects with wire? Try this easy wire sculpture! Free template included.
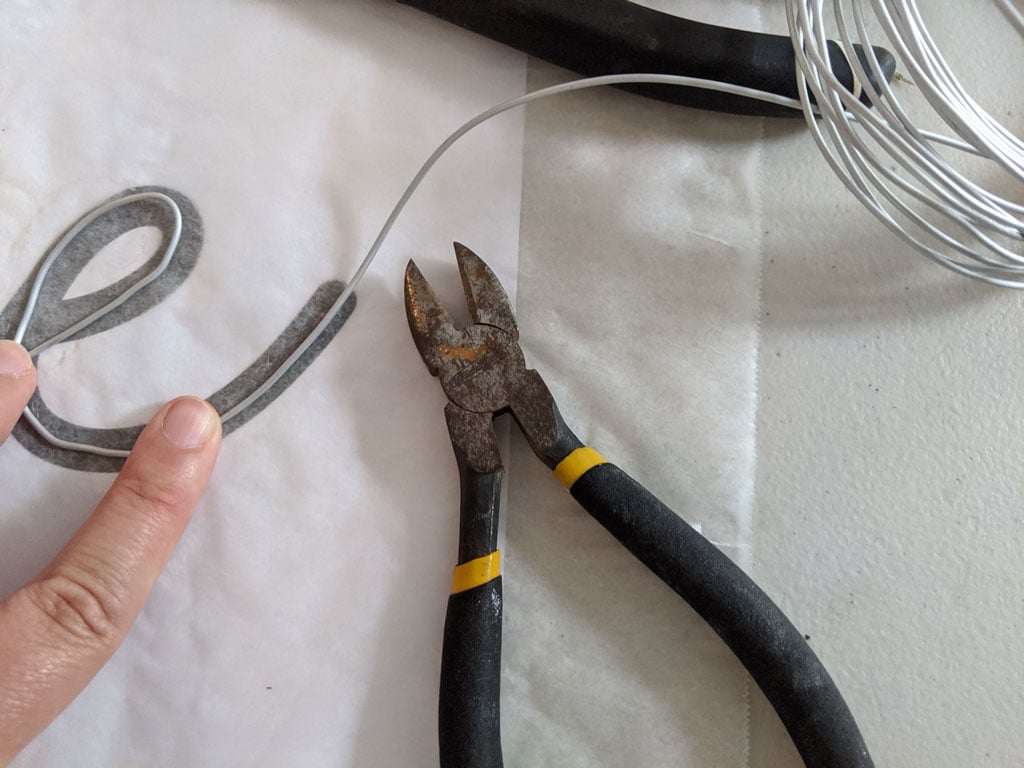
When you get to the end of your word, clip the end of the wire with your snips. You can use scissors but I wouldn’t recommend it. It’s very difficult and will dull your scissor blades.
Yes, I tried when I was initially too lazy to locate my wire snips 
Step 3: Wrap your wire word sign in jute (or material of choice)
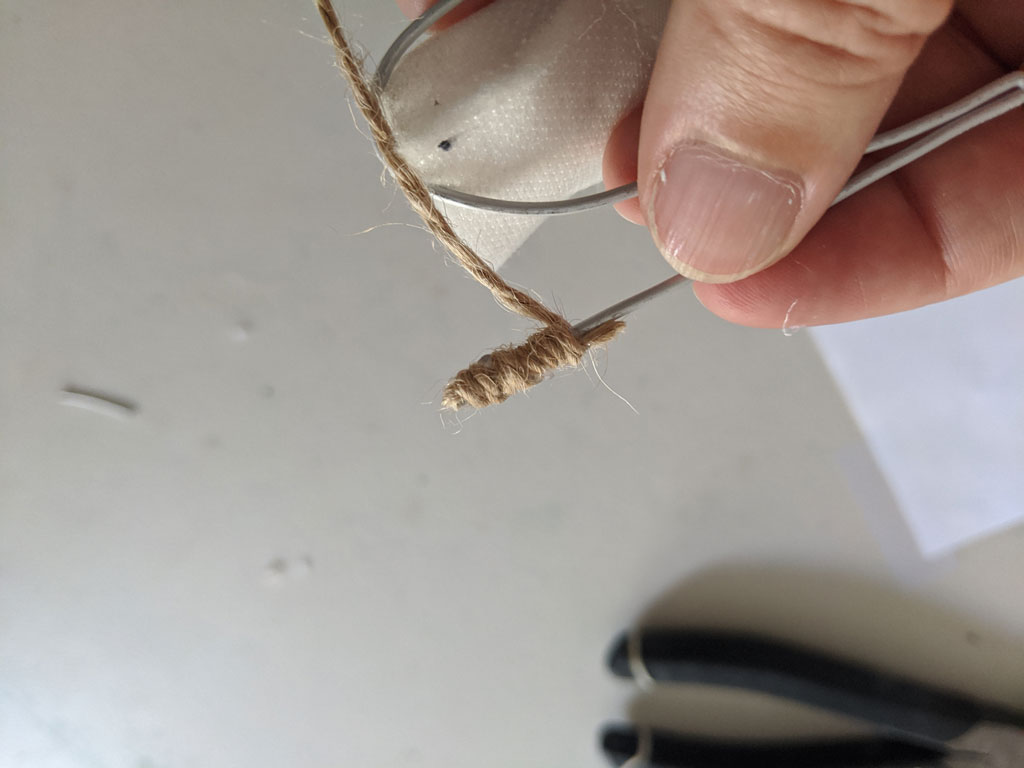
Starting with a dab of hot glue, wrap your wire word tightly with jute. Get the twine as close to the tip of the wire as you can for a cleaner look. I do this by laying about 1/4″ to 1/2″ inch of twine down the length of the wire with hot glue — with the end toward the continuation of the letter and the long end of the twine towards the tip — then wrap tightly back onto itself to start the full wrap.
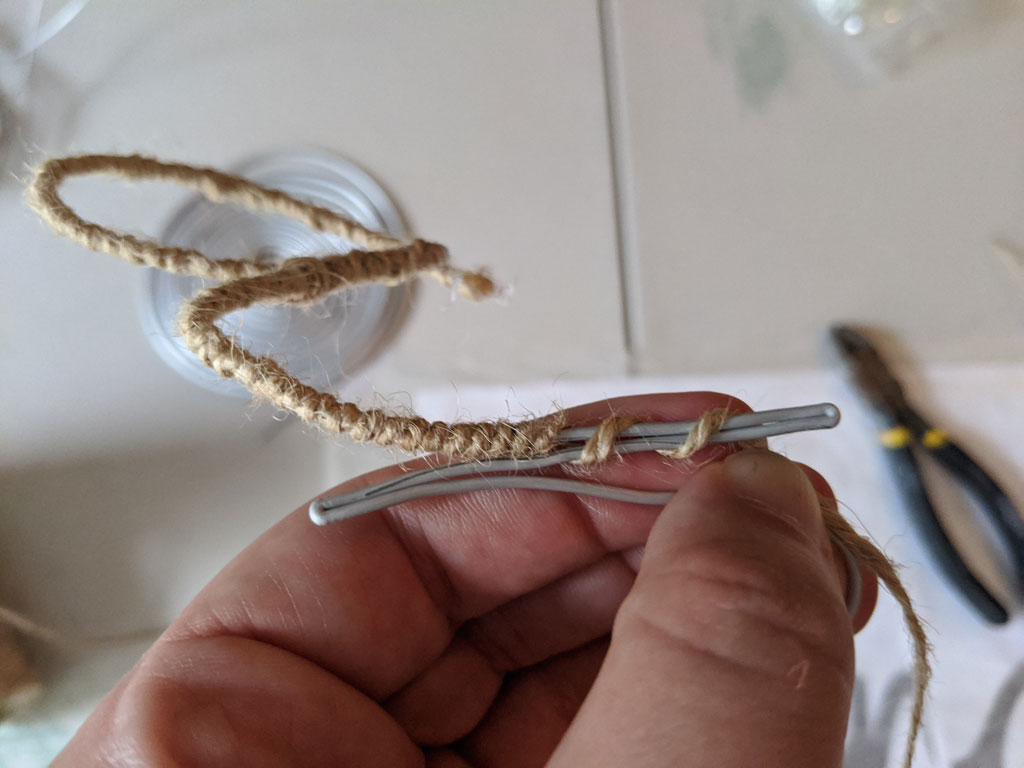
When you reach the tip of a letter that doesn’t continuously loop into another, squirt a line of glue along the letter to the tip. Then wrap the twine a bit spaced out to reach the end, and quickly double back with your tight wrapping to continue down the letter while the glue is still sticky.
The spaced wrap is to prevent that section from becoming too thick.
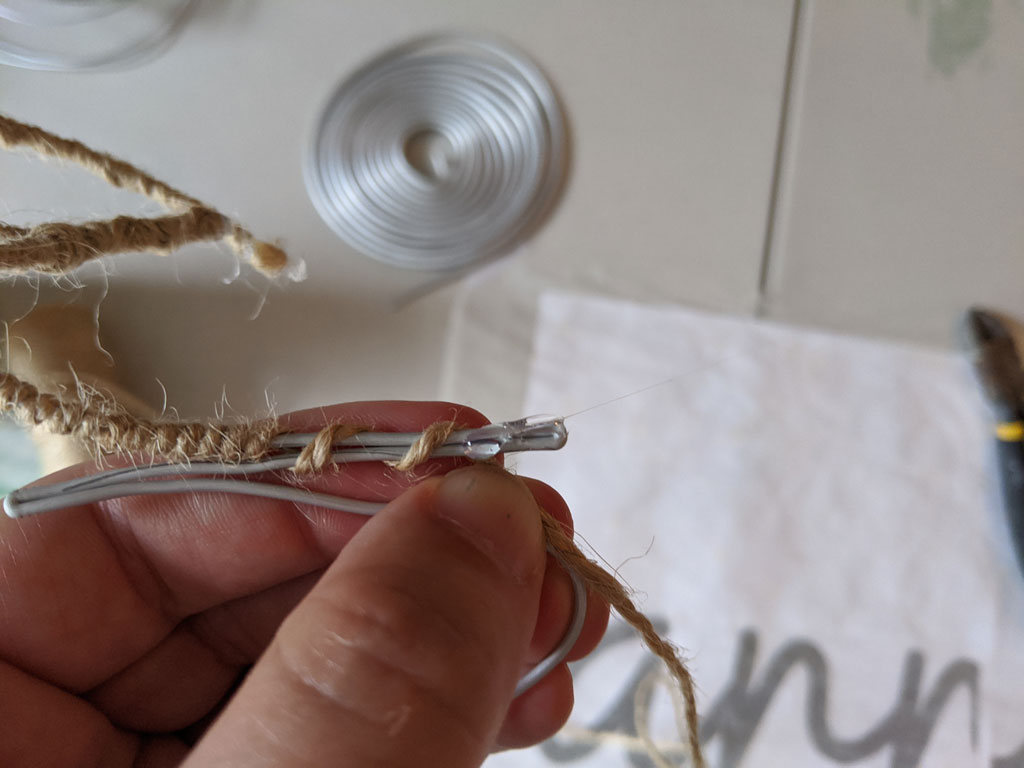
Letters that cross over themselves, like the letter “e” benefit from a little reinforcement to hold things steady. It’s easy — just wrap in an x pattern, once from top to bottom, then once from left to right.
Note: If your ball of twine is too large to pass through the loop of a letter (likely), just pull a long strand free from the ball and cut the end to be able to pull through. I pulled about 5 feet for this “welcome” sign, but if you underestimate, glue the end to the wire when the twine runs out then continue with a new strand.
To further secure the twine wrapping your wired words, add a small dot of glue at transition points, or if things feel like they might be slipping. In general, though, the twine will be so tightly wrapped it’ll be a non-issue.
Continue wrapping to the end of the word, add a dot of glue at the end to secure the word sign, then clip the end of the jute.

And you’re done!
This sign took me around 20 minutes. Longer words and phrases will obviously take longer and vice versa.
But what if you don’t like the look of jute? No worries. There are SO MANY options for finishing a wire word sign.
Finishing Material Ideas for Wired Word Signs
- Chunky yarn
- Twinkle lights
- Glow in the dark
- Ribbon
- Fabric
- Gimp
- Embroidery floss
- Thin strips of leather
Embellish any of these options with small flowers, felt balls, beads — the sky’s the limit! I’ve already created a couple of faux neon glow-in-the-dark signs:
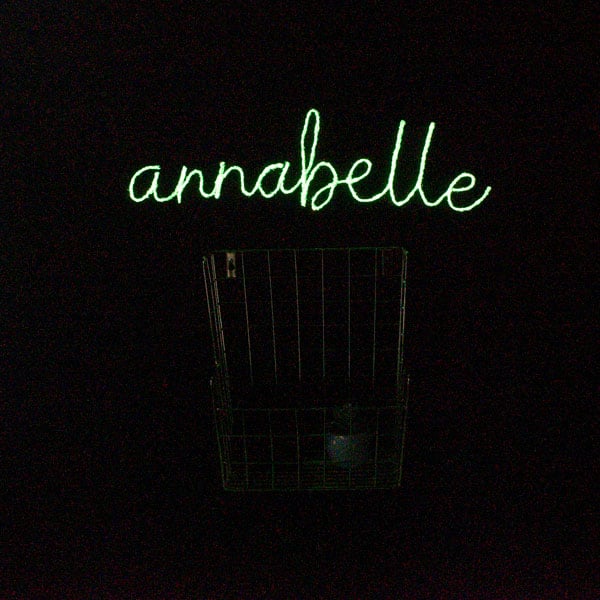
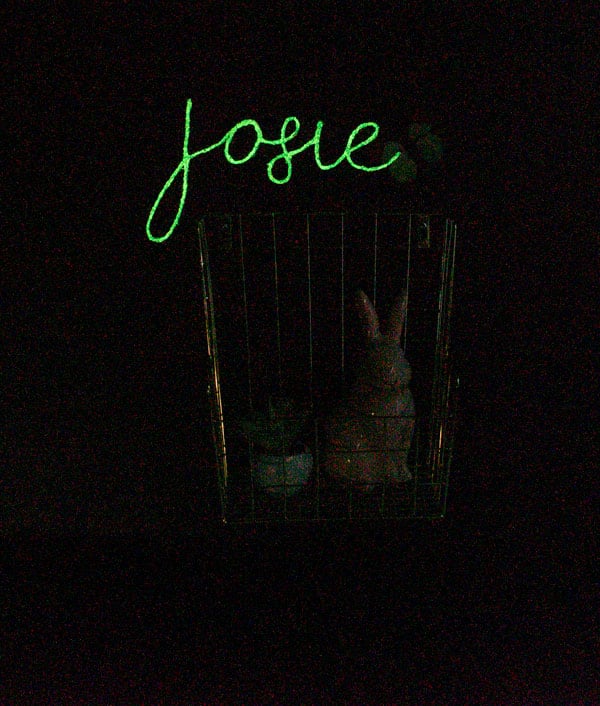
For this version, wrap the wire word sign in a white twine (smooth is best like this one), then cover thoroughly with this glow-in-the-dark paint.
I also made a version with fairy lights for a reading nook:

The twinkle light wired word sign is super easy to do. Once you finish wrapping your sign, wrap it again with battery-operated fairy lights. You can glue it if you’d like, but it’s not really necessary since the wire of the lights will hold it onto the word form.
Ways to Decorate With a Wire Word Sign
OK, so you may not want to litter your wall with words and random phrases. Me neither! But there are so many ways to use these wire words other than as standalone wall art:
- On a Christmas tree
- Rest it on a shelf
- Decorate gifts
- Instructive signs (i.e. “shoes off” in the entryway, “mask on” at the entrance of your store)
- Placed in a wreath
- Hung on a door
I’m already in the process of making a few for fall, Halloween, Thanksgiving, and Christmas. These are perfect for seasonal decor because they’re lightweight and easy to decorate with. And cheap to make! #bonus.