How to Make Wood Block Wall Art
This post may contain affiliate links.
I’ve had some reader requests for Valentine’s Day decor ideas. I love Valentine’s Day! Not for the romance and roses, but because it feels like a fun interlude for the mid-winter blahs. I like to fill it with candy, fluff, and fun.
That said, I don’t get super specific about my V-Day decor. I like to do a little something-something, but I want to use it before, during, and after the holiday (way after if possible). So I keep the decor touches subtle.
I came up with a really sweet, easy, modern, and on-trend decor idea for you!
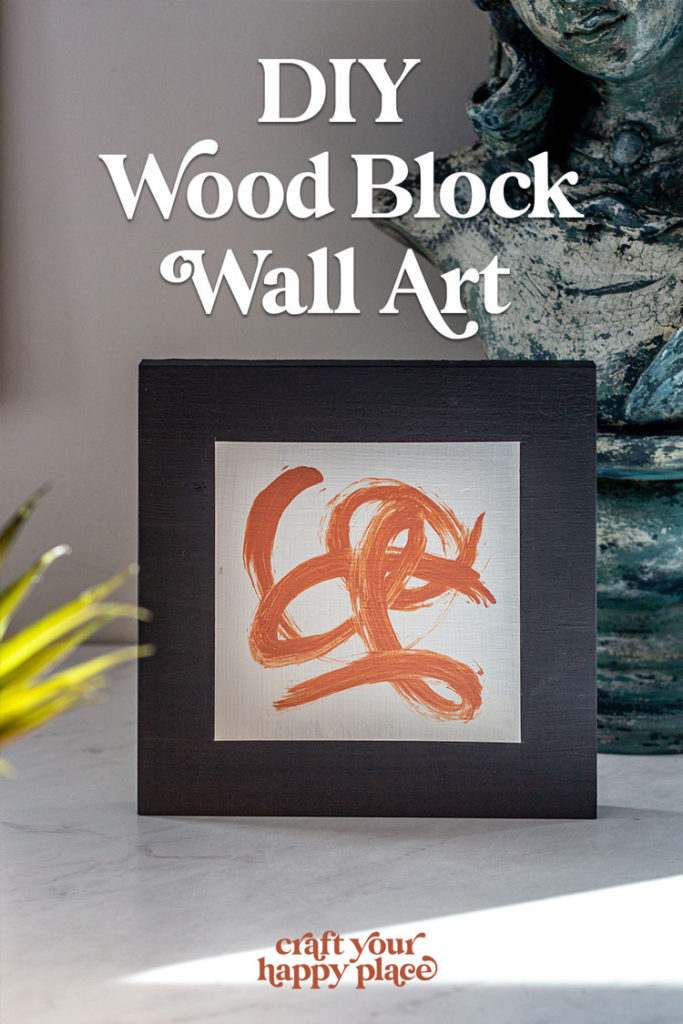
In this post, I’m going to show you how to make wood block wall art for only a couple of dollars. This tutorial will demonstrate an abstract scribble art design, but I’ll also give you six more easy-to-make ideas!
Like it? Pin it!
This post contains some affiliate links for your convenience. Click here to read my full disclosure policy. Thanks for supporting Craft Your Happy Place!
How to Make Wood Block Wall Art
To make a wood block piece of art for your wall, simply chop the end off a 1 x 8 common board to create a wood square. Then, paint the frame color, tape off the edge, and paint your artboard color, then finally, paint your design. This easy-to-make wood craft takes about 20 minutes and costs less than $2.
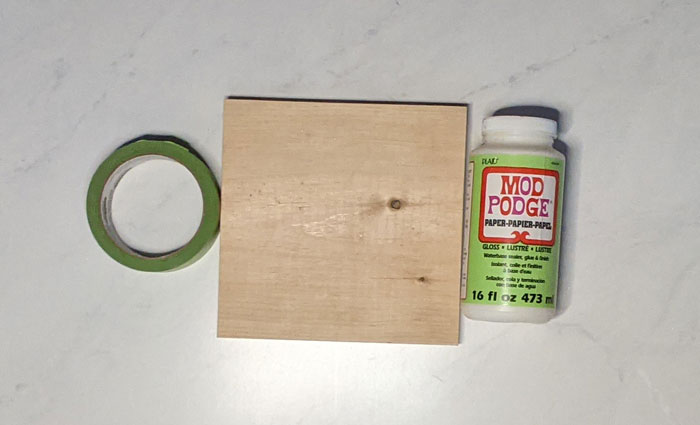
MATERIALS NEEDED
- Wood square (cut squares from the end of a 1 x 8 board or buy them premade)
- Ruler or straight edge
- Paint
- Painters tape
- Mod Podge
- Command strips (for hanging if desired)
Step 1: Cut wood squares
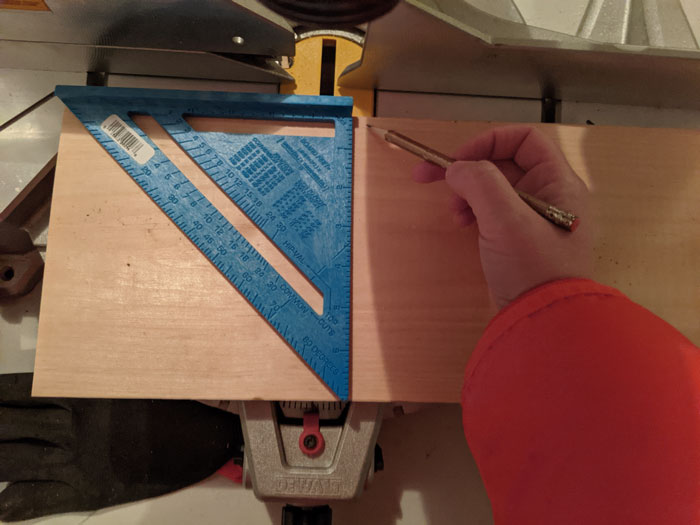
If you aren’t buying premade 8″ wood blocks, measure the actual width of your 1 x 8 board (typically your board will be closer to 7.5″). Take that measurement and mark that length from the end of the board with a straight edge in order to make a perfect square.
Cut your board with a hand saw or miter saw. I love these woodblock art pieces hung in groups, so cut as many squares as you’d like! I’d planned to make a set of three but my miter saw broke after I cut the first 😐
If you’re luckier than I was and you plan to make a bunch, be sure to check out my other design suggestions at the end of the post! For this demo, I’m going to show you how to do a simple abstract scribble.
Step 2: Paint square
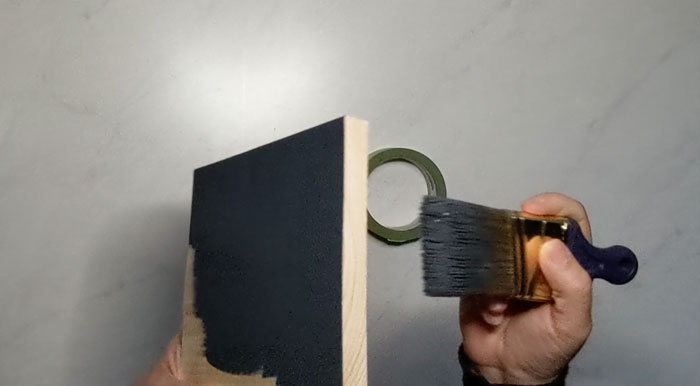
Next, paint a flood coat onto your wood square. The color you choose will ultimately create the frame of your wood block art, so keep that in mind.
A classic choice is black (which I’m using for this tutorial), but you could also keep the natural wood and skip this step, stain the wood a deeper color, choose a white, a bright — the sky’s the limit! Be true to your style and you’ll love the final result.
As far as what type of paint to use, go with whatever you have on hand. I like using matte interior latex paint in general, but I used acrylics for the artwork itself so I could mix the exact color I had in mind.
Step 3: Tape the frame edge
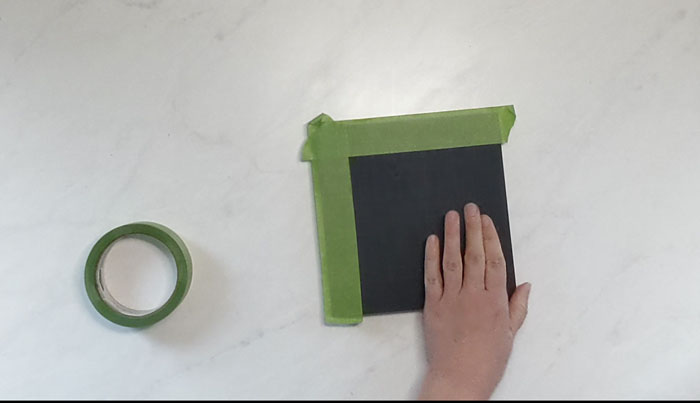
Mark the edge of your frame with a pencil, then mask with the painter’s tape. The width of your frame is a personal preference so do what you like best, but to get the look here tape an inch in from the edges all the way around.
Step 4: Paint the artboard
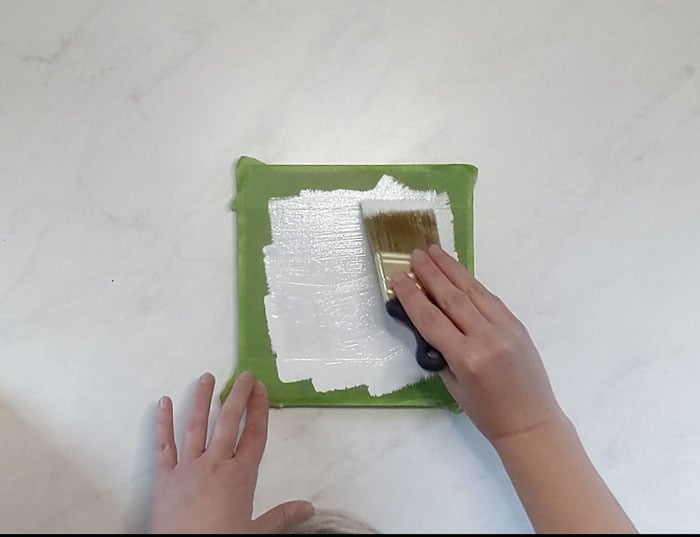
Using your preferred color, likely white, paint the area not covered by tape to create the artboard for your piece. Again, you can paint your artboard any color you like. A blue background with a crisp white design would be gorgeous. Or maybe a hot pink with a neon yellow design for a pop new wave look?
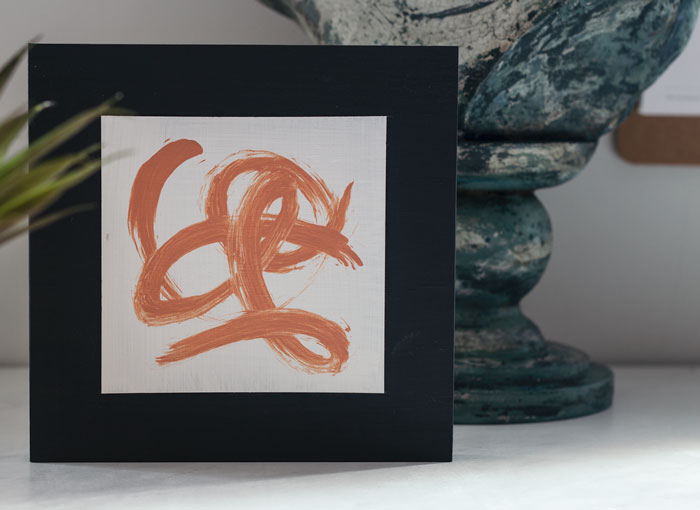
Since I’m going for a Valentine’s Day vibe, I opted for a white background and a terracotta pink design.
But before you apply the paint, I have an amazing hack for you.
Do you ever get paint bleeding under your painter’s tape, ruining that nice clean edge? That’s a ridiculous question — of course you do! There’s an easy way to prevent that from happening though… Simply seal the edge with a coat of Mod Podge!
The Mod Podge creates a clear barrier that prevents paint from seeping under the edge of the tape. It works every time! I never paint two-toned furniture without using this trick.
Step 5: Paint your design
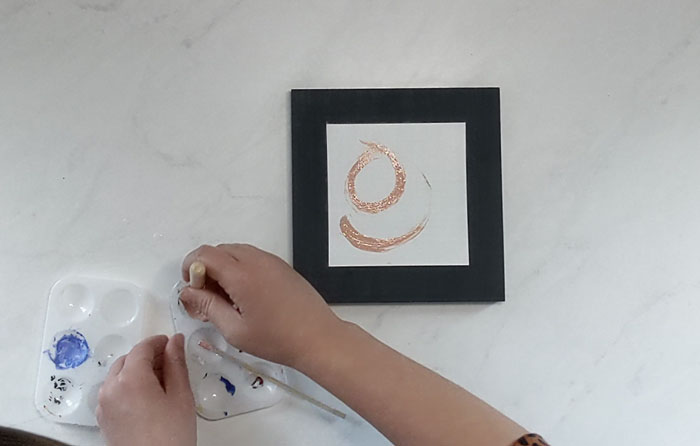
Now it’s time for the fun part — painting the design. Either mix a custom color from acrylics like I did, or grab a premixed paint that you like.
You can peel off the tape (look at how clean that edge is!), or leave it if you prefer to keep the barrier while you paint.
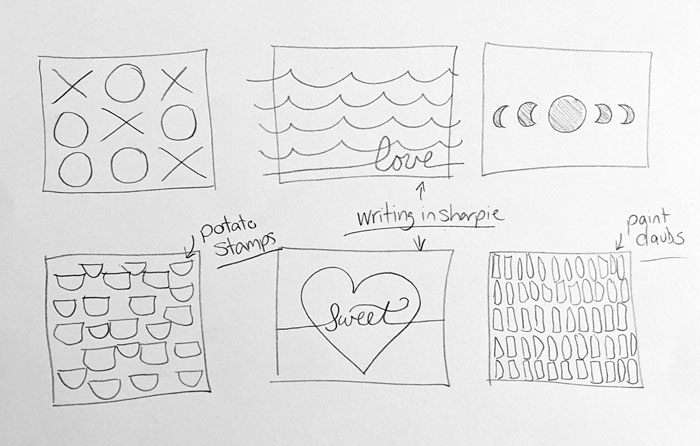
Like I mentioned earlier, I love these as a set. Here are a few ideas for easy designs you can do (some Valentine’s Day themed, some not):
I grabbed a cheap stencil brush from the dollar store because I wanted to create a round, chunky stroke. Any art brush will do though. Heck, you could even use your finger if you don’t have a brush! Art is all about self-expression, right?
You really can’t screw up a scribble, but practice on a piece of paper first if you’re feeling unsure. Try to use a smooth, continuous stroke.
Your wood block artwork is done!
That was so fun and relaxing, wasn’t it? That’s another reason I like to make these in sets. It’s a great craft to unwind with.
These can easily stand up on their own if you want to style them on a floating shelf or a mantle, but if you prefer to hang them on the wall I recommend Command strips rather than messing with hanging hardware. So much easier!