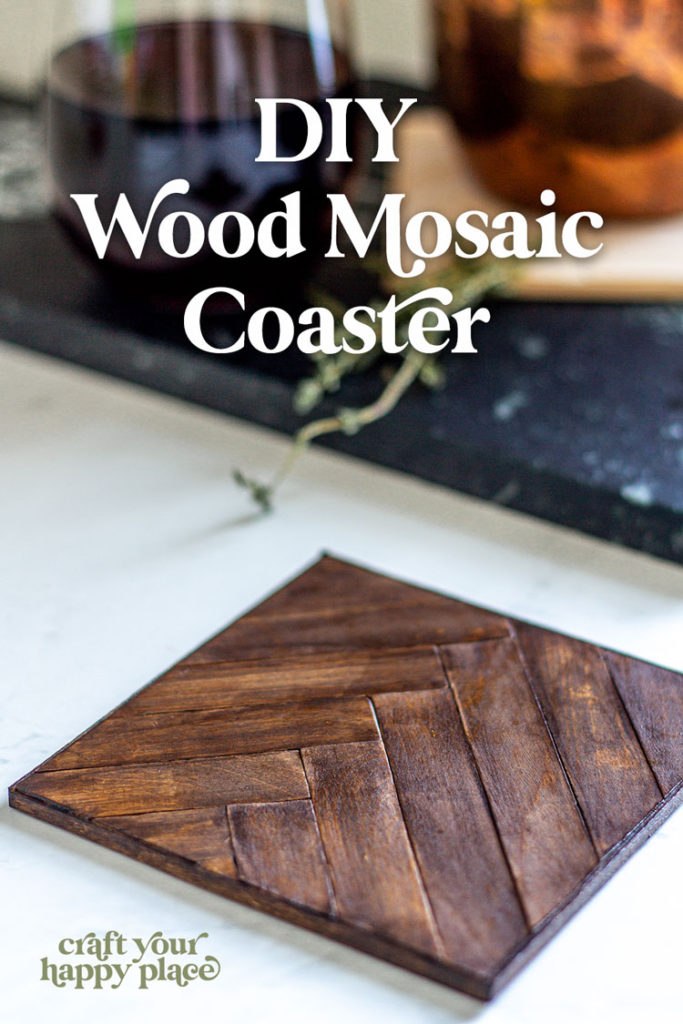
How to Make a Wood Mosaic Coaster (A High-End Popsicle Stick Craft)
This post may contain affiliate links.
I’ve been seeing geometric wood mosaic wall art ev.ery.where the past few months and I really love how it looks in my Instagram feed. But for my house? It’s a little much.
Plus, I hesitate to hang something that heavy on the wall with crazy kids and dogs running around and I always consider the kids when I decorate.
Anyhoo, a few weeks ago I was chatting with a friend about our nostalgia for popsicle stick crafts that we used to make as kids and I got an idea…
How about we make a DIY wood mosaic coaster out of popsicle sticks?
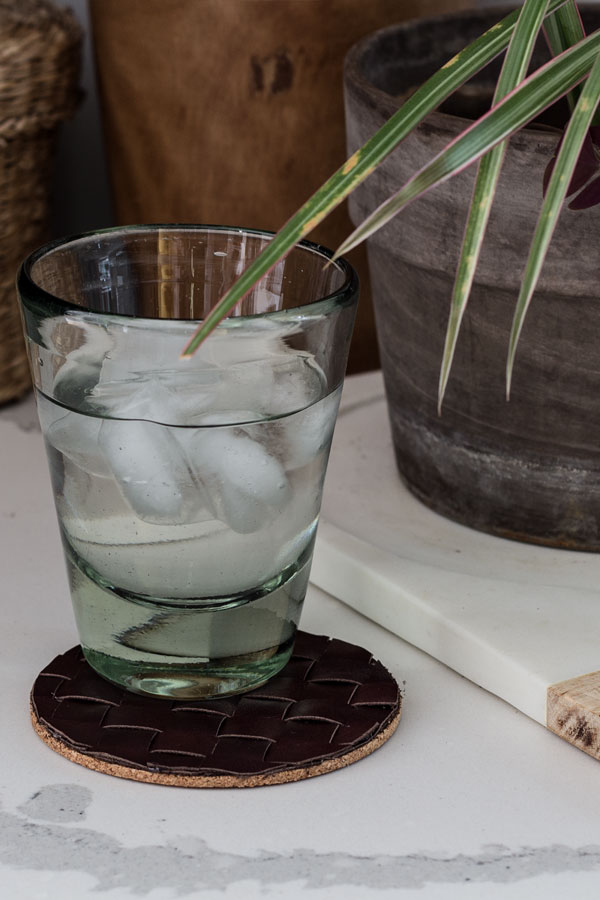
I had just made a woven leather coaster that came out incredible, so I was feeling good about this idea.
Like it? Pin it!
This post contains some affiliate links for your convenience. Click here to read my full disclosure policy. Thanks for supporting Craft Your Happy Place!
How to Make a Wood Mosaic Coaster
To make this geometric wooden coaster, you’ll simply cut craft sticks to size, glue them to a wood plank, and stain or paint the color of your choice. This may sound like a doomed kindergarten project but I assure you, the results are nothing short of fabulous.
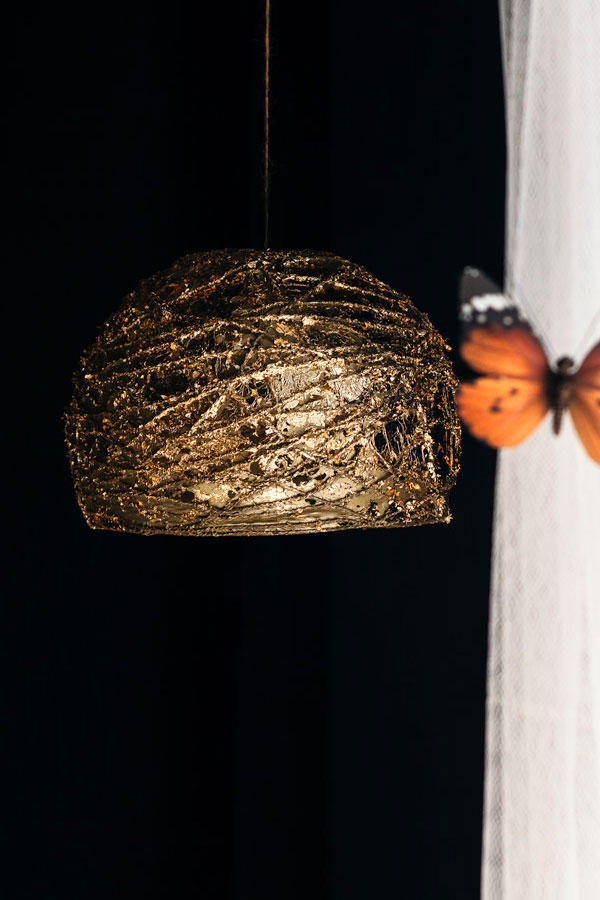
I’ve DIY’d some other weird projects like the gold pendant lamp made from glue and the storage unit I covered in grocery bags and even more weird than the projects themselves is the fact that they came out REALLY good.
Sometimes you just need to get a little weird.
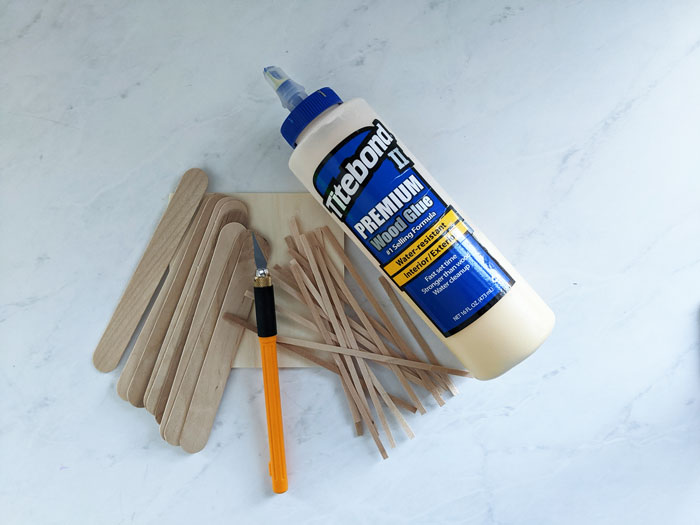
MATERIALS NEEDED
- Wood squares
- Jumbo craft sticks
- Wood glue
- Coffee stir sticks
- Craft knife
- Paint or stain of choice
- Polyurethane
Step 1: Cut your popsicle sticks
First, cut the rounded tips off your craft sticks. There are endless possibilities for the types of wood mosaic patterns you could try. For this tutorial, we’ll be doing a simple stacked chevron pattern to learn the method, but I’d encourage you to experiment and have fun!
You’ll need 12 craft sticks for this coaster. The shortest pieces will be taken from a single craft stick cut in half. Cut the rounded end off one side of each stick, taking care to make your cut as close to perpendicular as possible. If you have any rough edges you can sand them with the rough side of a cheap nail file.
A note about selecting your sticks: for the best results, choose the straightest, flattest sticks possible. These are very cheap wood so you’ll find that many are warped or cupping a bit. I buy these in a pack of 100, so it’s very easy to find good sticks. Just save the less-than-perfect ones for a different project.
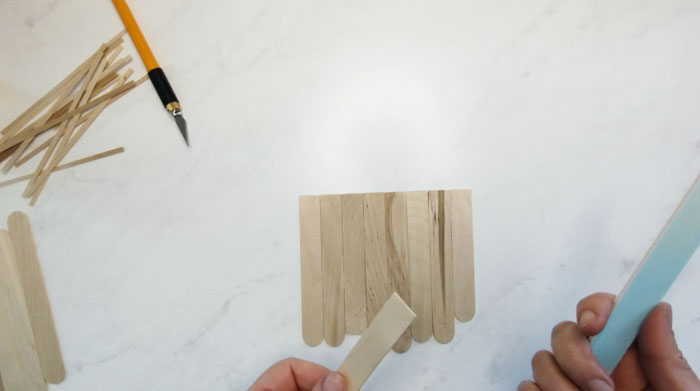
Step 2: Dry fit your sticks
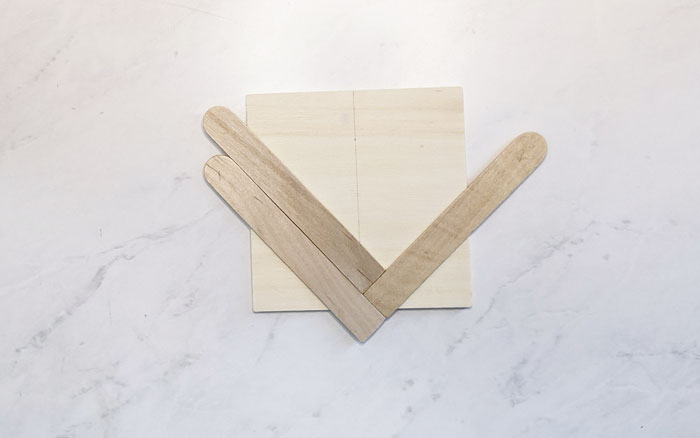
Mark the center of your wood square and dry fit your cut craft sticks. Take two craft sticks and butt the flat end of one stick along the long edge of another to create a “V,” then align the center of the “V” with the center line you just marked. Continue stacking the sticks along the centerline like this until you reach the top edge, then fill in the bottom two corners with your half sticks.
Swap sticks until you get the best fit and look. Personally, I like to mix in some heavy wood grain for interest but you may prefer a more smooth and consistent look. Do what you like!
Step 3: Glue your popsicle sticks
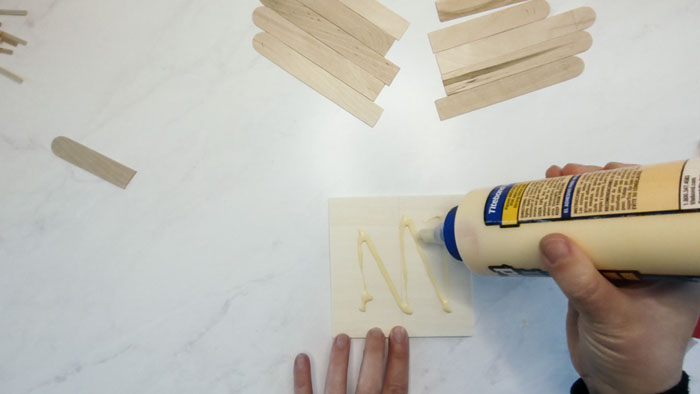
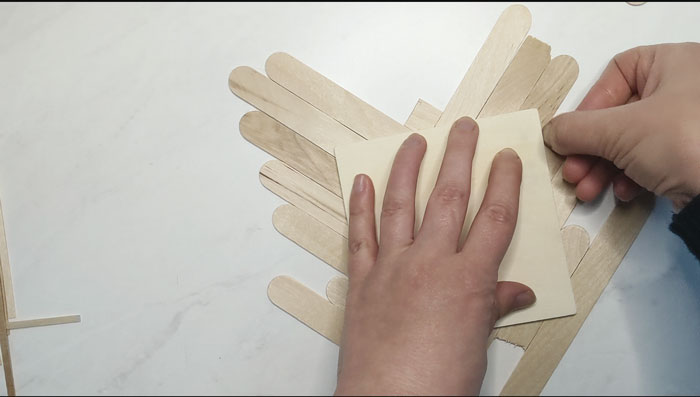
Using wood glue, attach your sticks to the square wood plank. In order to remember where I had my sticks dry fitted, I number the sticks at the ends I’ll be cutting off in pencil. Spread a thin layer of glue over the entire top surface of the wood square. Working quickly, press your craft sticks into place.
Place a book and a heavy object on top of your coaster to hold everything in place while the glue dries. Around 30 minutes.
Step 4: Trim the sticks
Next, cut the excess material off all four sides of the coaster. Our wood square is going to provide a nice straight edge for our cuts. Now that the glue is set, we can take our craft knife and cut off the excess sticks.
For the cleanest cut, make multiple shallow cuts rather than one deep cut.
Step 5: Finish the edges
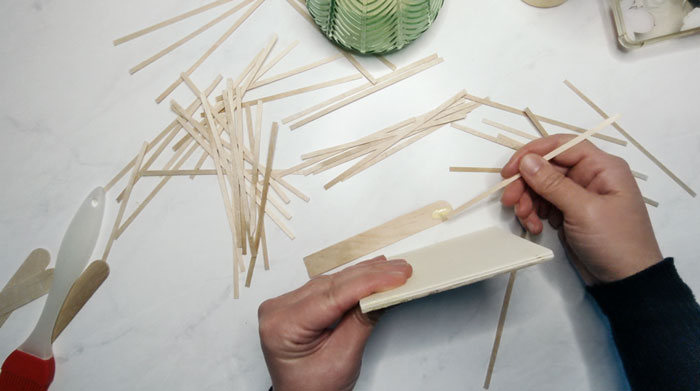
Using coffee stir sticks (yes, seriously), create a clean finish edge all around the coaster. Sure, you could skip this step, but without it, this looks like an unfinished craft rather than a designer piece you might have spent way too much on.
Same as with the craft sticks, you’ll want to sift through the stir sticks and find the straightest ones that fit your coaster edges. The width of each can vary, so look for the widest ones to get the best coverage.
PREFER VIDEO? WATCH THE TUTORIAL.
Want more? Subscribe to my YouTube channel!
Using a thin bead of wood glue, adhere the stir sticks along each edge, trimming the length to fit. You may need to hold each in place for a minute or two while the glue sets up.
Step 6: Paint or stain
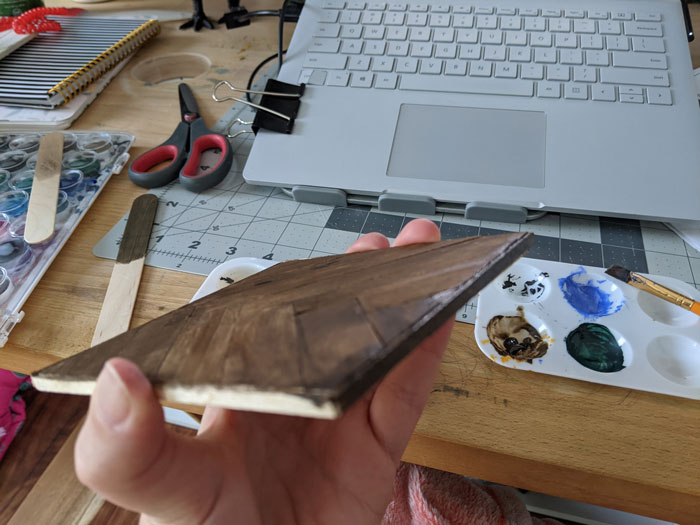
Finally, stain or paint the coaster in your chosen color. Since we’re using cheap popsicle sticks, I’d strongly recommend testing your finish on a few of your imperfect sticks. You can use traditional stain, watered-down paint, or solid paint.
A small angled artist’s brush is perfect for the job.
Once the paint or stain dries, finish with a couple of coats of polyurethane to protect the wood.
Your wood mosaic coaster is complete!
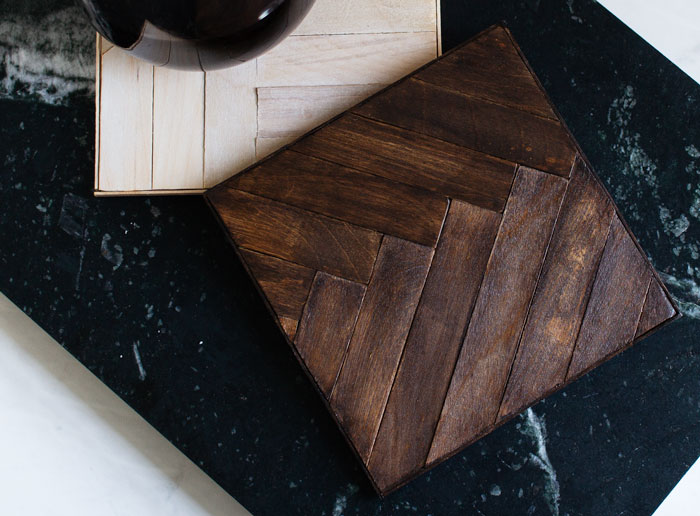
Make a set of these to gift or to keep. This project is so versatile, you can really make these to suit any decor style. Whitewash for coastal, walnut stain for midcentury, a mix of pale pastels for boho — the possibilities are endless! And if you really like the geometric mosaic art trend? Hang a set of these as part of a custom gallery wall!