A Graphic Designer’s Home Office Redesign
My big home office renovation is complete and I’m so excited to show you the result!
I feel like it was just yesterday that I was jotting down my goals for this space. Here’s a super quick recap of what I was trying to achieve:
- Someplace visually inspiring. I work in a creative industry and I need to not be dragged down by my surroundings.
- Someplace functional. More plugs, task lighting, and the option for multiple workstations. Kids and husband may want to join me in here occasionally.
- Someplace task-oriented. I want my goals in front of me and my paper OFF MY DESK.
- Someplace with storage. Leverage that barely used closet for all my junk (i.e.. currently benched accessories).
- Someplace to sleep. Not me (I wish), for the dogs. They are bougie and can’t deal with the floor.
Pin for later!

This post contains some affiliate links for your convenience. Click here to read my full disclosure policy. Thanks for supporting Bloom in the Black!
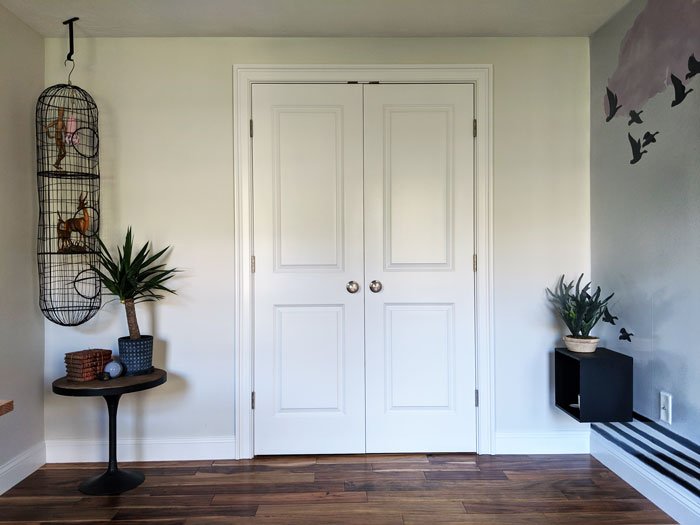
Here’s a quick visual recap of the before:
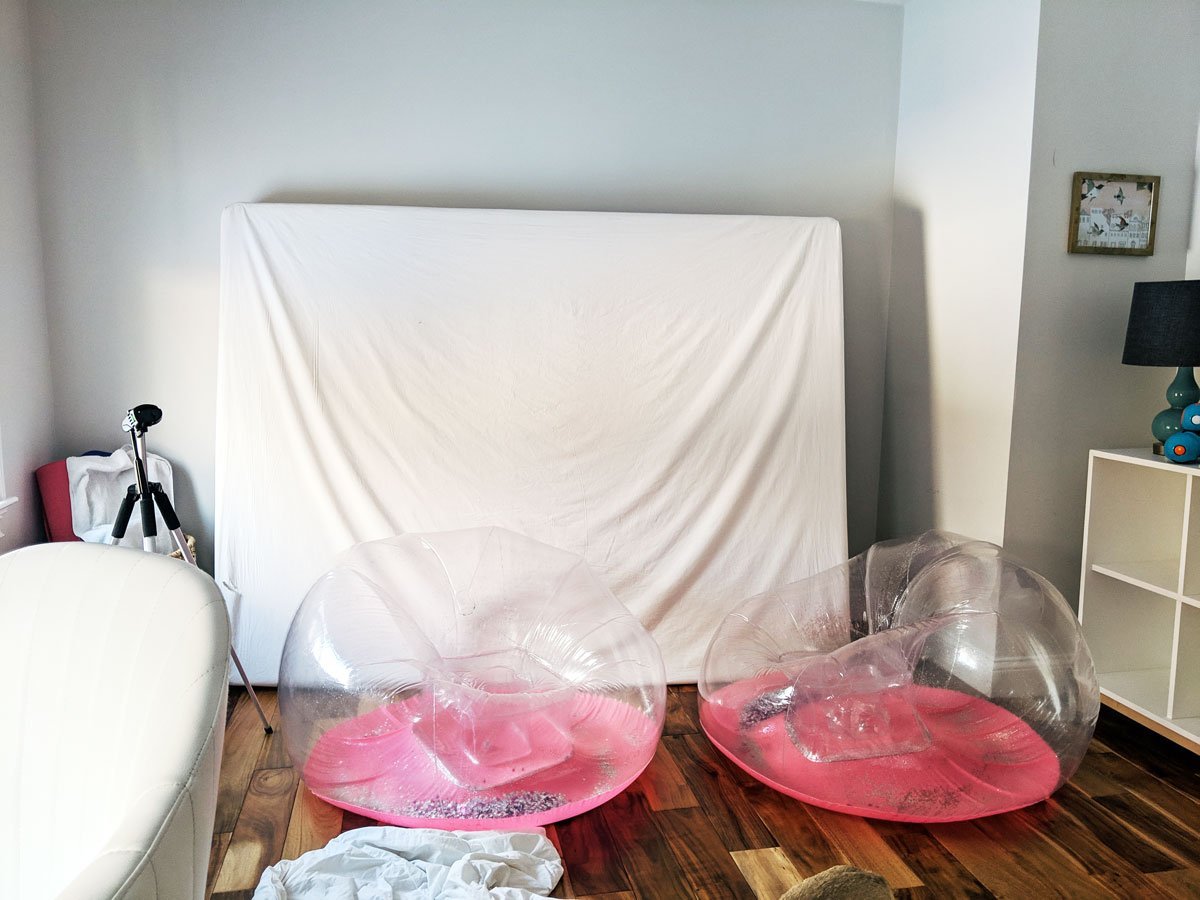
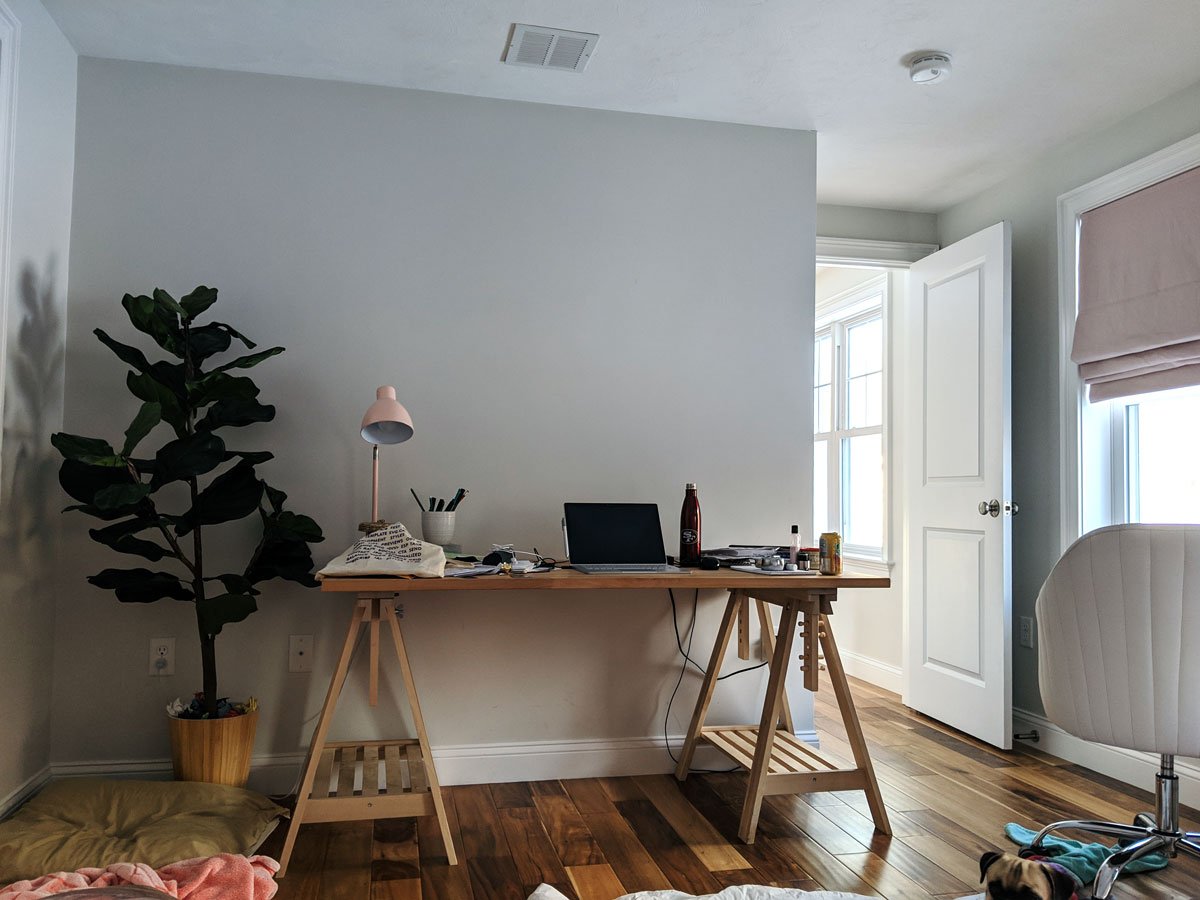
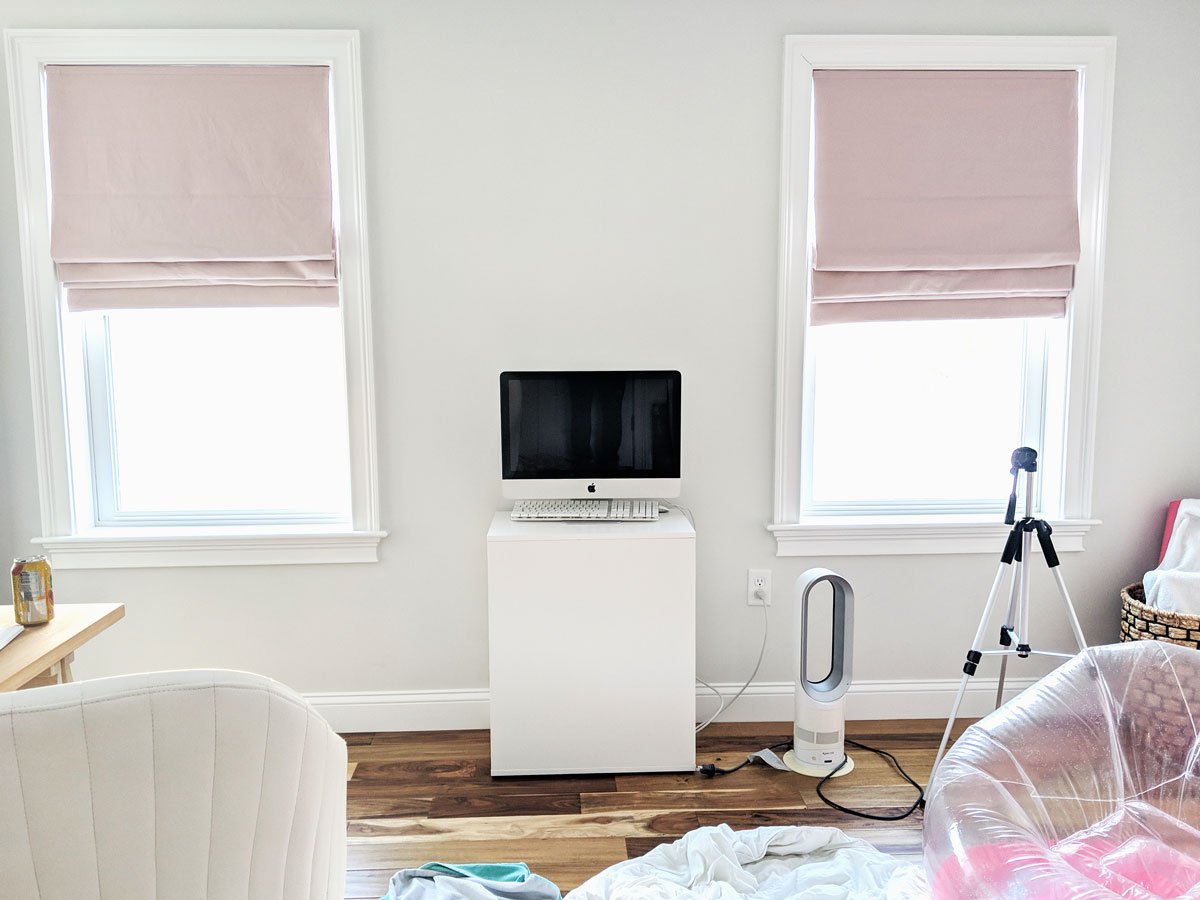
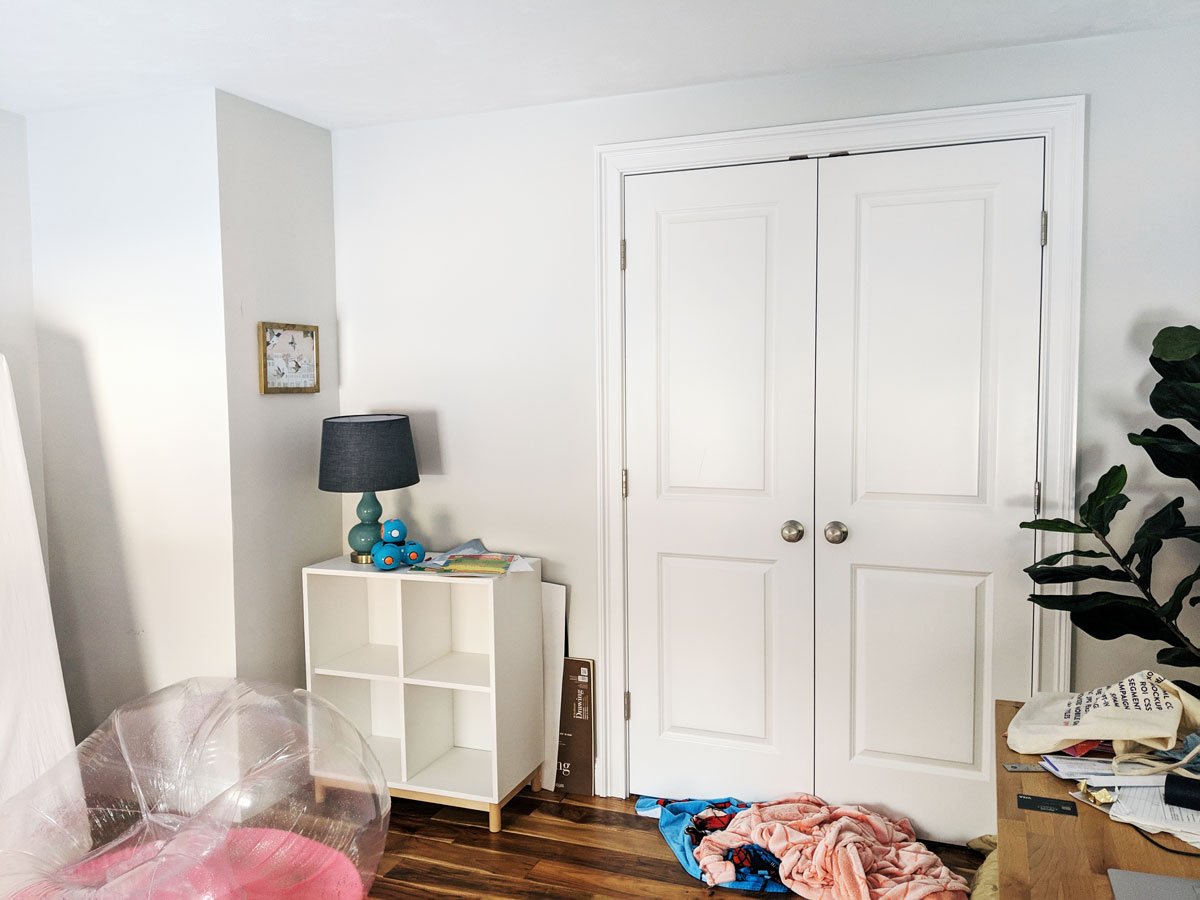
Let’s see how I did. Spoiler: not every goal was met.

Visually Inspiring
Grade: A
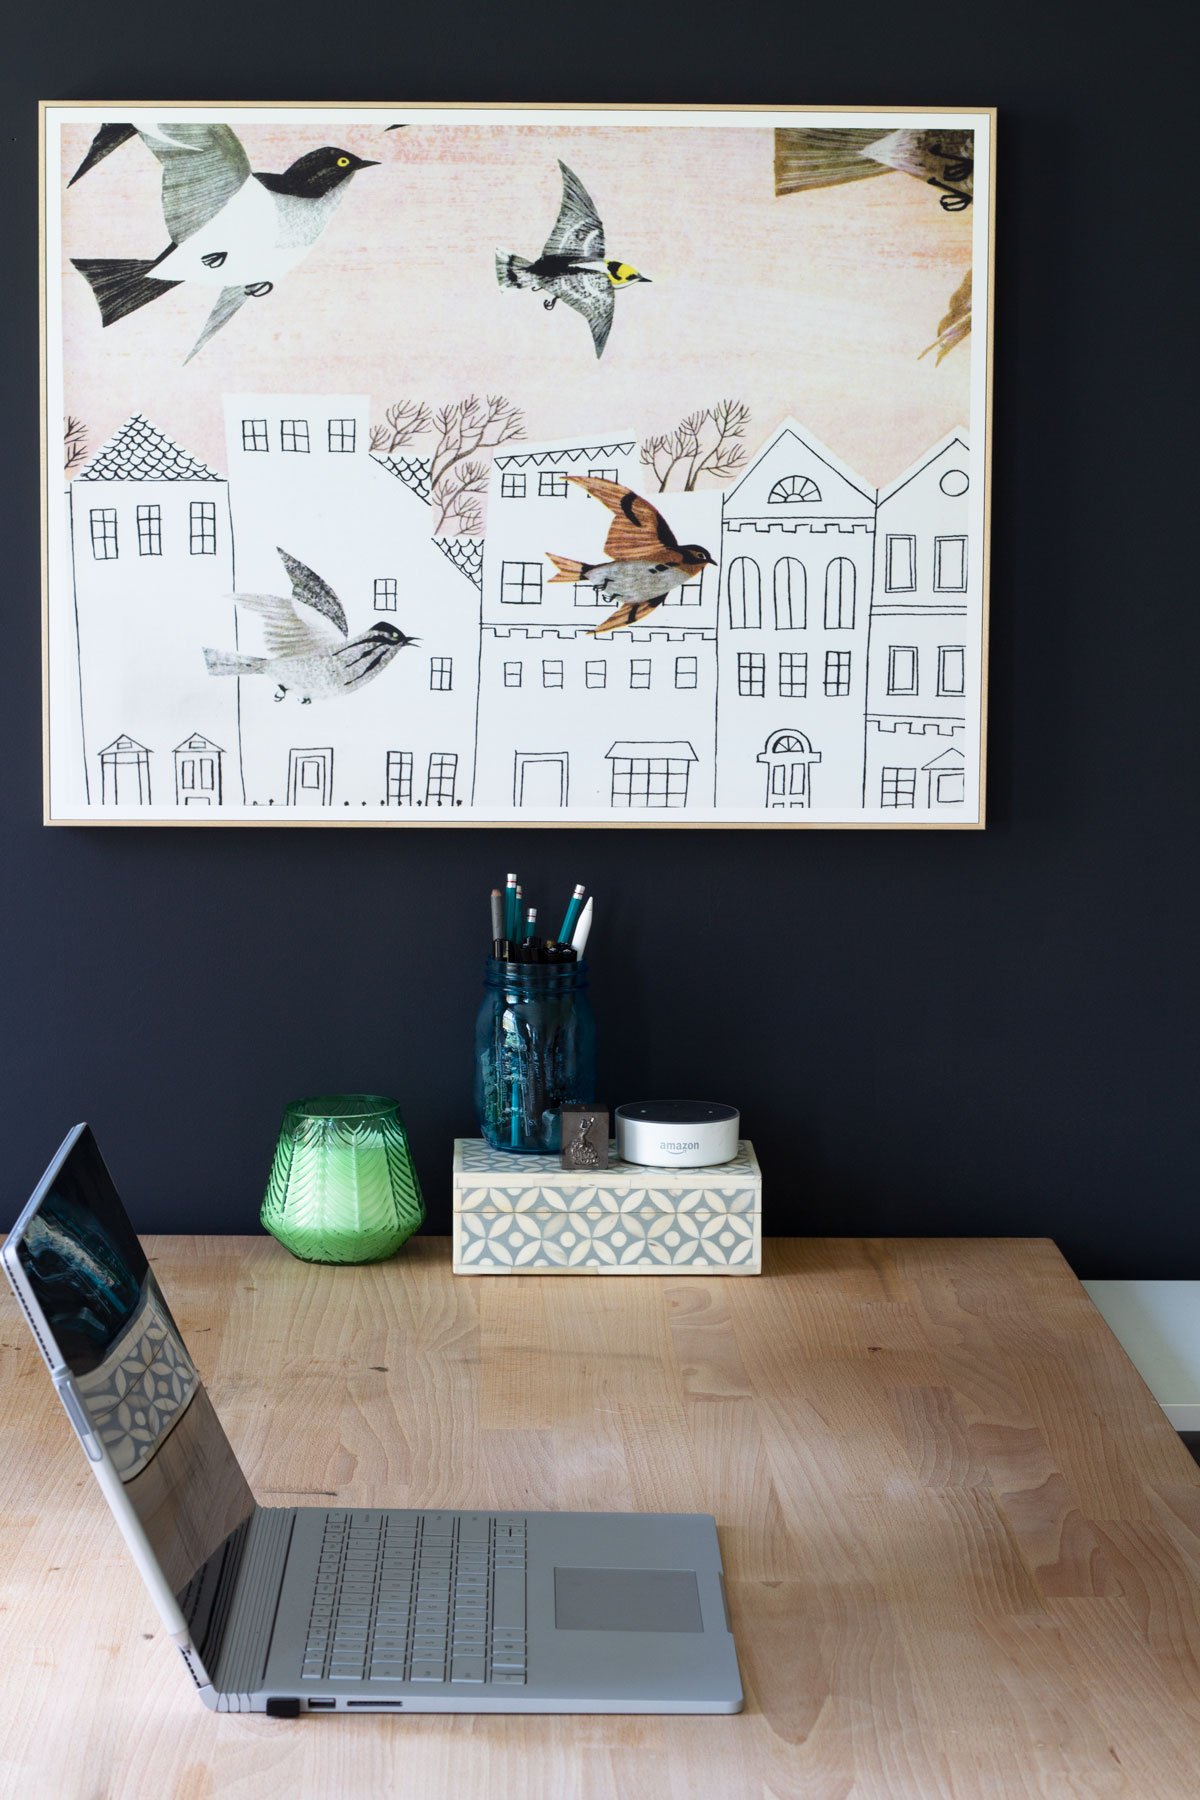
Nailed this goal. It all started with this gorgeous art print I’ve had for years…
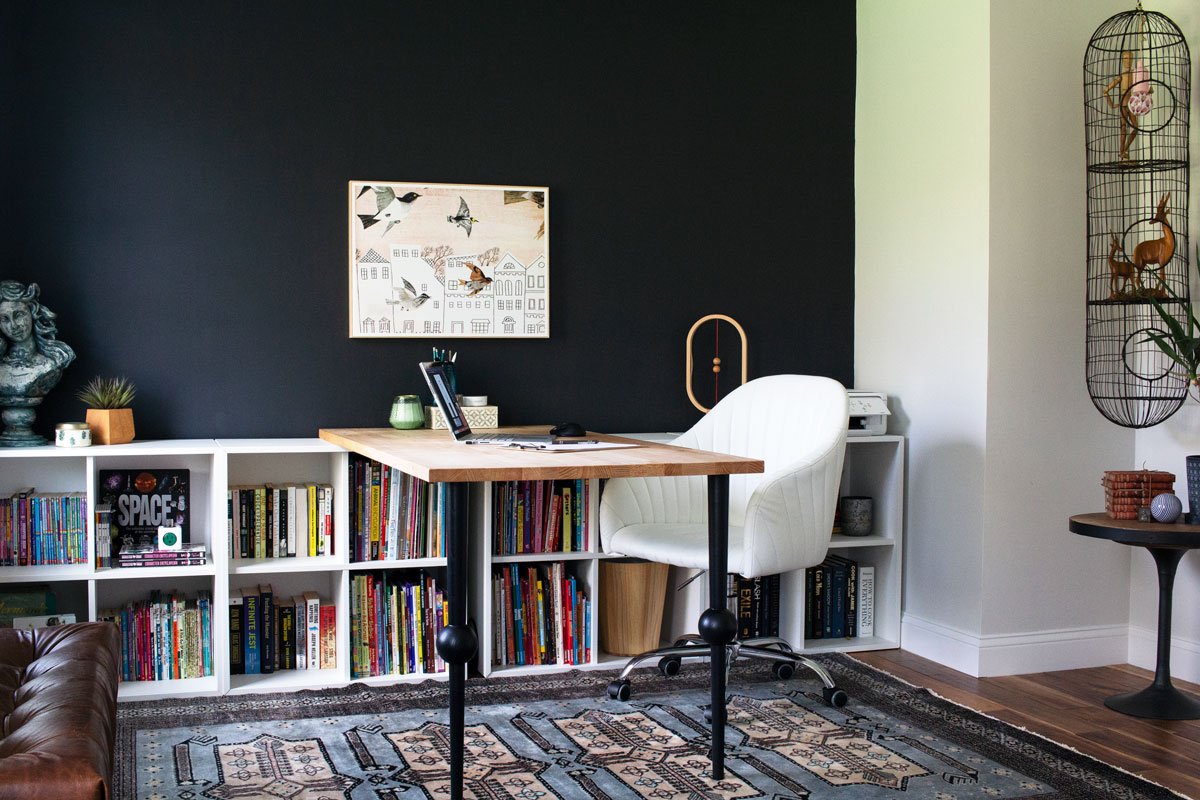
Art Print // Task Lamp // Desk Legs // Vintage Rug // Printer // Desktop // Console Cubes // Plant in Wooden Pot
Guys, it’s SO GOOD! It’s so good that it kinda threw a wrench in my plans. I struggled hard with how to treat the rest of the wall it went on for most of this challenge because I wanted to do it justice.
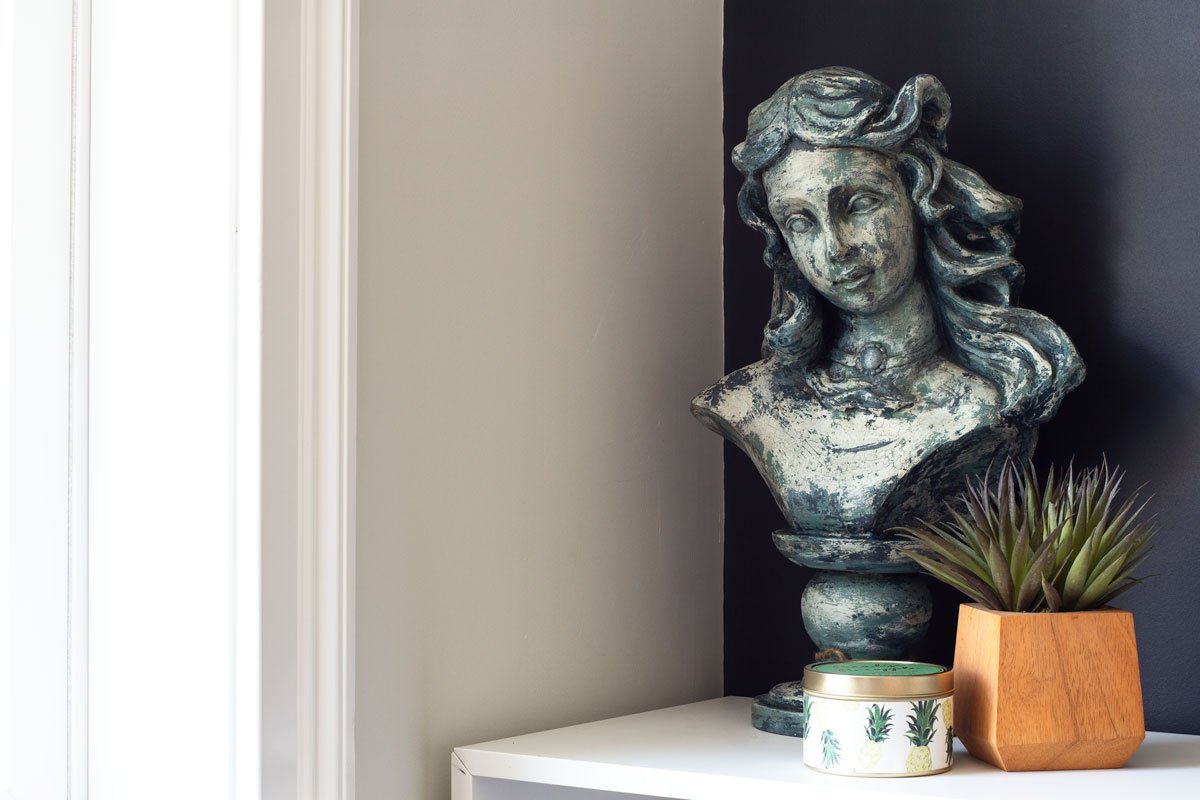
THRIFTY THINGS
As per usual, I trolled some secondhand haunts to find pieces to add a little soul up in here. I scored some super cool tchotchkes and a crazy cage thingy.
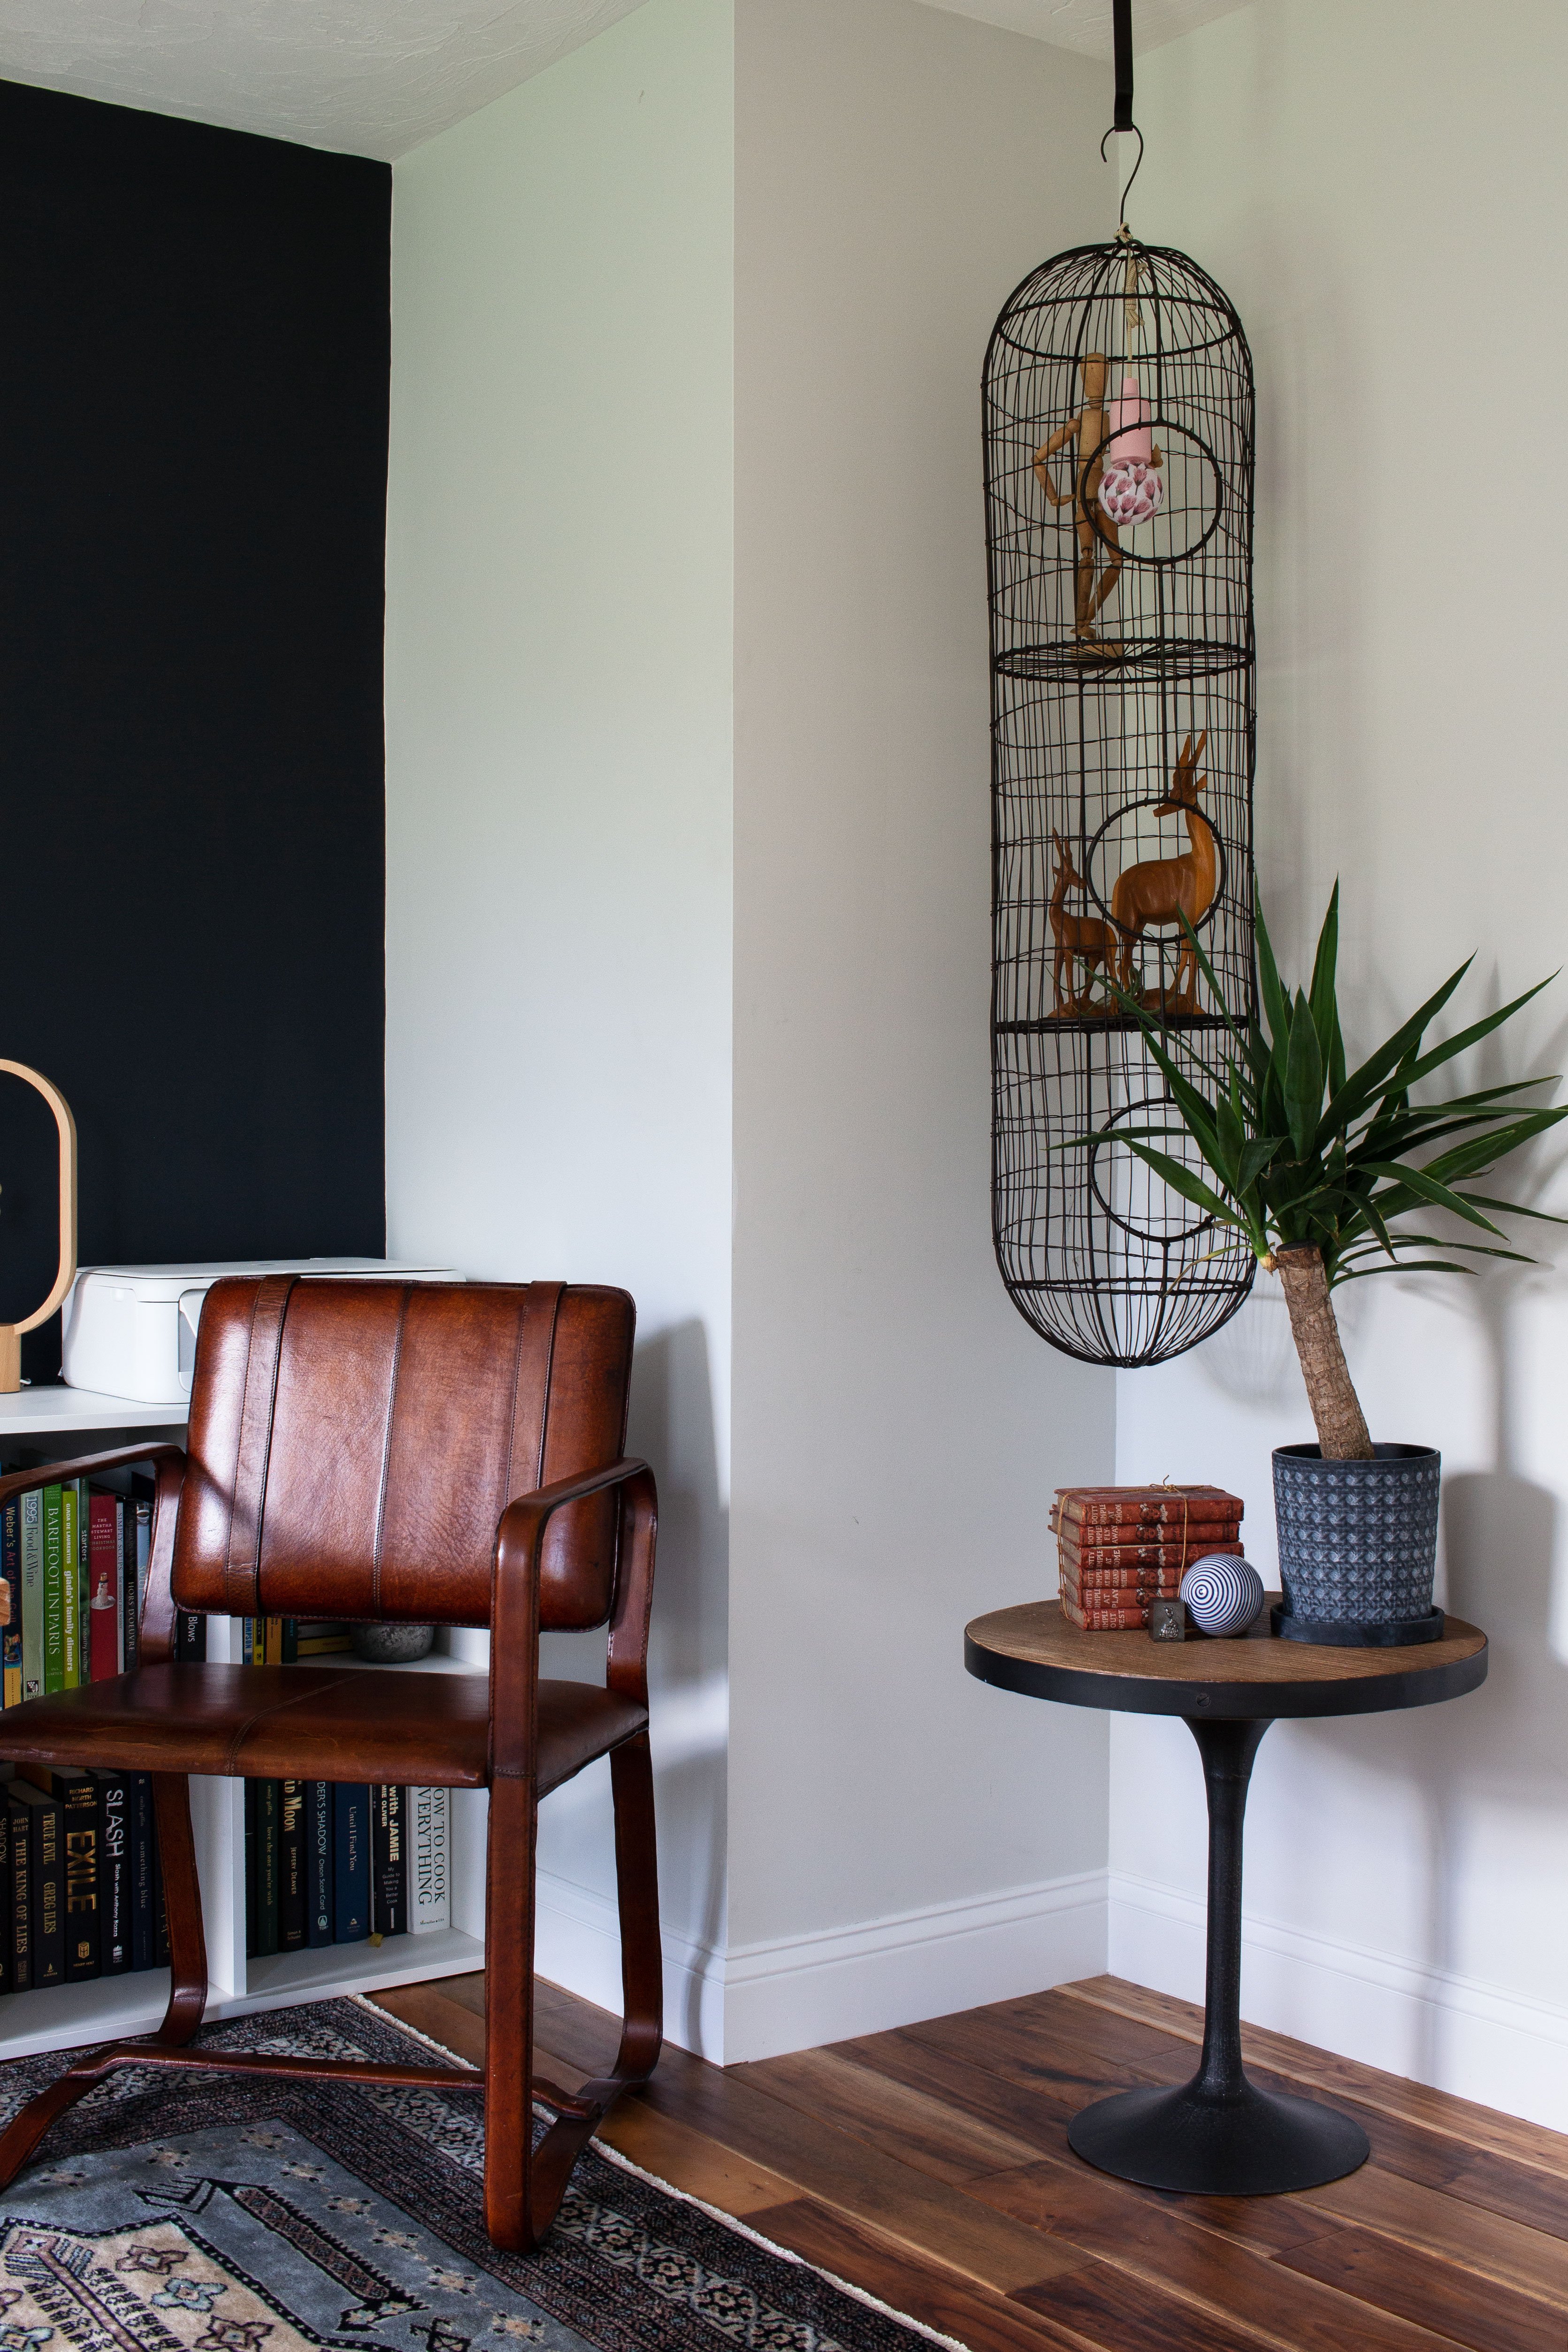
It’s a great piece to fill the random cut-out space next to the closet. I have so many visions of styling this out for different seasons and different holidays. I’m hoping to grab some time soon to maybe string up a flock of origami paper cranes on fishing line. Or paper airplanes!
This is cool for now though 
GETTING THAT BOOB LIGHT OUT OF MY LIFE
Lastly… the boob light. Nope. So ugly and had to go. I purchased another light from RevealHome (they created my amazing kitchen lights and are seriously so responsive if you have questions). They worked with me to figure out the best option for this room, and I think it’s perfect. If you have a project that needs modern lighting I encourage you to reach out to them.
What I love about this light is that it’s a statement but not in your face. And it was a welcome pop of my signature black!
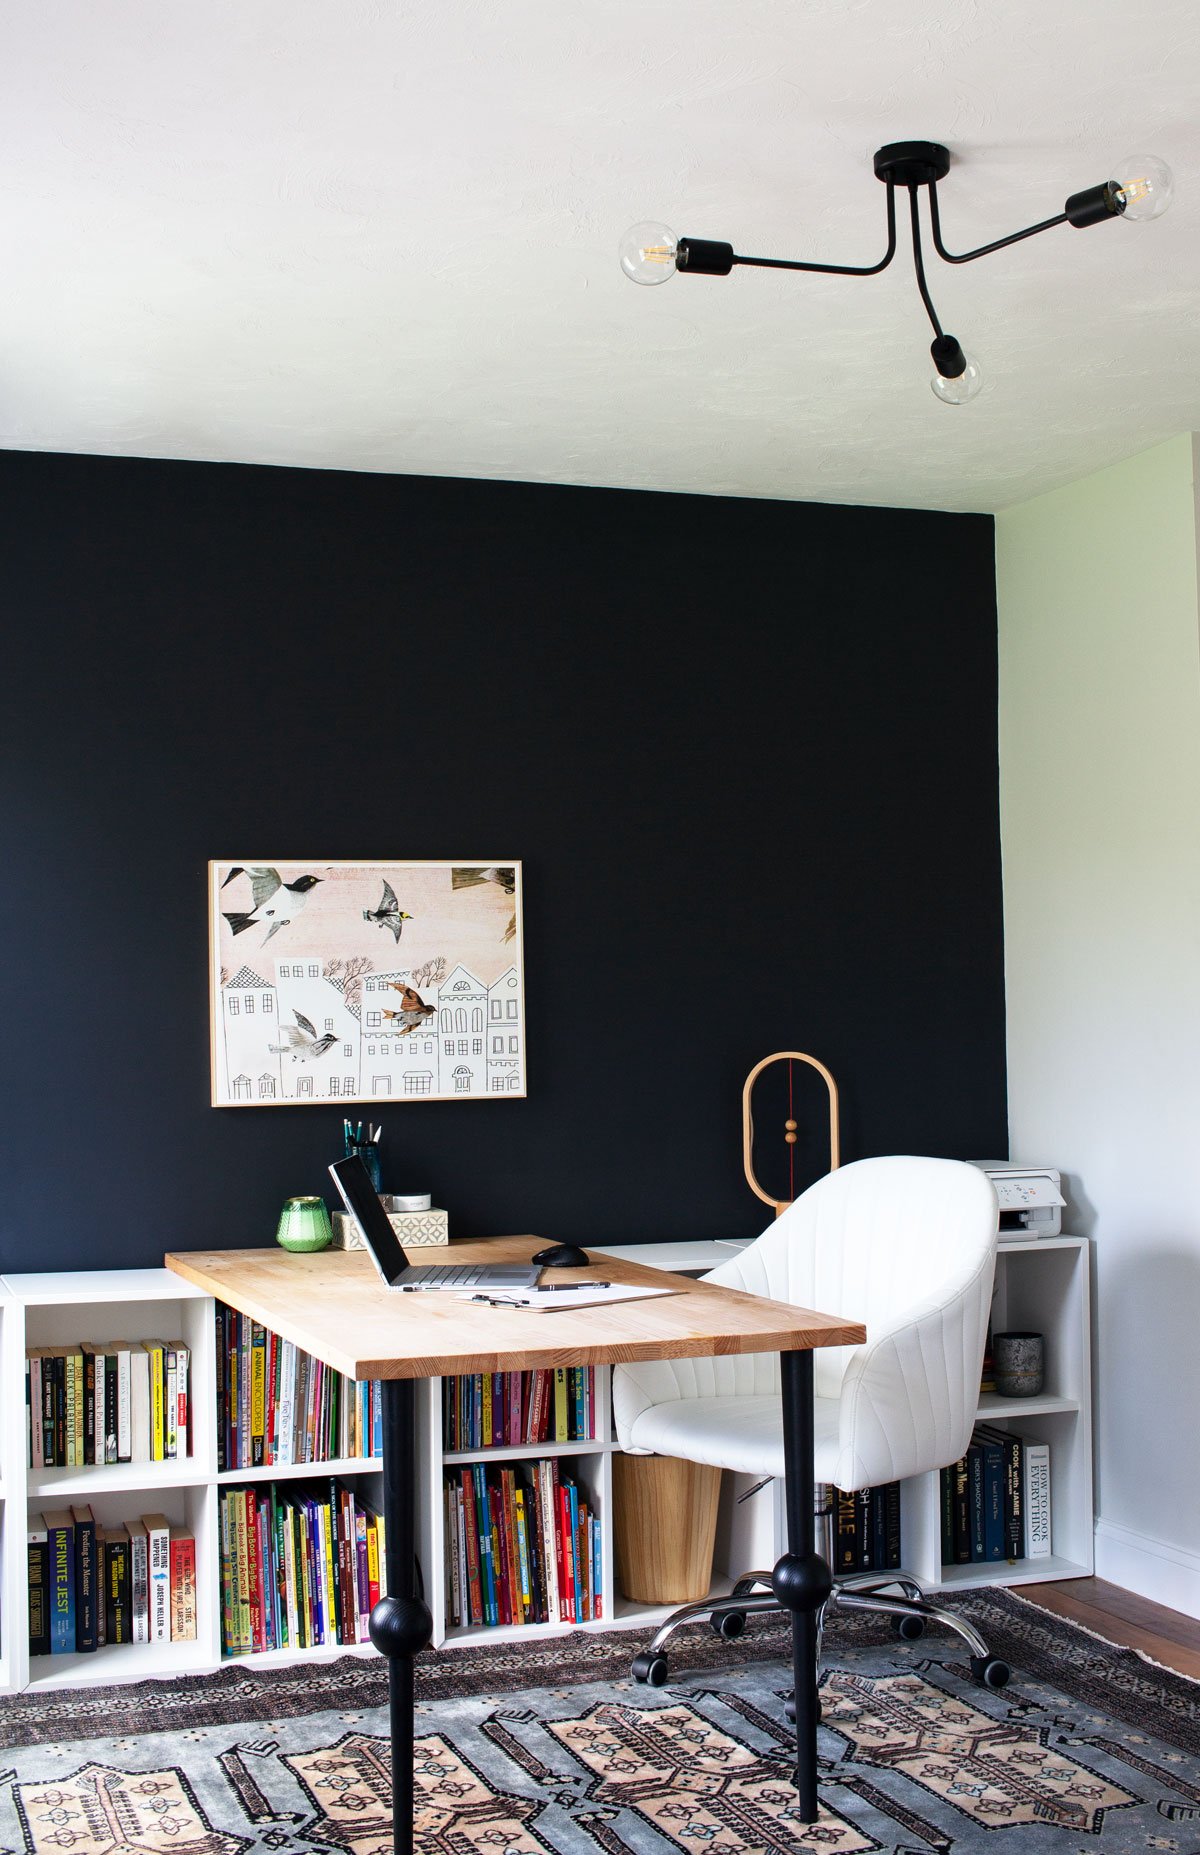
Chandelier // Art Print // Task Lamp // Desk Legs // Printer // Desktop // Vintage Rug // Console Cubes
Functional
Grade: B-
The future grade is A, but I didn’t quite finish the task. I’m planning to install this awesome inset plug into the desktop, but I need to borrow my Dad’s hole saw. This will be clutch because right now, the closest outlet to my workstation is inaccessible unless you pull apart the whole desk/console area.
This little beaut will allow me easy, unobtrusive access to plugs and USB ports without moving heaven and earth. And when I need more? I’ll use this this cool workhorse:
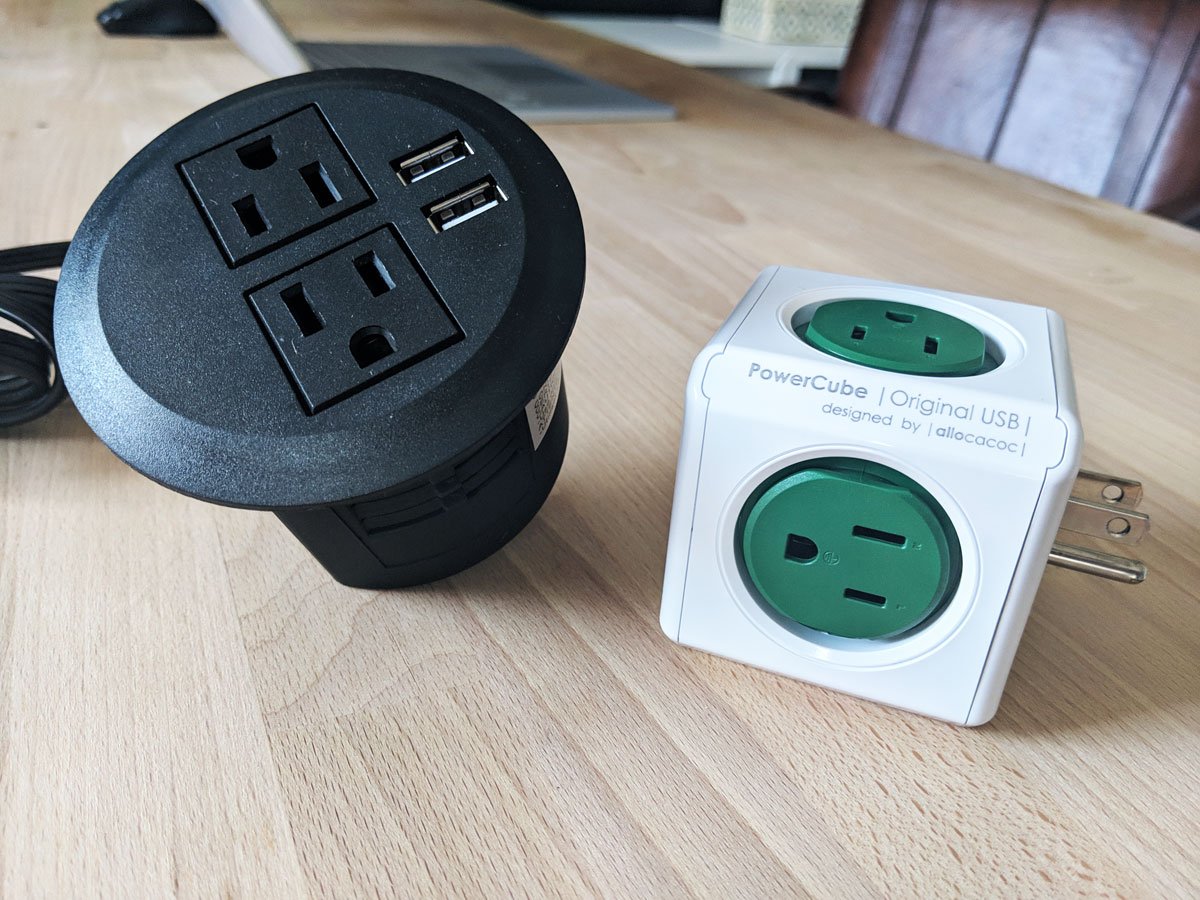
I plan to pop this into my desktop dock when I need more than two outlets, like if I have a kid or two or a husband in here with me. I also added this fun task lamp that my kids are OBSESSED with. Seriously, they keep stealing it.
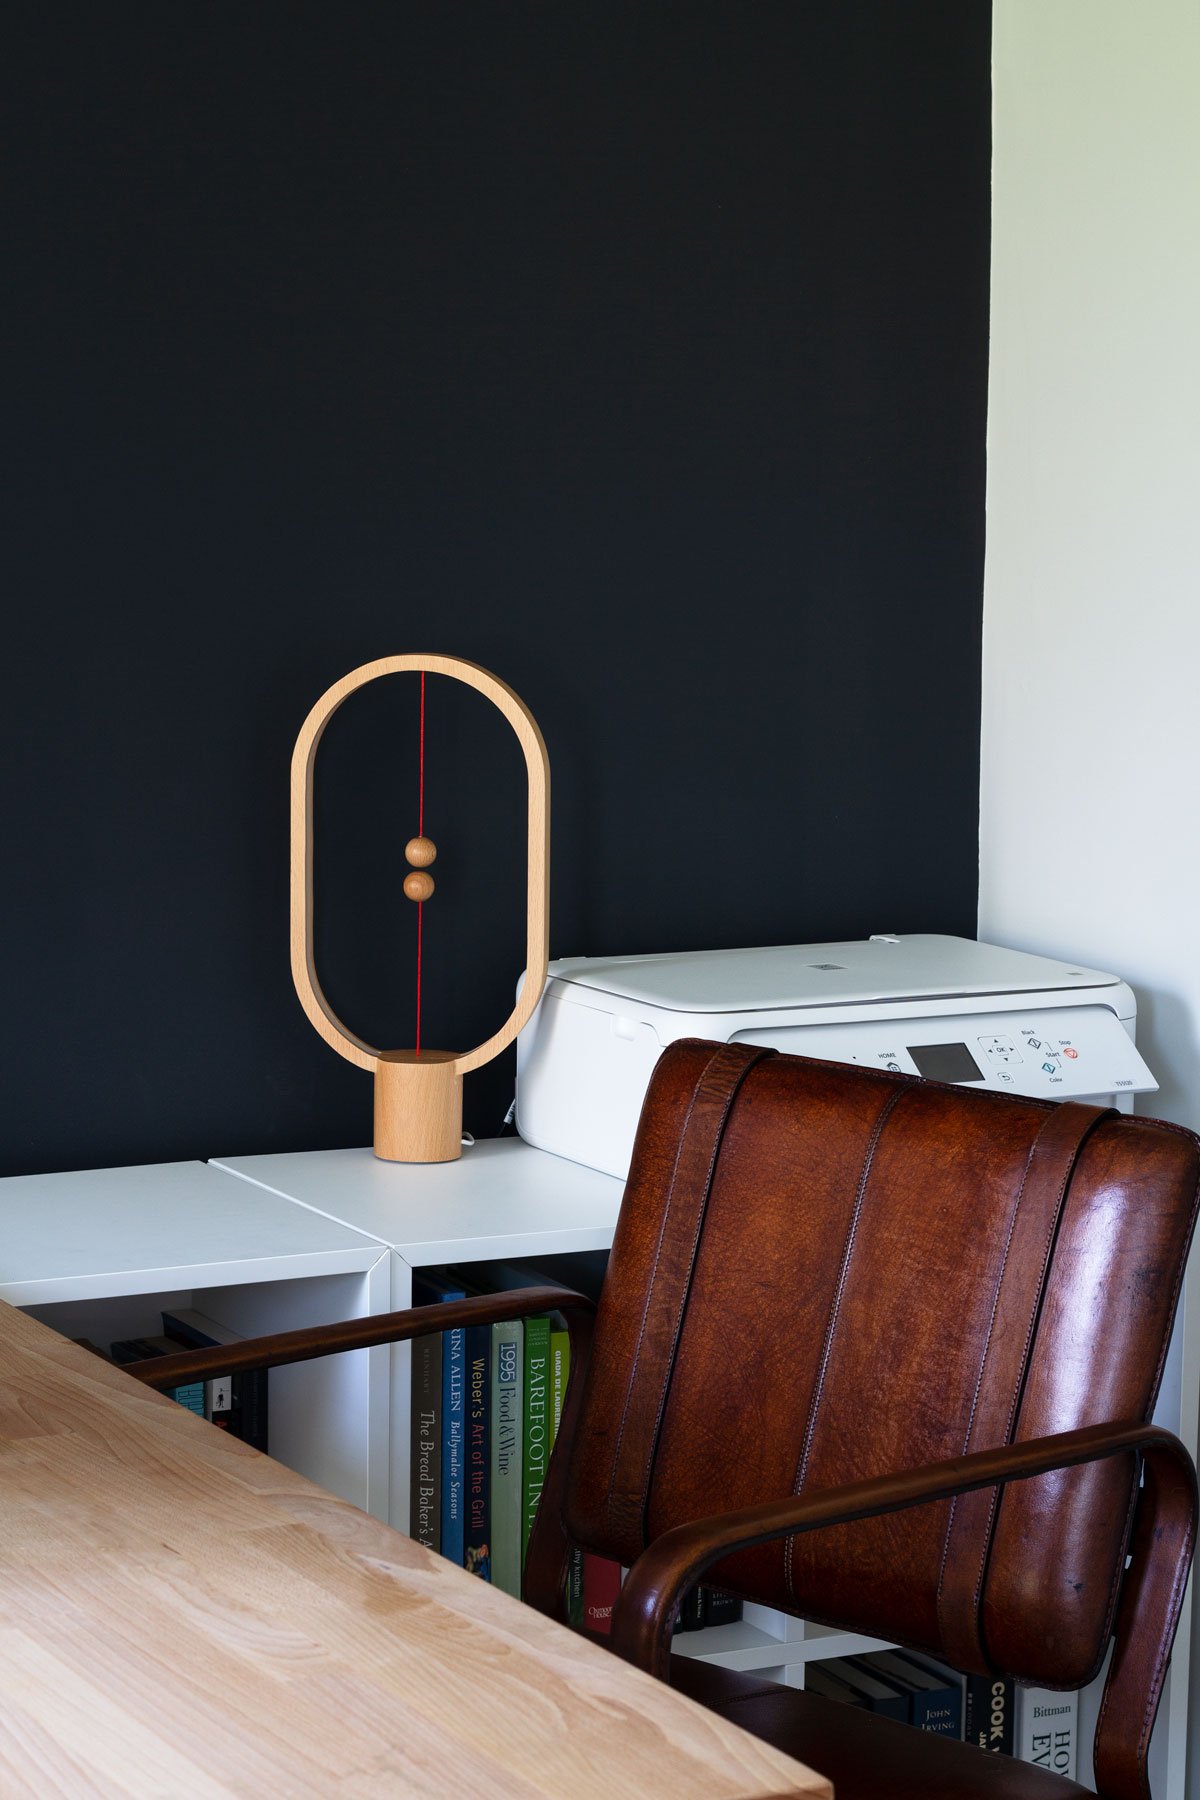
You pop the magnetic balls together, and the light turns on! #magic
Task-Oriented
Grade: A
If you know me even a little you know that I’m a paper hoarder. Stacks and stacks all over and I can never find anything without digging for way too long. I knew this office needed two things.
- A way to get the paper off my desk
- A way to see all my important tasks at a glance.
Done and done.
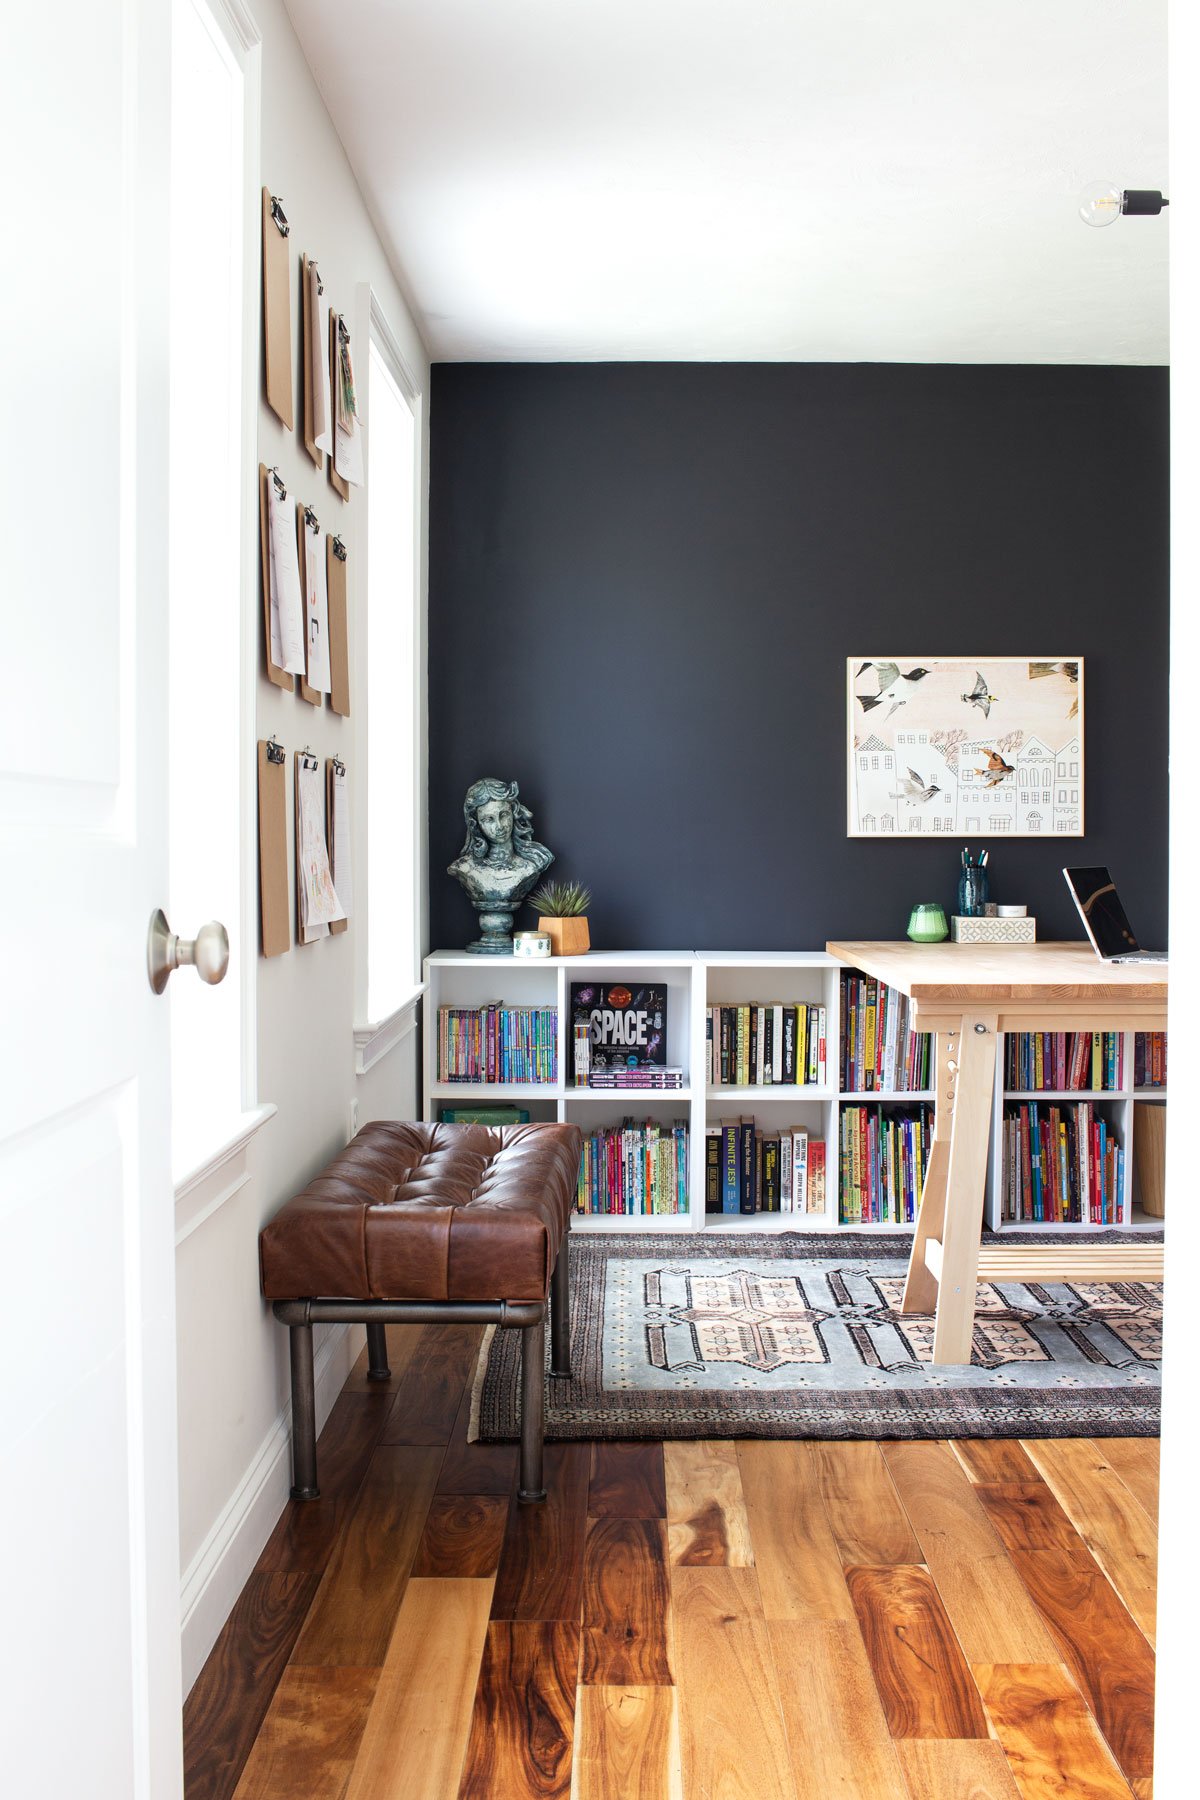
THE PAPER PROBLEM
Initially, I felt like this was a lost cause. What do you do with stacks except create smaller stacks? Or file smaller stacks? Either way, they kind of disappear right? But then, I had one of those bed/bath/bus moments ( I was actually drifting off the sleep but same thing).
What if the stacks were vertical?
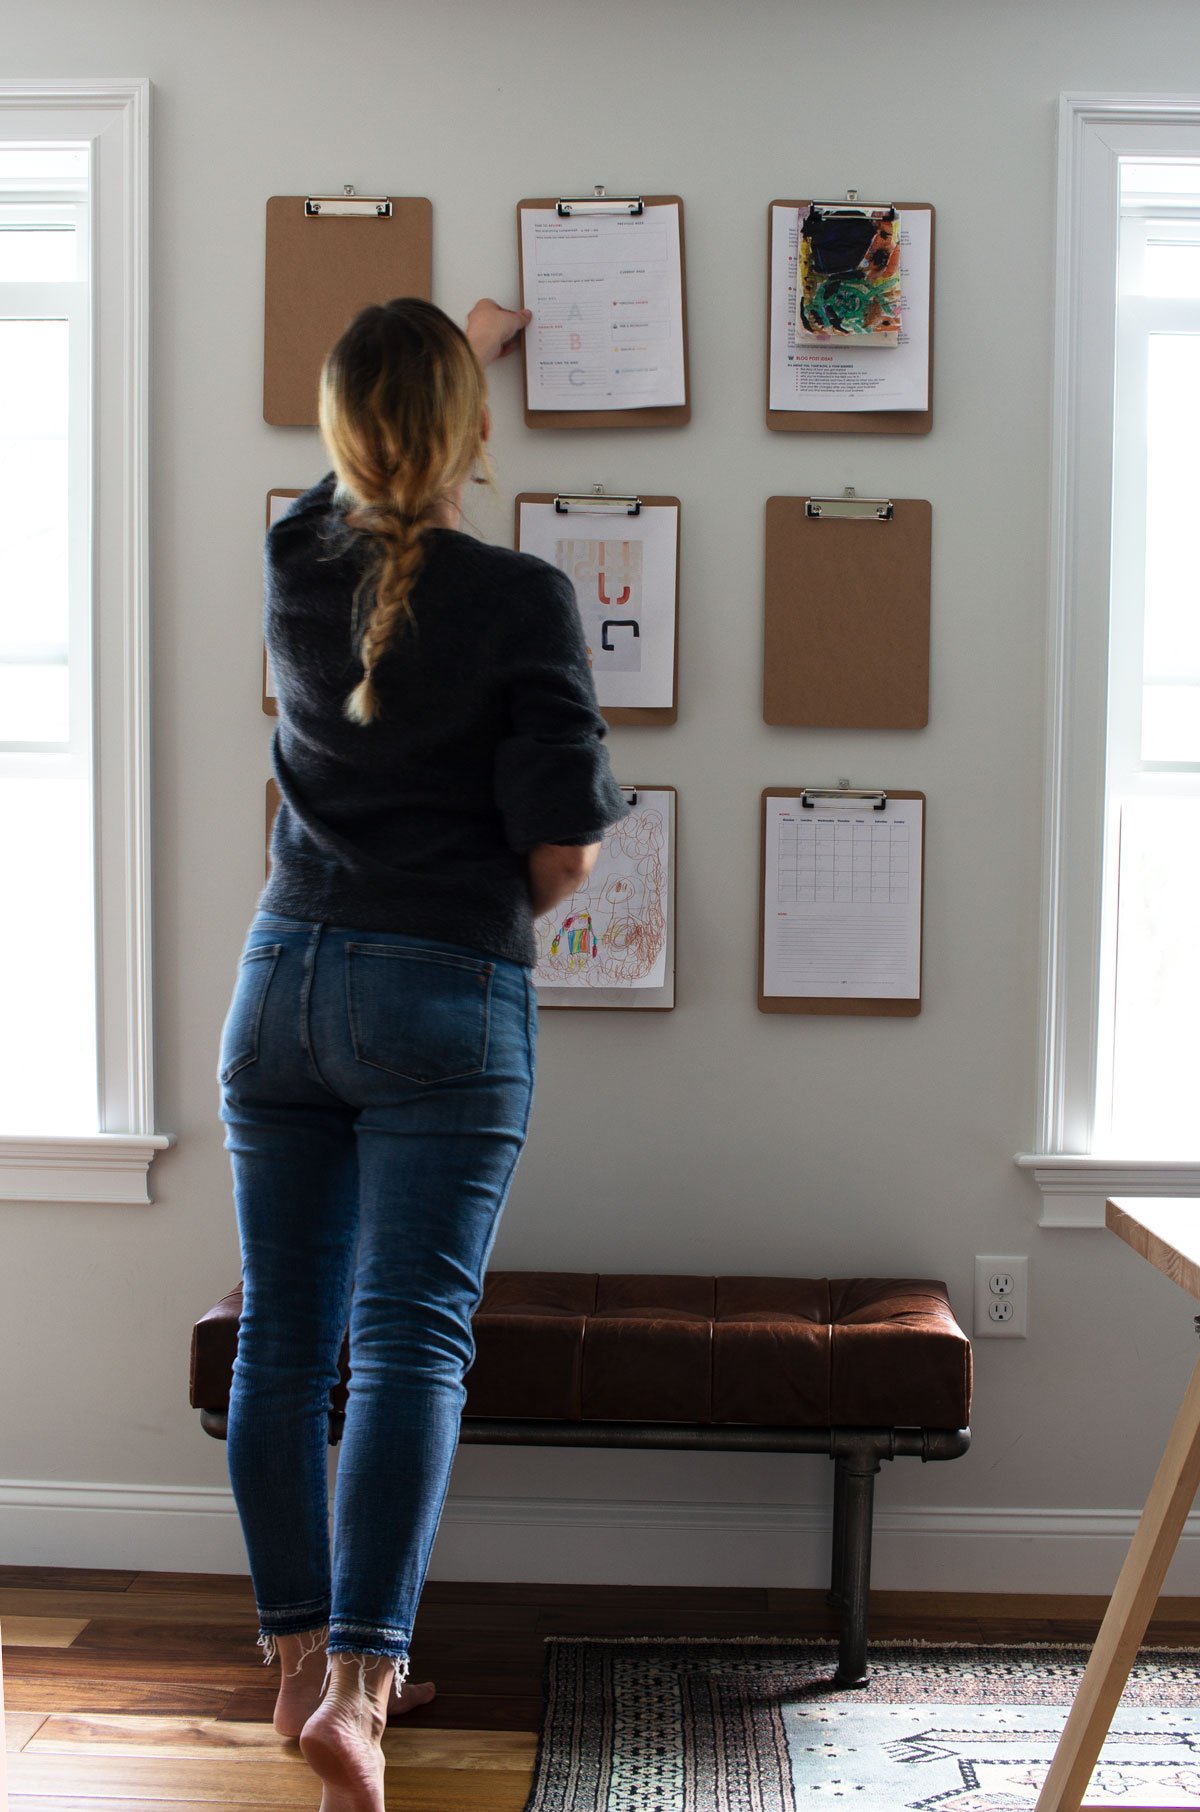
In other words, what if I were able to visually file them on a wall? Enter this life-changing system:
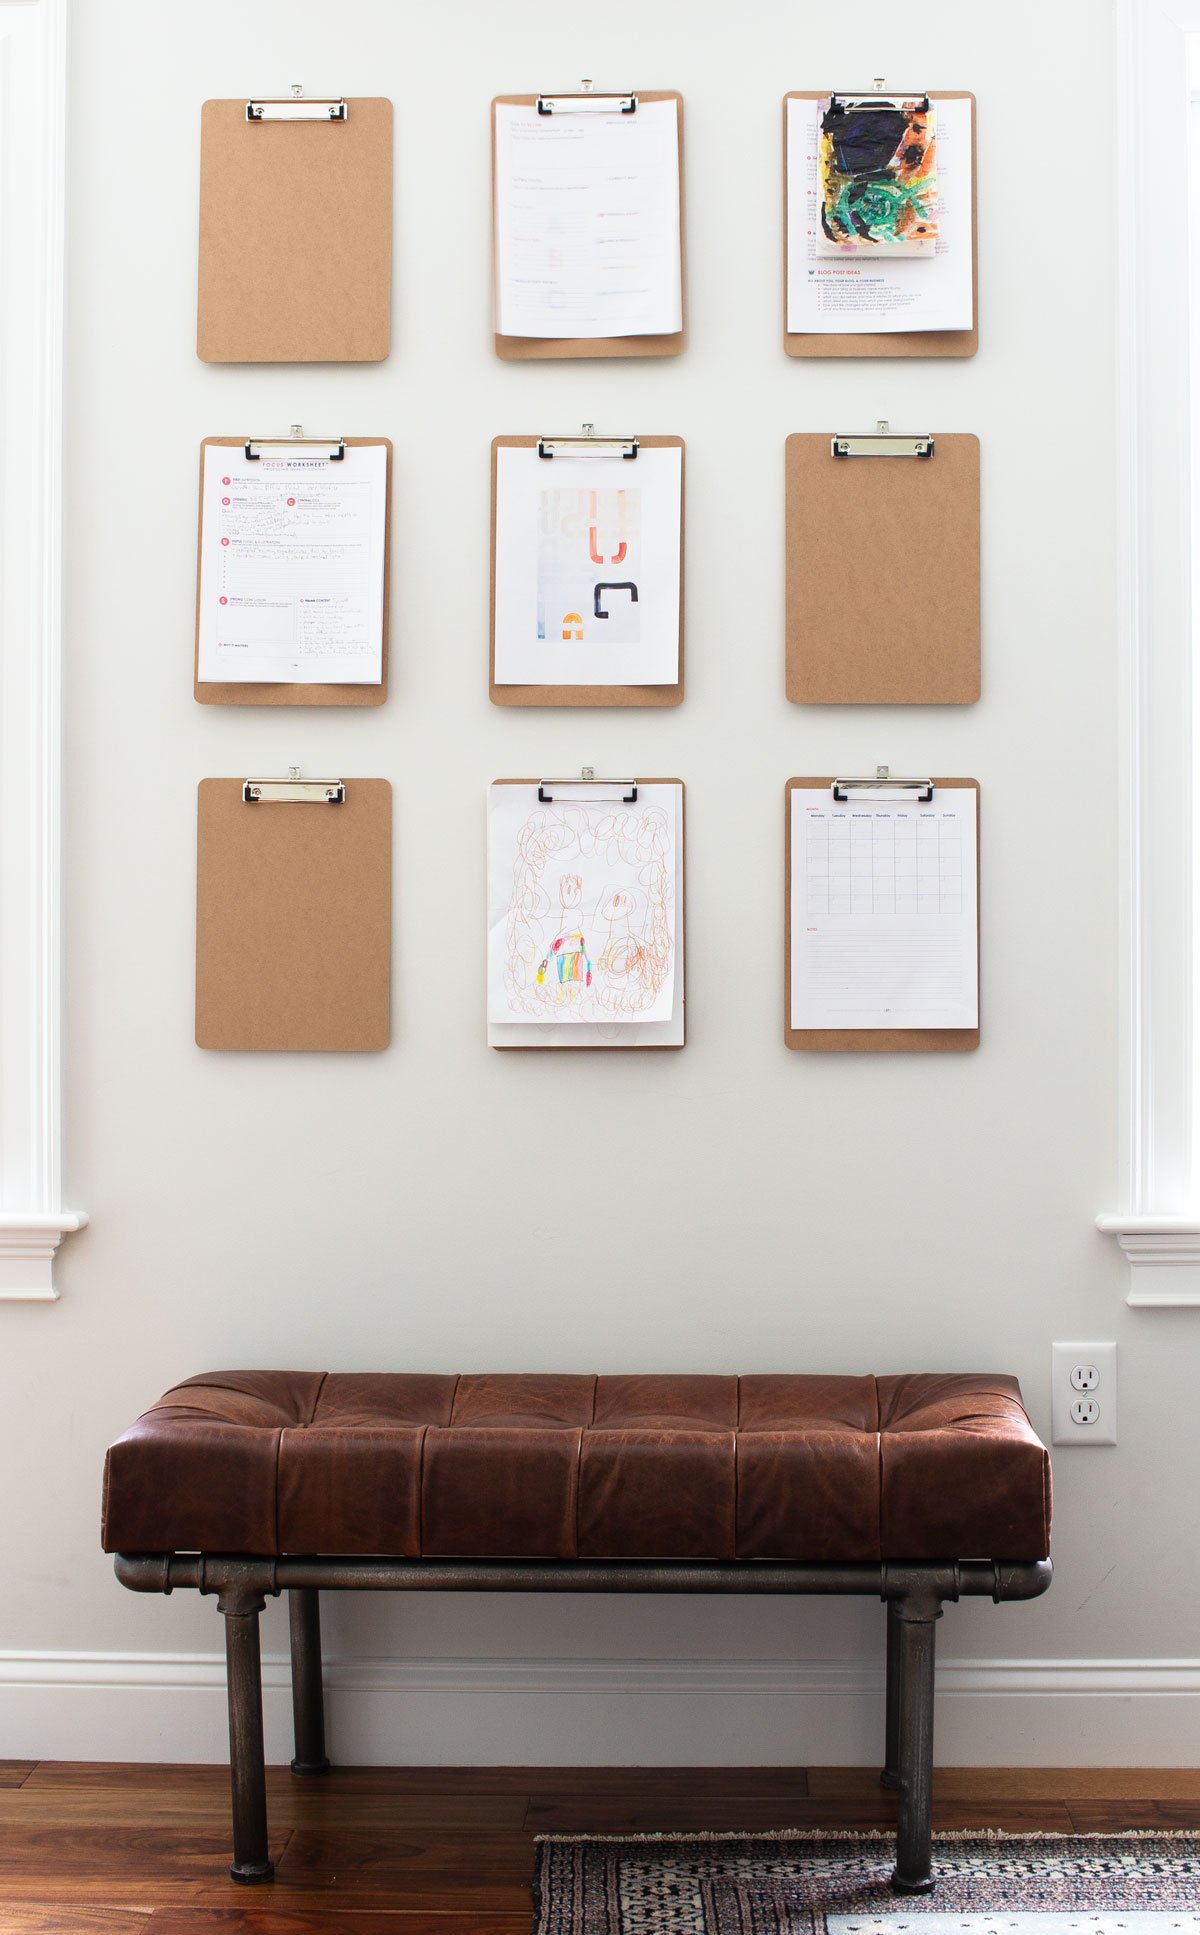
Clipboards // Bench
I’m not joking. It’s been less than a week, and it has already changed my life. The premise is this: group like documents, clip them together, hang on wall, grab as needed, recycle when complete. Mind. Blown.
If you want to create one of these to corral your own chaos, here’s the how-to. It takes less than 30 minutes!
I love this system because it gets the stacks off my desk so I’m not suffocating as I work and it’s also portable! I grab a clipboard off the wall and take it with me to make notes out on the deck, while waiting in the preschool pickup line, or in front of mediocre TV.
ALL THE TO-DOS
I debated whether this belonged in visually inspiring, functional, or task-oriented, but c’mon, it’s all of those! Please allow me to introduce my wall mural whiteboard!
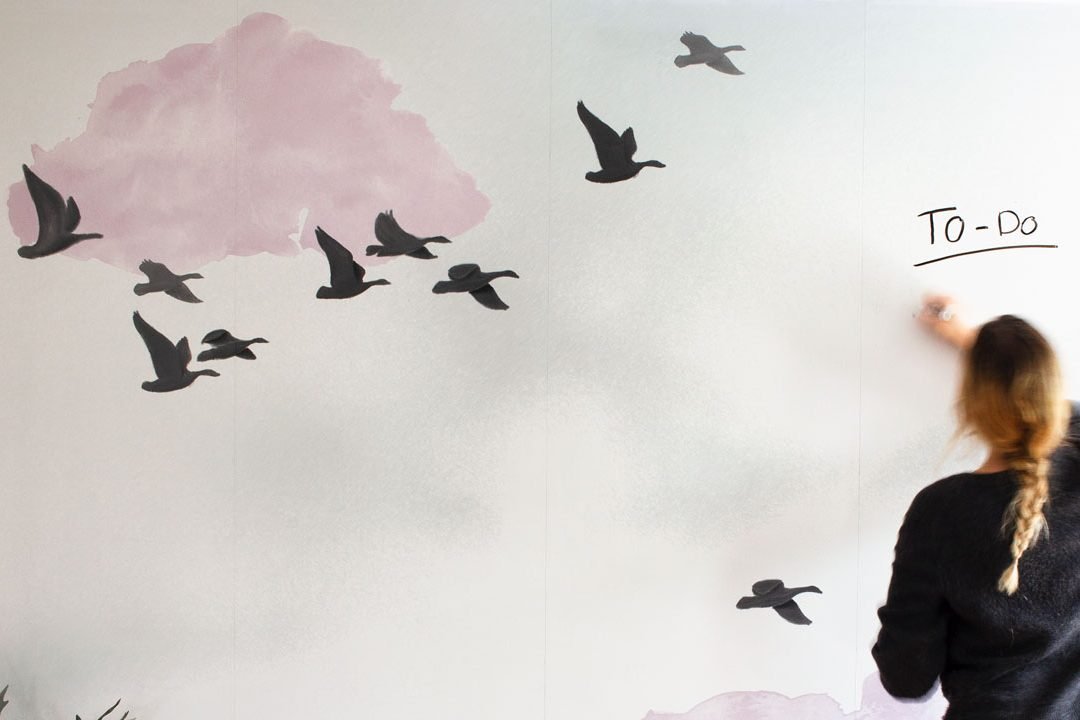
Wallpaper Mural // Dry Erase Paint // Black Floating Cube // Faux Staghorn
I’ve been teasing this for a while and was super weird about showing you the design, but hey, I love a big reveal! I am thrilled with how it turned out. Essentially, it’s a gigantic whiteboard that is also super pretty.
If you’d like to make your own, I created a tutorial just for you!
As I’ve mentioned ad nauseam, I’m in a creative industry, plus I’m a blogger so I need space to brainstorm as well as keep my weekly, monthly, and yearly goals and to-dos front and center. What better way than this? Plus my kids LOVE doodling on it.
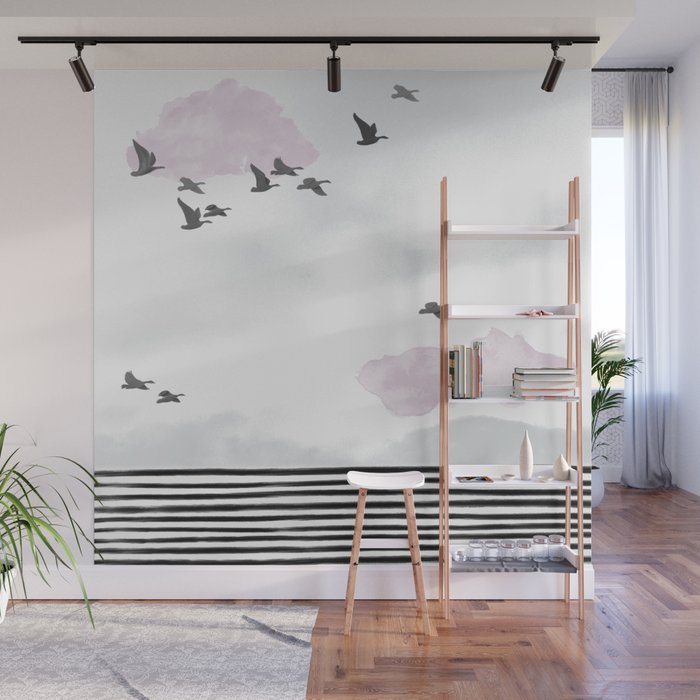
This wall mural can be purchased on Society6.
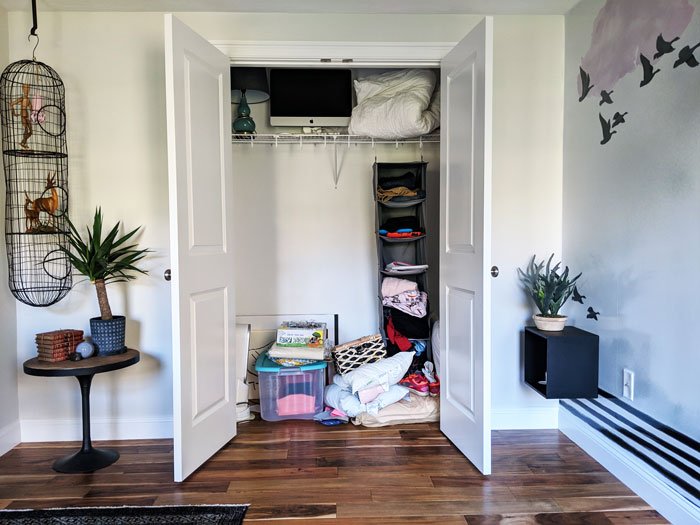
Storage
Grade: D
Yup, a D. I didn’t even TOUCH the closet. It’s still just a void where I shove things with no specificity. I’d give it an F but I do have all my daily implements organized and within arm’s reach. All my office supplies have a space.
So storage: project for another time I suppose!
Sleep
Grade: Eh
I wanted a place for my dogs to sleep and I had visions of DIYing a funky fresh dog bed. But I have a very sweet husband who ordered a dog bed because it needed ordering and he didn’t realize I had plans. It’s… functional. I didn’t photograph it. Let’s move on…
Odds and Ends
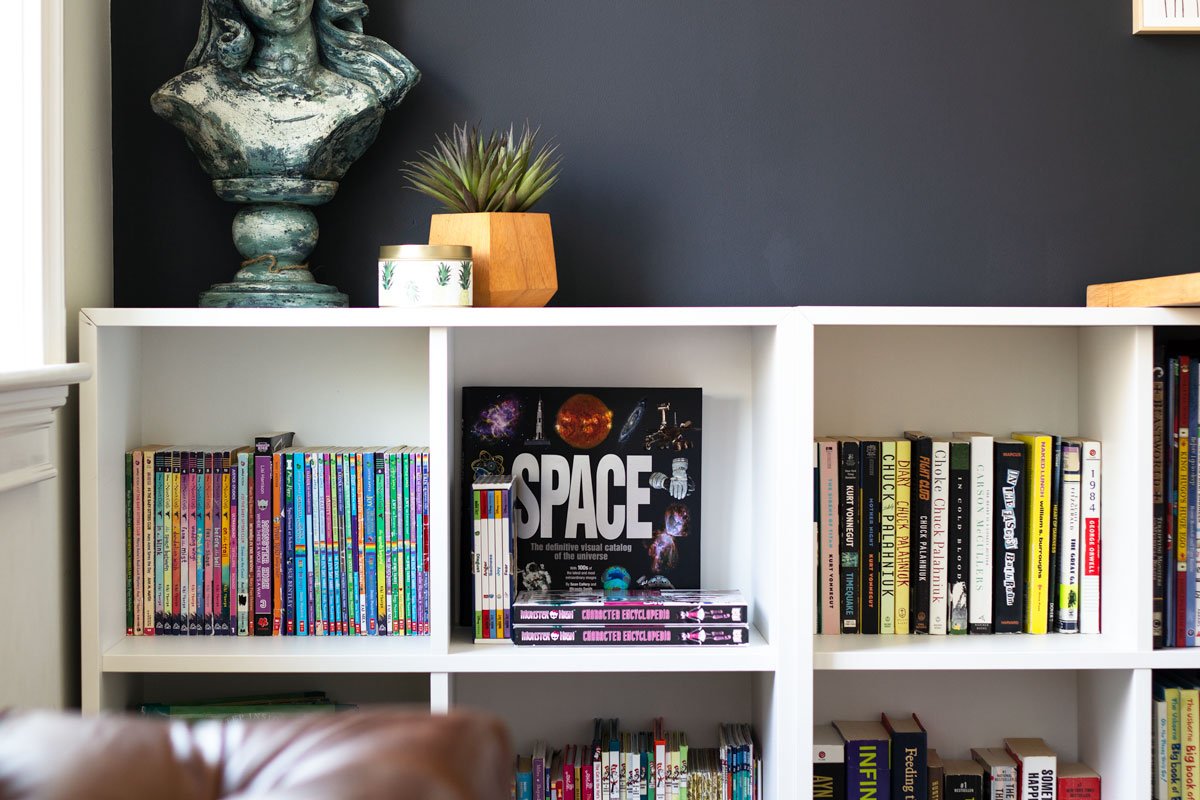
Well, really just one odd and end. The books I had planned to stuff my console with? My glorious, treasured books I’ve collected for much of my adult life? I discovered today that I mistakenly donated them all!!!!
Cue tiny violin.
Listen, I’m happy they at least were donated and not accidentally trashed, but ugh. so painful! Anyway, I borrowed some books from my last ORC space for the photos plus all my kids’ books and will just need to hit up some used book sales this summer. Tragic, I know
That’s a wrap! I am thrilled with where this office is now and like all rooms, it will continue to grow and evolve over time. Be sure to head over to the ORC link-up to check out all the other amazing participants and I’ll be back soon with a round-up of my favorites!
SHOP THE ROOM