How to Make a DIY Hairpin Leg Table (and 3 Mistakes to Avoid)
Last April I wrote a post about how to make a DIY homeschool desk and it blew up. This was a project a lot of you were really interested in!
But I got a lot of questions. And I realized that there were some common mistakes happening.
So in this post, I’ll show you how to make a DIY hairpin leg coffee table and teach you the three biggest mistakes to avoid when installing these popular legs.
Be sure not to miss the answers to all your frequently asked question at the end of the post! Plus, I’ve included links to all of the best hairpin legs in every color and finish you could image…
Pin for later!

This post contains some affiliate links for your convenience. Click here to read my full disclosure policy. Thanks for supporting Bloom in the Black!
How to Make a Hairpin Leg Coffee Table
To make a hairpin leg coffee table, you simply install the legs to the tabletop of your choice using a drill and a screwdriver. However, there are three mistakes to watch out for: the wrong size screws, drilling too deep, and setting the legs too close to the edge of the table.
Materials Needed
- 20″ Hairpin legs (set of 4)*
- Small tabletop (upcycle an old one or purchase an inexpensive tabletop)
- Drill
- Screws
- Screwdriver (or you can use your drill)
*Making something other than a coffee table? Scroll to the end to get the leg-height recommendations for every type of hairpin leg furniture piece you can imagine.
Step 1: Select your screw length
In order to install your hairpin legs correctly, you need to use the right size screw. People often (mistakenly) assume that the screws that come with the legs will automatically be the right size for their project. Not the case!
Mistake #1
Using the wrong size screws to install your hairpin legs.
To select the correct screw length, you need to use the thickness of your tabletop as a guide. Aim for a screw that will drive about 3/4 of the way through your top.
Step 2: Mark your drill depth
For the cleanest look, you’ll want to drill pilot holes for your screws. It’s essential that you don’t blow straight through the tabletop though! It’s tough to disguise a hole in your coffee table.
Mistake #2
Drilling your pilot holes too deep.
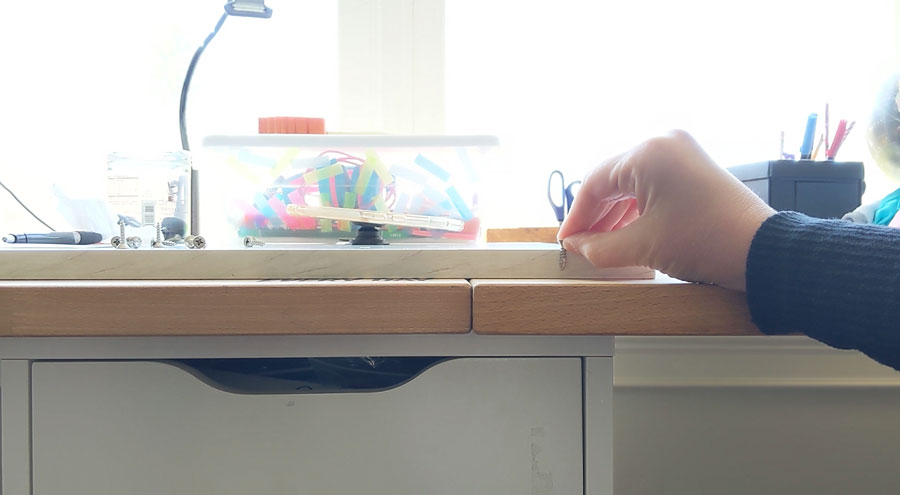
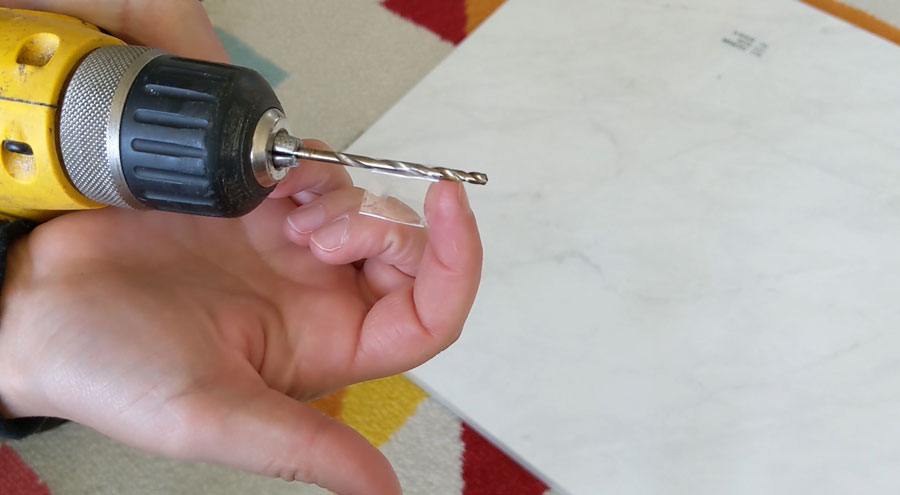
To determine where you should mark your drill depth, use the length of your screws as a guide. You want to drill your holes slightly less deep than your screws will drive in. Take a piece of tape and wrap it around your drill bit at the depth you’ve determined, leaving a flap of tape sticking out like a little flag. The bottom of this flap will tell you when to stop drilling.
Step 3: Mark where your hairpin legs will be installed
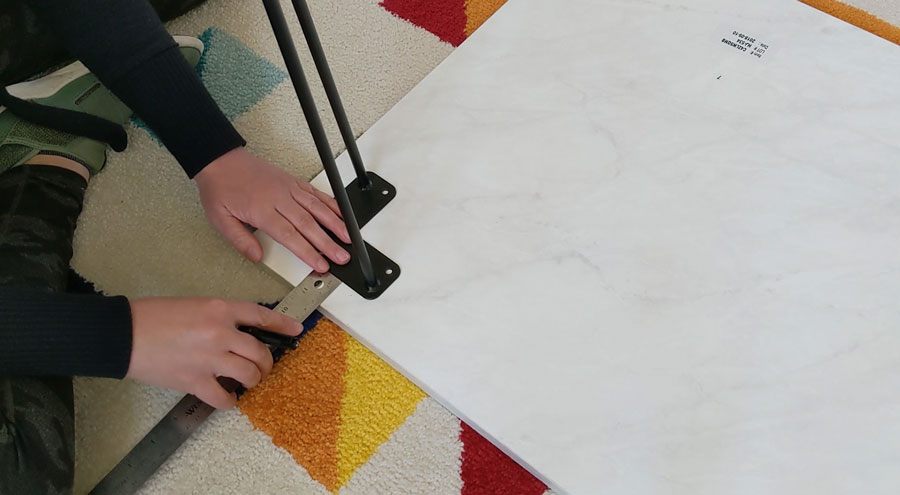
Flip your tabletop over, top side down. Grab one of the legs and place it in the corner, then measure in 1-1/2″ – 2″ (at least) from the edge. This is where you want your legs installed. If they’re too close to the edge, the plate will show and the table will be less stable.
Mistake #3
Installing your hairpin legs too close to the edge.
Using a ruler, measure in your desired distance on both table edges adjacent to the corner you’re working on and set your leg in place.
Eyeball the leg plate to be sure it’s (basically) square to the corner. Then, using a marker, draw a little circle through each screw hole onto the tabletop. This is where you’ll drill your pilot holes.
Step 4: Drill your pilot holes
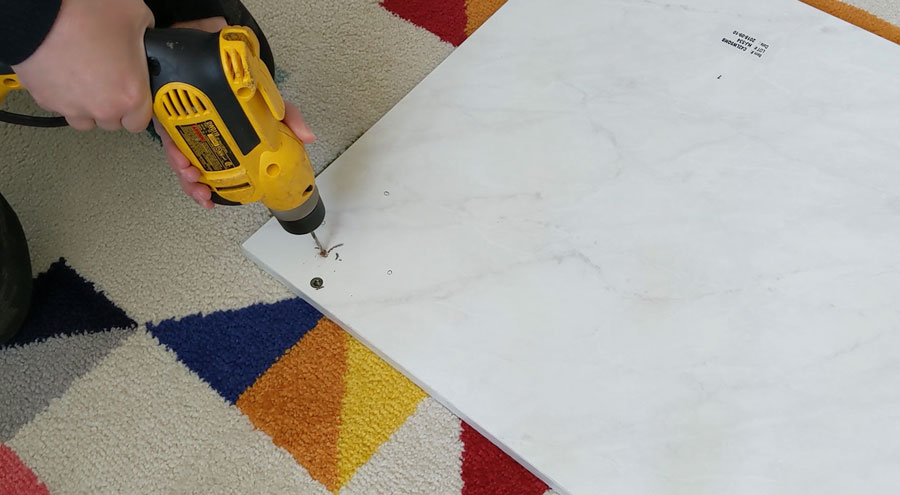
Using the drill bit you marked with tape, slowly drill into each circle you drew and stop when the tape flap makes contact with the tabletop.
A quick visual indicator is that you’ll see a circle emerge in the debris on the tabletop from the tape spinning through the dust. Watch the video to see this in action.
Some may call me a wuss, but I can’t emphasize enough the need to go slow.
You can drill further, but you can never undrill.
Step 5: Attach hairpin legs with screws
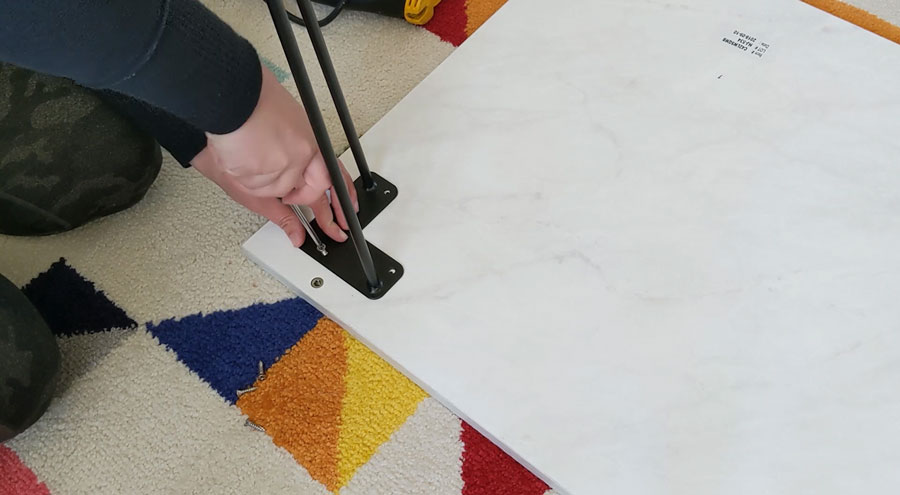
Now that you’ve made all of your pilot holes, attaching the legs will be a snap. Simply place each leg in a corner, line the holes in the leg plate up with the holes in the tabletop, and drive your screws in.
I personally prefer to use a screwdriver for this because it’s easy and gives you more control, but you could certainly use your drill to drive the screws if that’s your journey 🙂
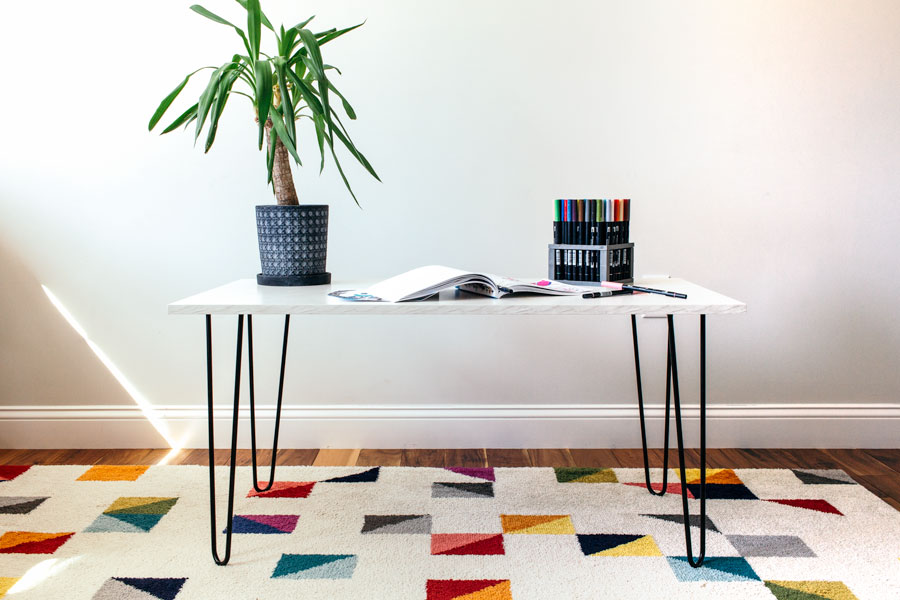
Your hairpin leg coffee table is complete!
How quick and easy was that? This is the perfect project for a new DIYer to tackle. By avoiding the 3 mistakes I’ve outlined and successfully making a table in about 15 minutes, your confidence will grow by leaps and bounds.
You can do this!
Frequently Asked Questions About Using Hairpin Legs to Make Furniture
Where can I buy hairpin legs?
Hairpin legs are available in a wide variety of sizes and colors through Amazon, Home Depot, Walmart, and Etsy. However, if you’re looking for something specific, here are my tops picks for hairpin legs in different finishes:
- Black hairpin legs
- Brass hairpin legs
- Gold hairpin legs
- Rose gold hairpin legs
- Raw steel hairpin legs
- Copper hairpin legs
- Colorful hairpin legs (e.g. grey, green, blue, orange, red, yellow, pink, mint…)
Can I add hairpin legs to a round table?
Yes! You can use 3 or 4 legs to make a round hairpin table. Just be sure to set them equidistant from one another.
Can I make furniture besides a table with hairpin legs?
Absolutely yes! Hairpin legs come in a wide range of heights so you can add them to anything from a bed, to a chair, to a TV stand!
What size hairpin legs should I use?
The type of furniture you’re making will determine the height of the legs you need to use. Here’s a table outlining what size of hairpin legs you should use for each type of furniture:
| Furniture Piece | Leg Height |
|---|---|
| Bench | 16″ – 18″ |
| Dining Table | 28″ – 30″ |
| Bed | 4″ – 8″ |
| Coffee Table | 16″ – 20″ |
| Desk (for teenager – adult) | 26″ – 29″ |
| Desk (for school-aged kid) | 20″ – 24″ |
| Desk (for toddler – preschool) | 16″ – 22″ |
| Bedside Table / Nightstand | 20″ |
| Console Table | 28″ – 32″ |
| Dining Chair | 17″ – 19″ |
| Accent Chair (such as an upholstered armchair) | 4″ – 8″ |
| Couch | 4″ – 8″ |
| End Table / Side Table | 20″ |
| Entry Table / Hall Table | 28″ – 34″ |
| Plant stand / Planter | 4″ for tall plants – 20″ for short plants |
| Sideboard | 6″ – 8″ |
| Stool (Foot) | 4″ – 8″ |
| Stool (Counter) | 24″ – 26″ |
| Stool (Bar) | 28″ – 32″ |
| TV Stand / TV Unit | 6″ – 12″ |
Where can I buy hairpin legs made in the USA?
For hairpin legs that are made in the USA, this is my top pick. They’re based in Nevada, have phenomenal customer service, and have well over 2,000 5-star reviews.
There you have it! How to make a DIY hairpin leg coffee table. I hope you enjoyed this project and learned something useful in the process.
Want more? Here’s the full collection of Bloom in the Black DIYs.