How to Install a Peel and Stick Wood Plank Wall
A big thank you to Timberchic for sponsoring this post!
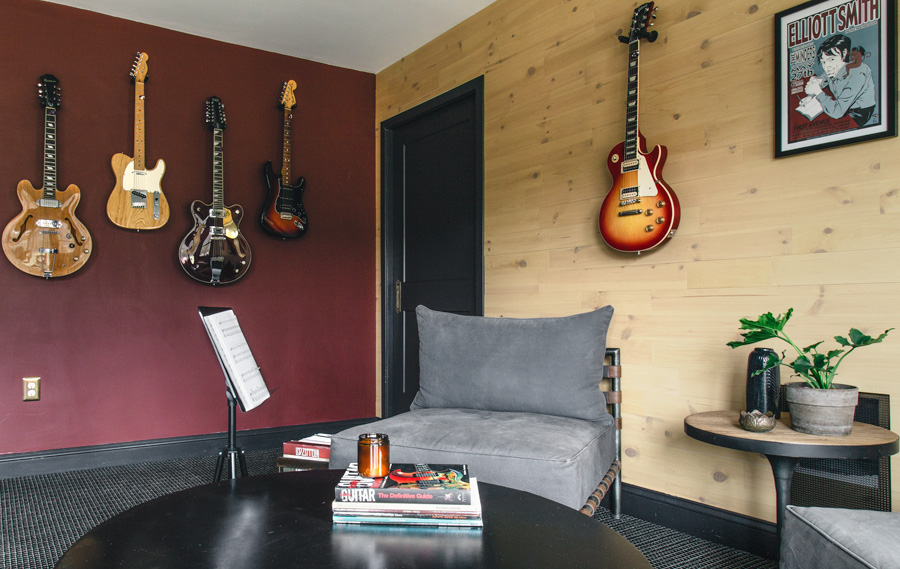
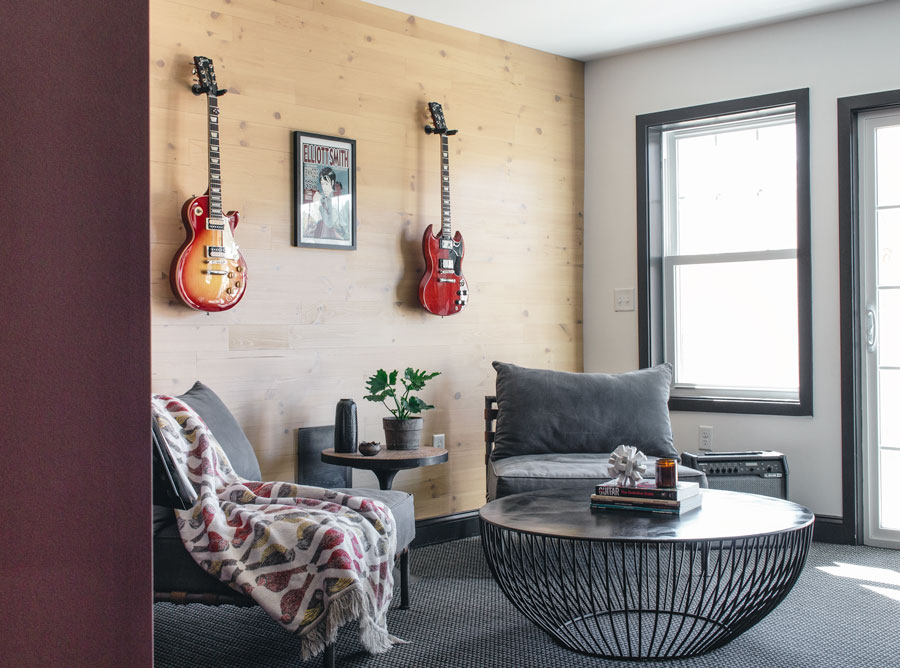
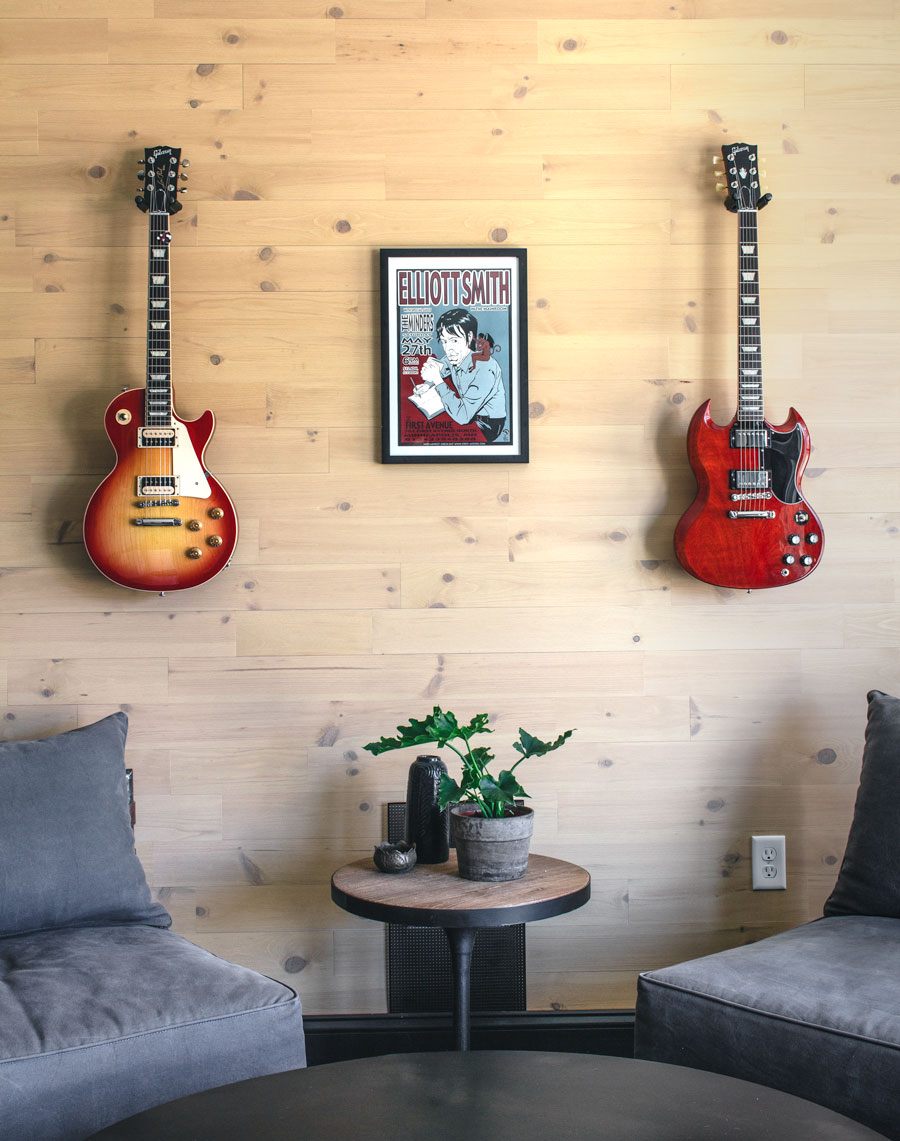
A few weeks ago I created a small man cave. More like a corner really. Just a small wall that I designated as a music “room” for my husband and his 12,000 guitars.
But when I was done? The rest of the space felt… flat.
See, in creating the music wall, I’d drawn a whole lot of attention to how boring the plain white walls in the rest of the space really were.
Luckily, I had the perfect solution…
In this post, I’ll show you how to install a peel and stick wood plank wall using Timberchic river-reclaimed wood planks. Using basic tools, you’ll be able to complete this DIY in a single afternoon once your planks have acclimated!
The Before
Here’s a true before to give you an idea of what I started with. Hello endless white walls of blah.
(Yes, this was taken at Halloween.)
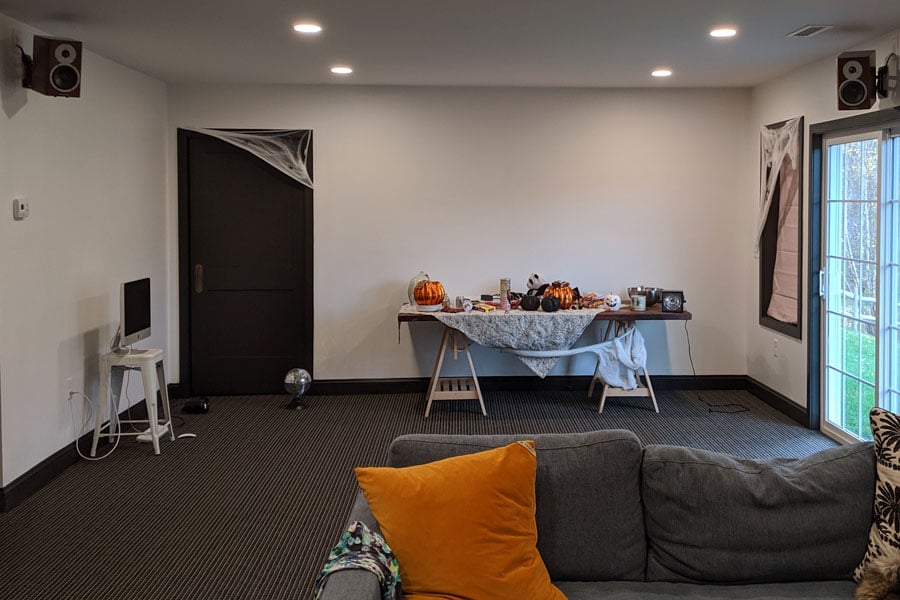
Like I said, I finally tackled the left-hand wall and it became immediately clear that the large wall at the back needed something truly special.
So here’s how I made it happen with the help of Timberchic peel and stick wood planks!
How to Install a Peel and Stick Wood Plank Wall
Step 1: Acclimate the boards to the room you’re installing them in

Remove the planks from their boxes and leave them to acclimate to the room for three days. I know how badly you want to dive in and start this relatively quick and easy install, but this step is crucial. Since these planks are made from real wood, you need to allow them to adjust to the climate of the room. Otherwise, they may swell or shrink after install and cause unwanted buckling or gapping.
You don’t want that!
Step 2: Wipe the walls with a damp rag
Lightly wet a rag and do a quick wipe-down of the wall you plan to install your peel and stick planks on. You don’t have to scrub, just a gentle cleaning to remove any dust or gunk that could affect adhesion.
Step 3: Find your level line
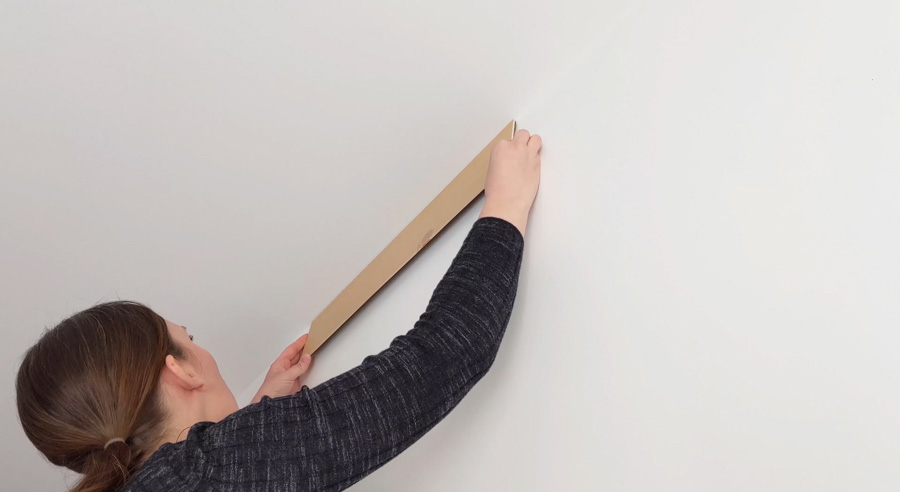
Your first row of planks needs to be installed along a perfectly level line. This can be done in one of two ways:
- If your ceiling line is level, install your first row along the ceiling and work your way down.
- If your ceiling is NOT level, measure 6 plank widths down from the ceiling (24” if you’re using 4” planks, 18” if you’re using 3” planks) and make a mark. Using your level, draw a line at the height of your mark down the full length of your wall. This is the line you’ll install your first row along.
Step 4: Stick your planks to the wall
For your level line and beyond, you’ll pull the backing off the 3M sticky strips, line up your board, and press it firmly to the wall. It’s very simple, but there are several things you want to keep in mind.
First, don’t press the board into the wall until you’re sure of its placement. These boards are designed to stick forever. Which is great for the quality and durability of your planked wall, but not great if you carelessly slap your board on the wall only to discover you set it slightly off-kilter.
Once your board is stuck on, it’s STUCK ON. These are not repositionable.
What I found to be most effective is to first, dry-fit each board. Meaning, I’ll position the board before removing the backing from the adhesive to make sure it’s lining up the way I want, no surprises. Only then will I remove the backing then carefully line my board up in the corner it’s continuing from (or along the level line) and lightly let the board touch the wall on that one section. If you aim wrong and just that piece touched the wall, you can quickly lift it before it sets. Once you know it’s in the right position, press it down then run your hand down the length to secure.
Be sure not to jam the boards right up against each other. Remember how we talked about the wood needing some room to expand and contract? You want to allow for a tiny bit of that happening even once it’s acclimated.
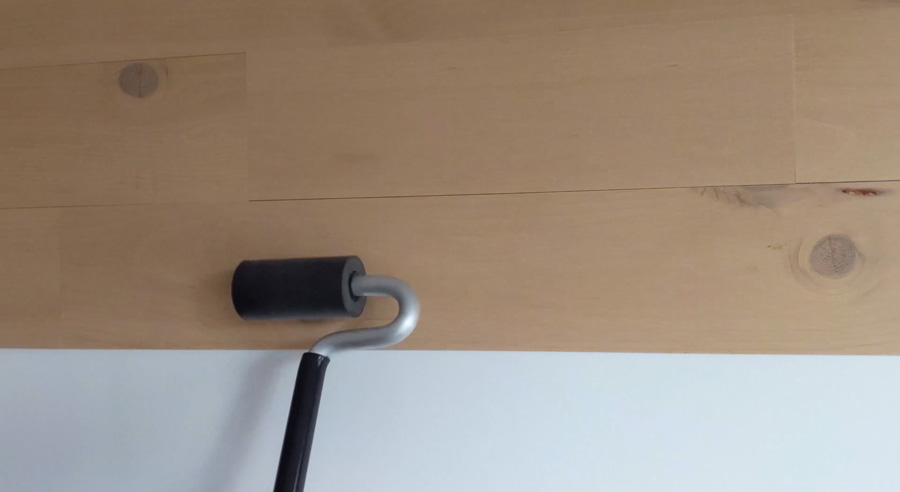
Once you have a section of boards installed, run your j-roller over the section. Pay special care to hit the seams and corners. This will ensure everything adheres evenly and securely.
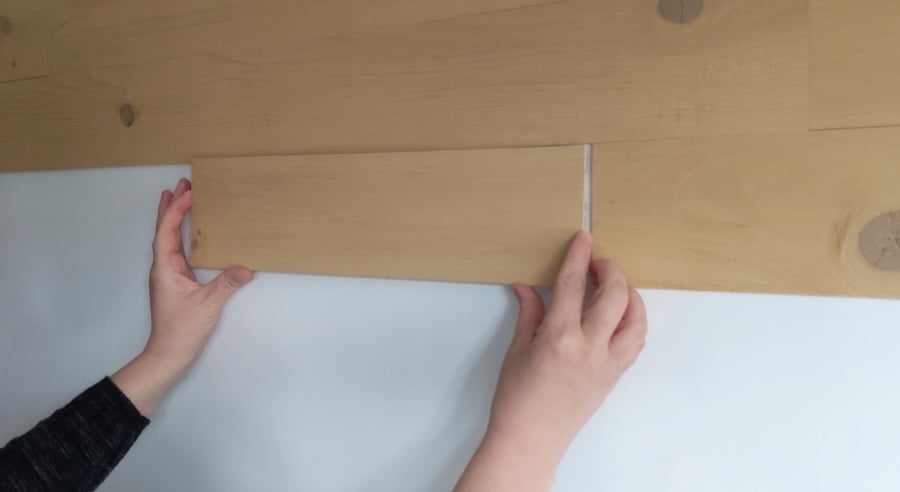
Step 5: Cut planks to size as needed
To cut your boards to size, butt the plank against the edge of where it will terminate (like a doorframe or wall), and make a mark where the other end of the board overlaps its neighbor. While unnecessary, I find it easiest to use a speed square to line up my mark and draw a straight line down the width of the board.
What can I say? I have middle-aged eyes 🙂
Either way, mark this spot on your board to indicate where you need to cut the end off. This will create the perfect length to finish your row!
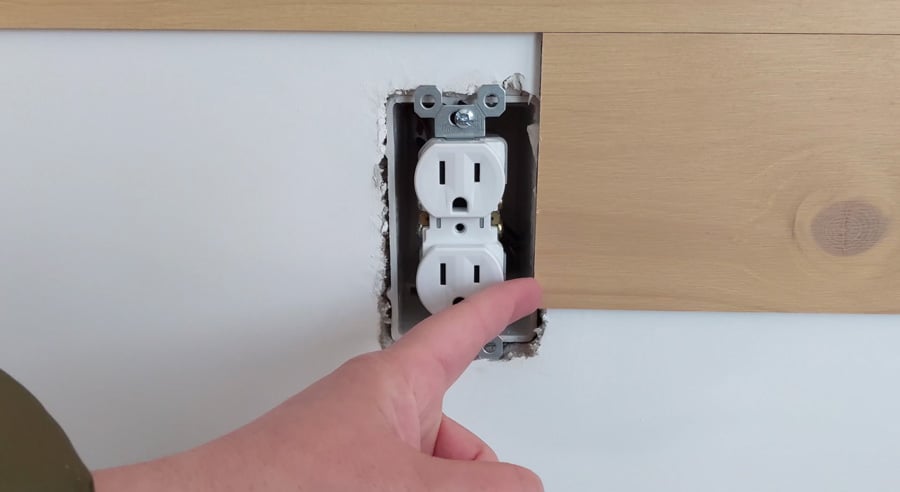
When you run into an obstruction like an outlet or air vent, simply overlap the board, mark where you need to cut the height to, then where the obstruction ends, and mark those points on a board. Using a utility knife or a hand saw, cut that section out of your board.
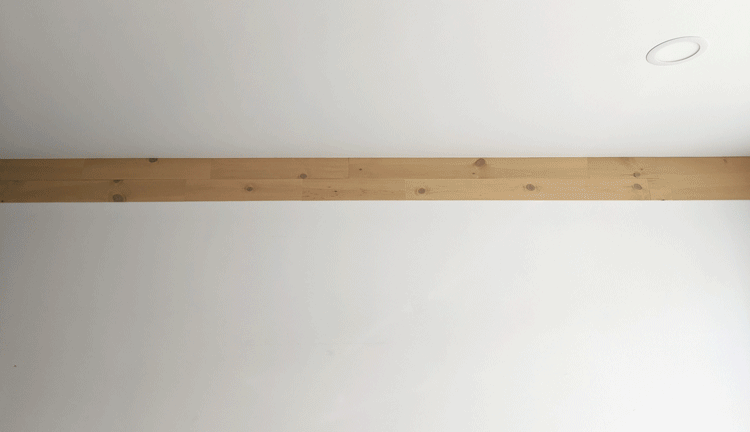
Luckily outlet and air vent covers will cover any imperfect cuts. Check out the DIY return air vent cover I made to complete this wall!
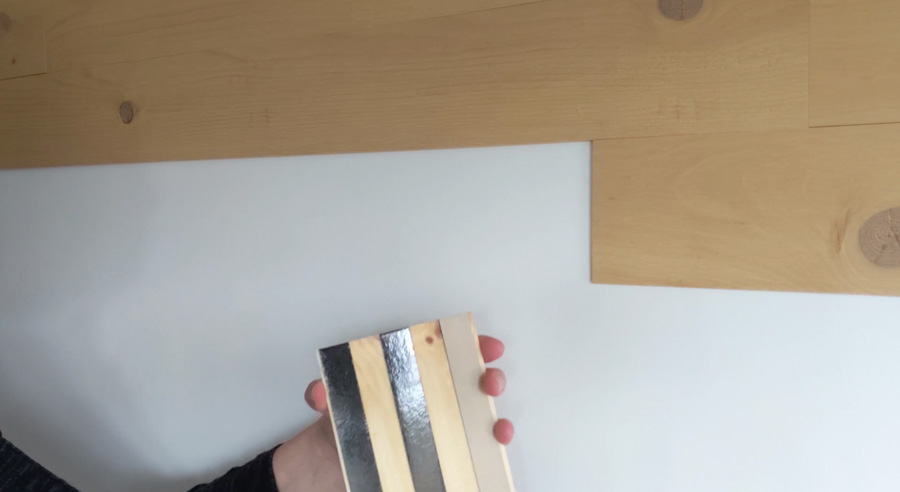
If you run into a knothole, Timberchic provides stickers to place on the wall behind the hole to camouflage the knot. Easy peasy!
Continue laying planks using this method until your wall is complete.
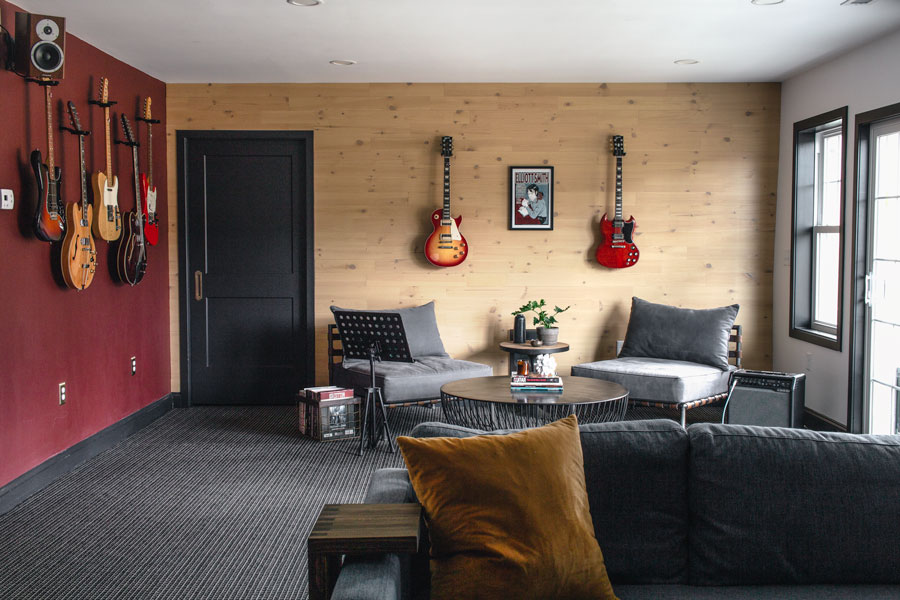
Your peel and stick plank wall is complete!
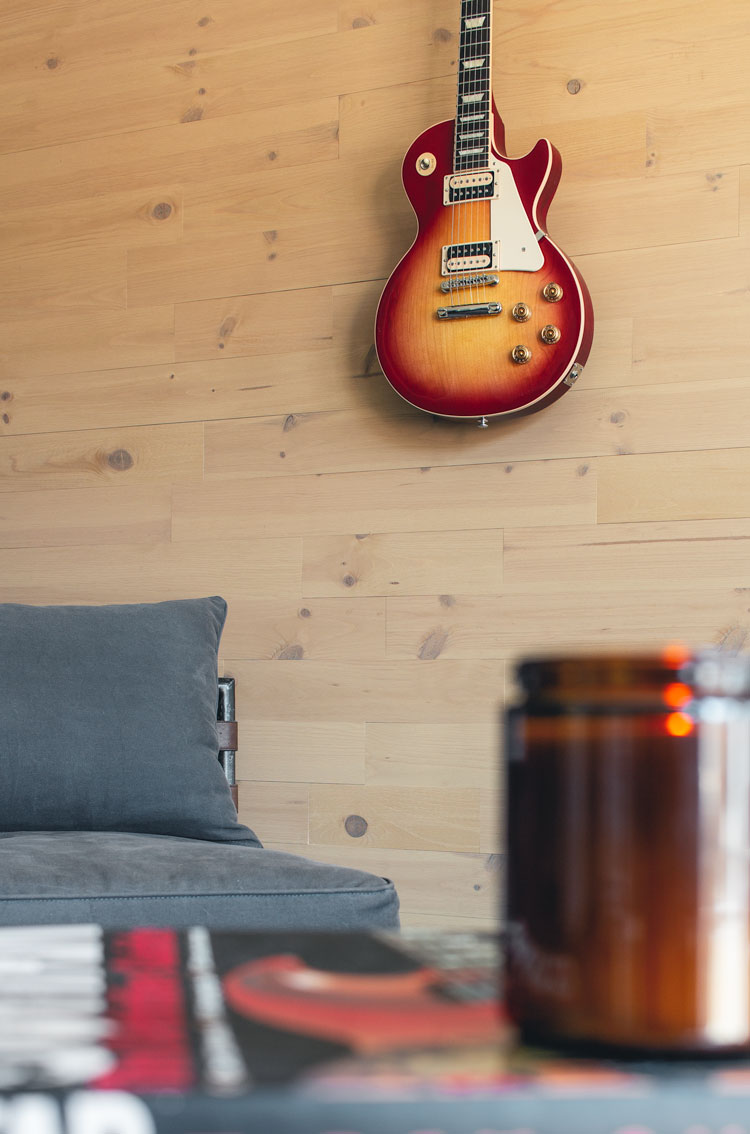
Can you even believe how easy that was? And what a huge difference it makes?? This gorgeous wood adds so much warmth and character to a room.
It’s an afternoon more than well spent.
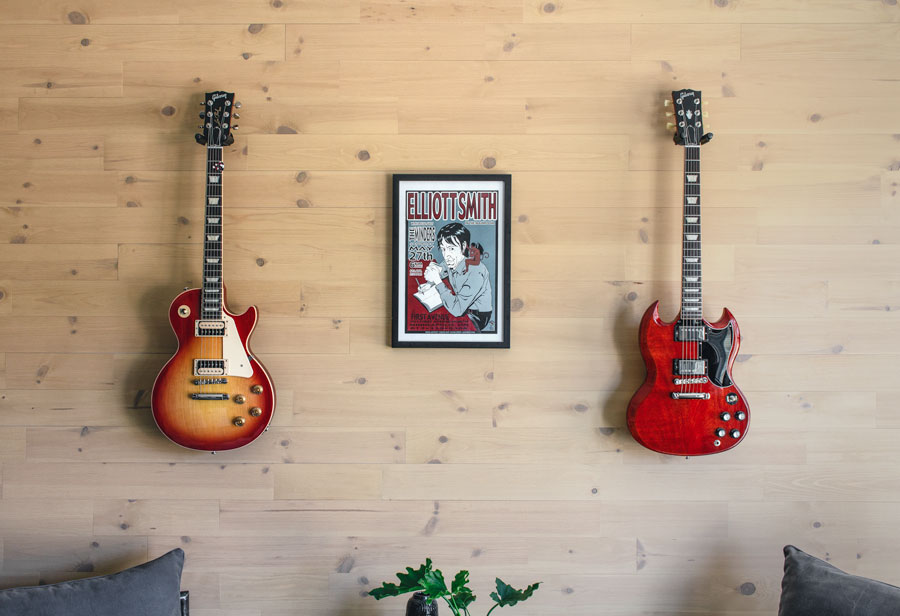
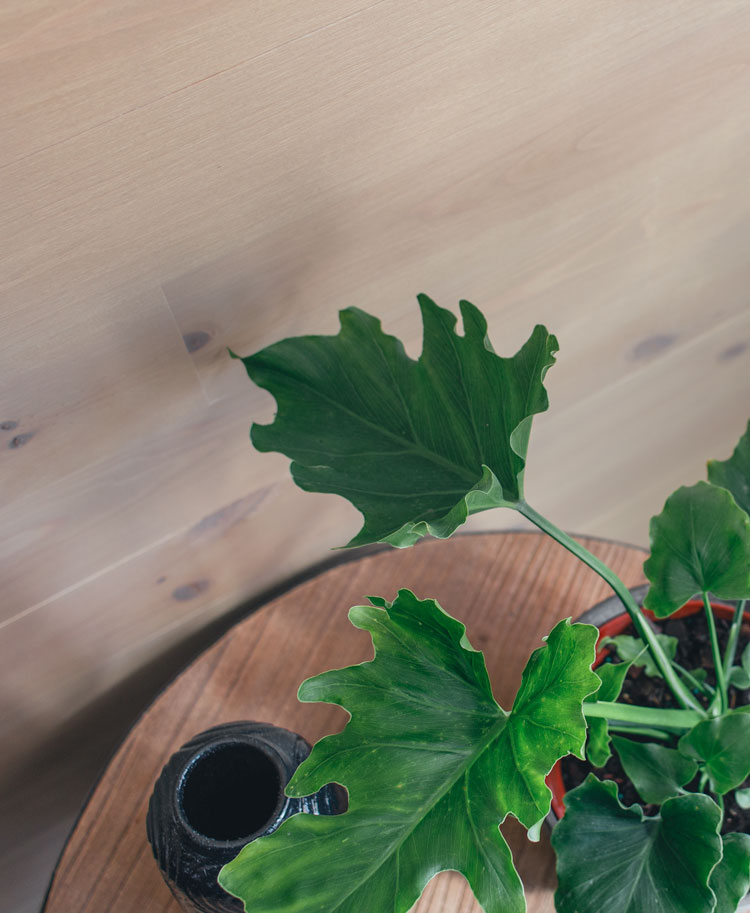
I just love how the subtle beauty of the wood grain enhances everything else in the room rather than competing with it.
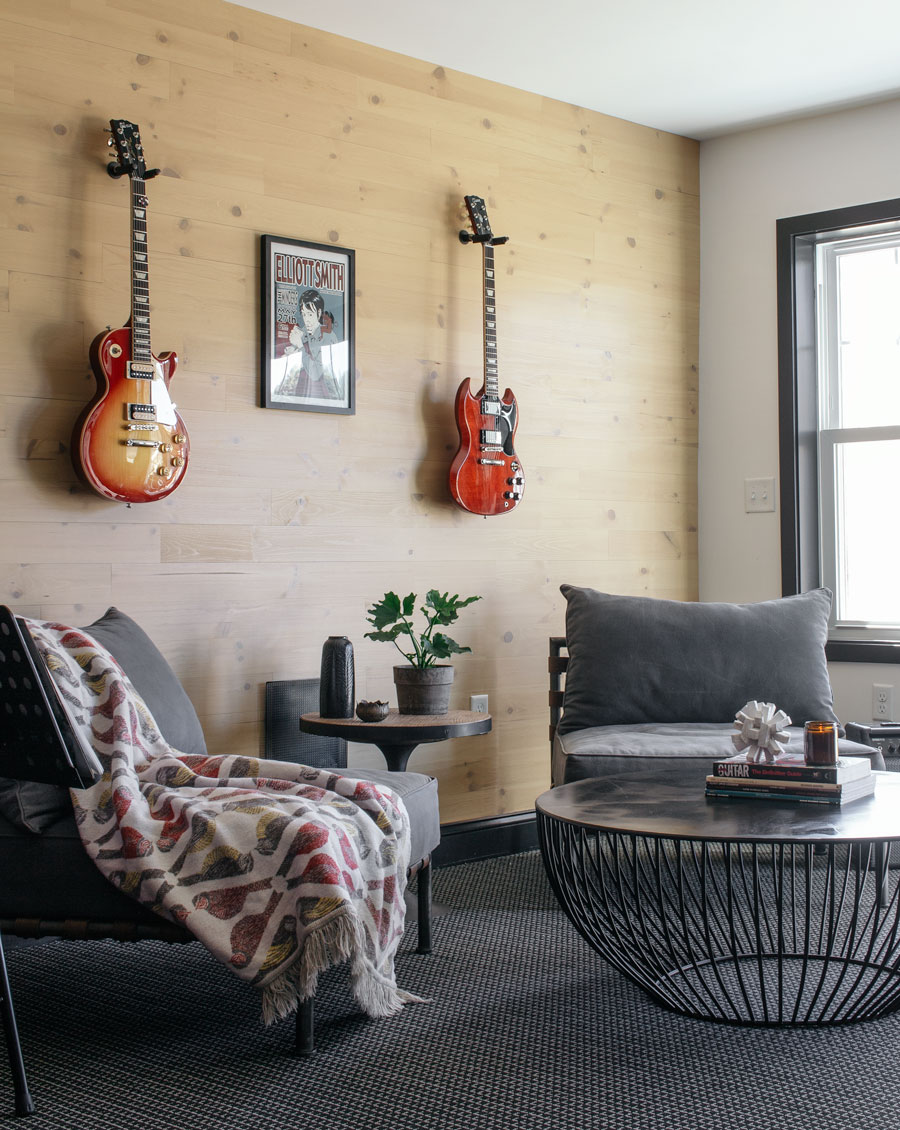
If you have a lot of cooler tones going on in your room through furniture and accessories (like I did), installing a wall like this is a great way to warm everything up and add some much-needed balance.
Have the opposite thing going on? Timberchic has a range of colors in cooler tones as well.
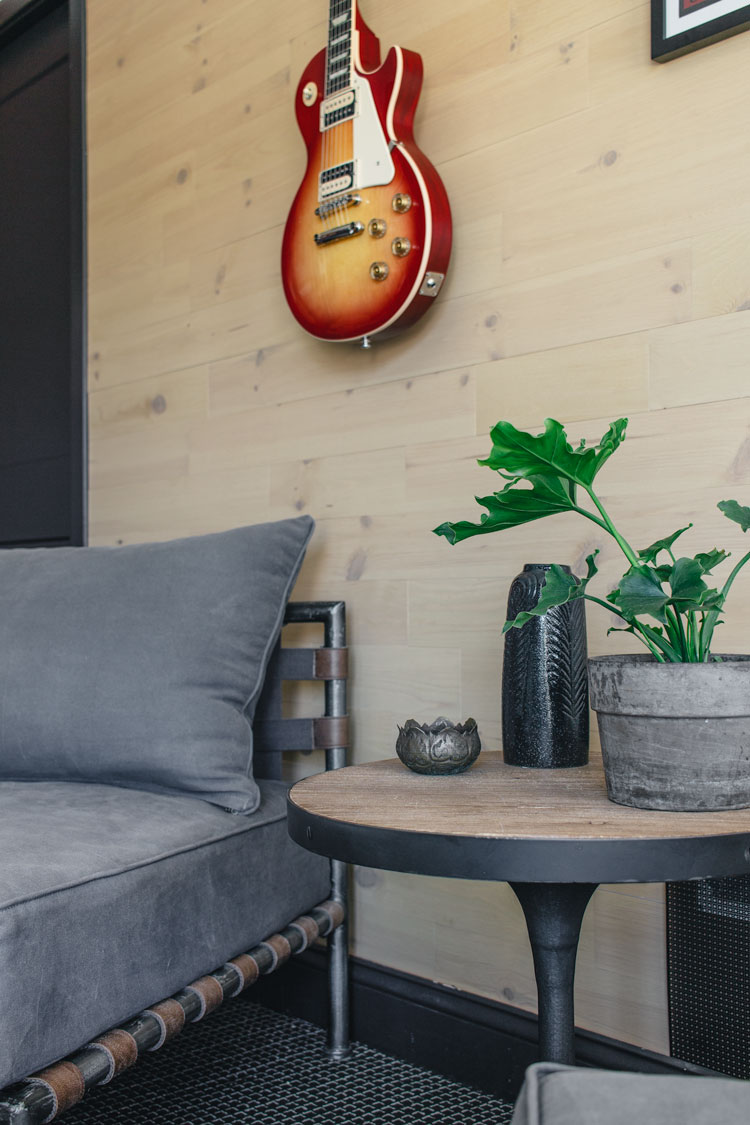
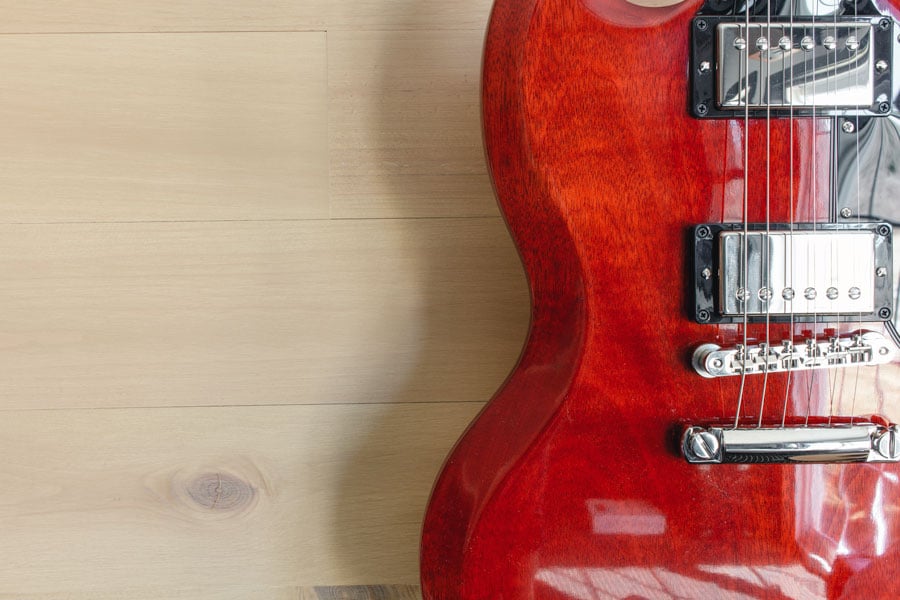
Here’s a close-up of that beautiful woodgrain:
I hope you enjoyed this tutorial! I know I enjoyed making it for you. Now please excuse me while I go hang out in this beautiful new space…
Want more? Here’s the full collection of Bloom in the Black DIYs.