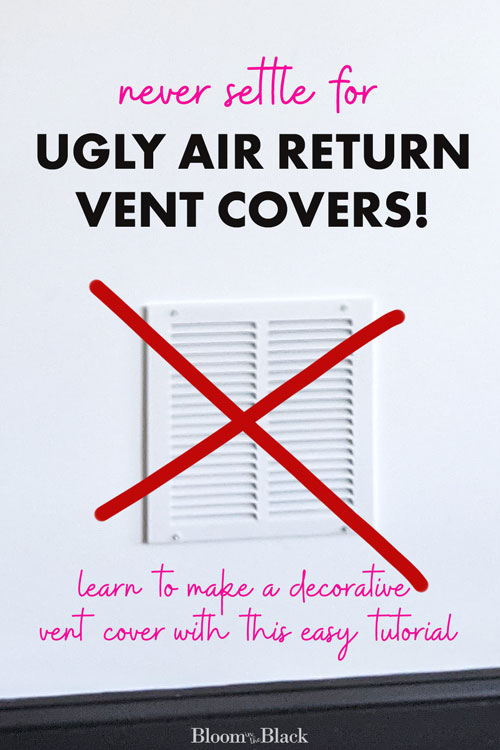
How to Make a DIY Air Vent Cover
Air vent covers aren’t built for looks. At least the builder-basic ones aren’t.
We had a standard white cover on our air exchange vent in the basement. When the wall was white, and it was mostly used for storage, I didn’t notice or care very much:

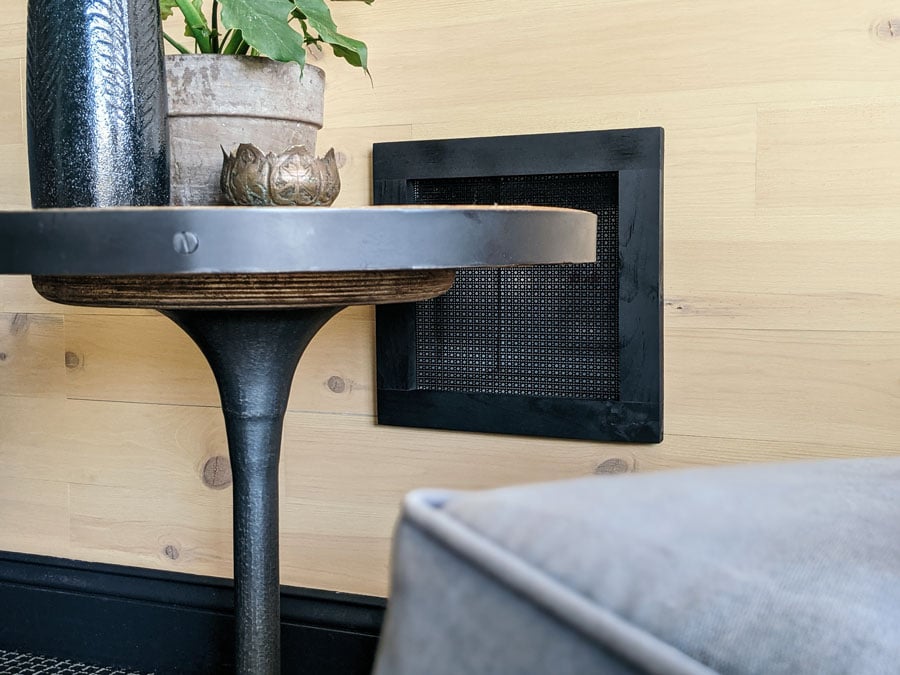
But then I decided to reclaim the space and turn it into a music room for my husband to enjoy. I hung his beautiful guitars with these hooks, created a seating area, and clad this formerly ignorable white wall in gorgeous reclaimed wood planks.
Don’t miss the transformation, here!
PROJECT: How to Install a Peel and Stick Wood Plank Wall
There was no way I could use that white metal eyesore in the beautiful new space!
I figured I would just buy a decorative vent cover but, guys, decorative vent covers are expensive. I just knew I could DIY a custom vent cover that looked just as good, at a fraction of the cost.
In this post, I’m going to show you how to make a decorative air vent cover using basic materials for a fraction of the cost of custom covers.
Pin for later!
This post contains some affiliate links for your convenience. Click here to read my full disclosure policy. Thanks for supporting Bloom in the Black!
Please use your own judgment in terms of your specific vent situation. If you have any concerns about airflow, filters, etc. please consult an HVAC professional.
How to Make an Air Vent Cover
To make a DIY air vent cover, you simply build a wood frame the size of your air vent opening (less a 1/4″ overlap), then cut a metal grille to size and adhere to the frame.
Materials and Tools
Step 1: Measure the opening of your air vent
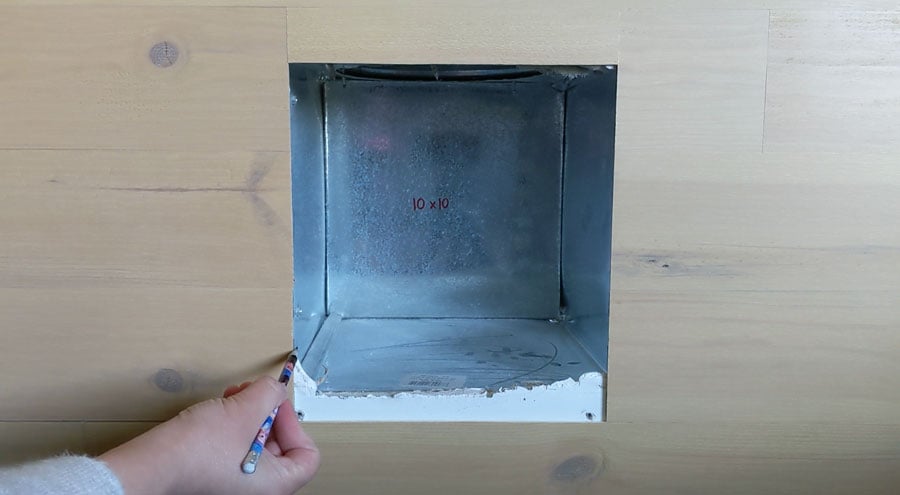
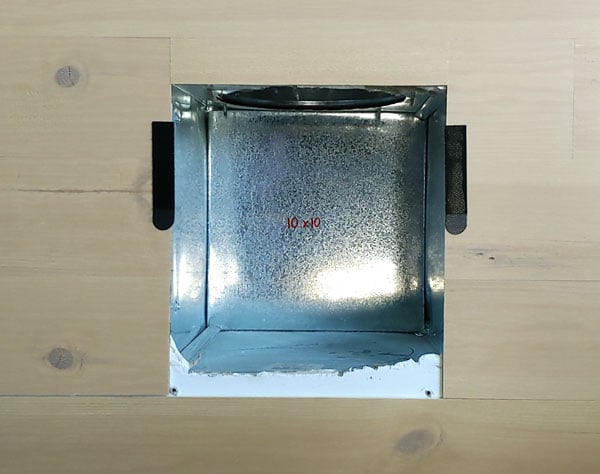
First, you need to measure the opening of your air vent. In this example, the air exchange vent is 10″ x 10″ but that actual opening is not.
You want to cover any messy bits (like the drywall at the bottom of this photo). I measured from the highest point of the drywall to the top of the vent.
Take this vertical measurement and subtract 1/2″ to give yourself a 1/4″ overlap on each side. This number will be the height of your side frame boards.
Now, measure the width of the opening and subtract 1/2″ for your overlap. Then, add 3 to this number.* This number will be the length of your top and bottom frame boards.
*Why do you add 3? To account for the width of the vertical frame boards. Since we’re using 1 x 2 boards to build the frame, each side of the frame will be 1-1/2″ wide.
1-1/2 + 1-1/2 = 3
Step 2: Cut your frame boards
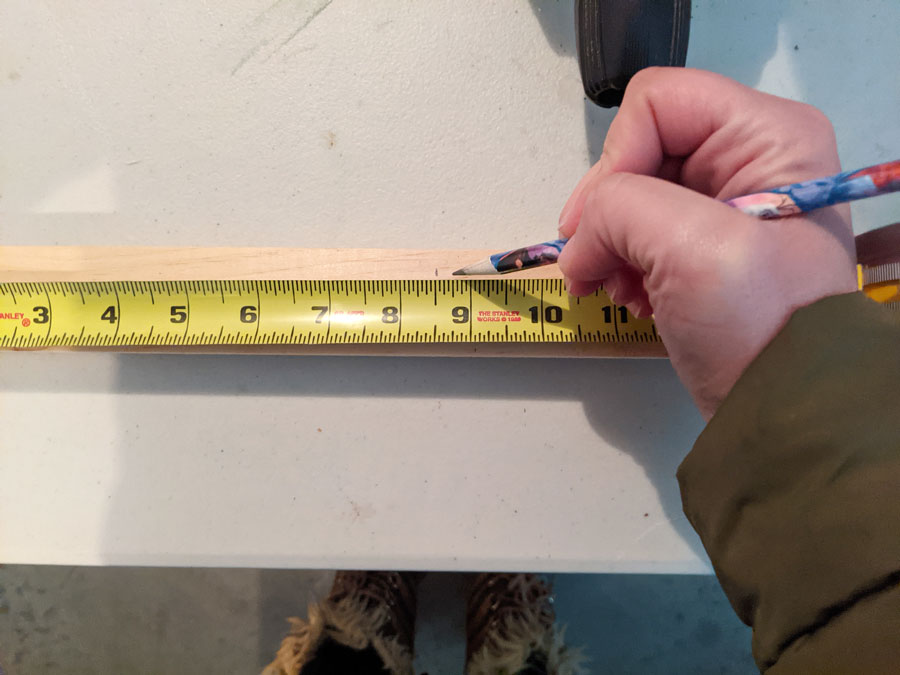
Cut two pieces in each length from a 1 x 2 board using the measurements you just calculated. I used a scrap of pine common board since I had some lying around, but if you decide to buy a new board for this, make sure yours is very straight. Mine wasn’t and caused some alignment issues, which I’ll talk about briefly.
The amount of wood you’ll need will depend on your cover size. My decorative vent cover for a 10 x 10 air return vent required 41″ of the board. Depending on what you have on hand, you might be able to use scrap like I did! Otherwise, a 1 x 2 x 8 common board will run you between $3 and $4.
Step 3: Dry fit your vent cover frame
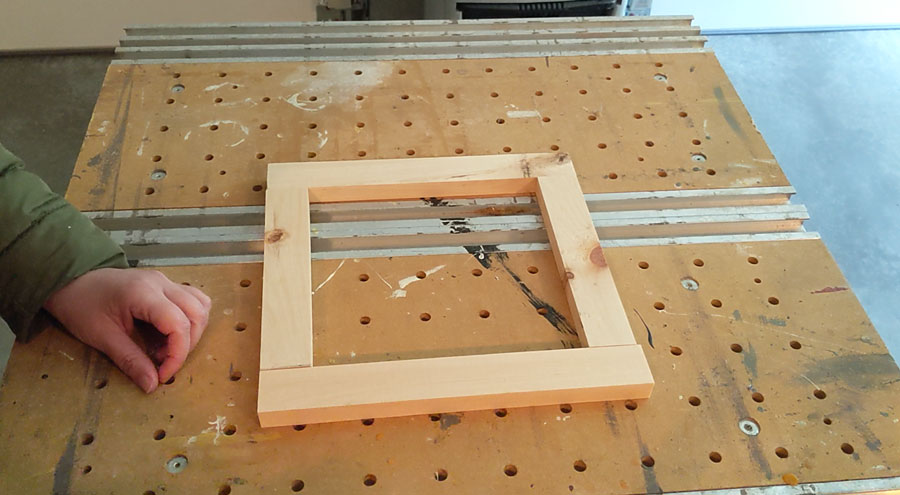
Before fastening your frame pieces together, you’ll want to do a dry fit. What’s a dry fit? It’s when you place the boards together like a puzzle to be sure your cuts are correct.
Identify which side of the boards you want facing out (the good side), and which side you want facing the wall (the bad side). Make a mark with a pencil on the “bad” sides to remember which is which.
Step 4: Drill pocket holes and construct frame
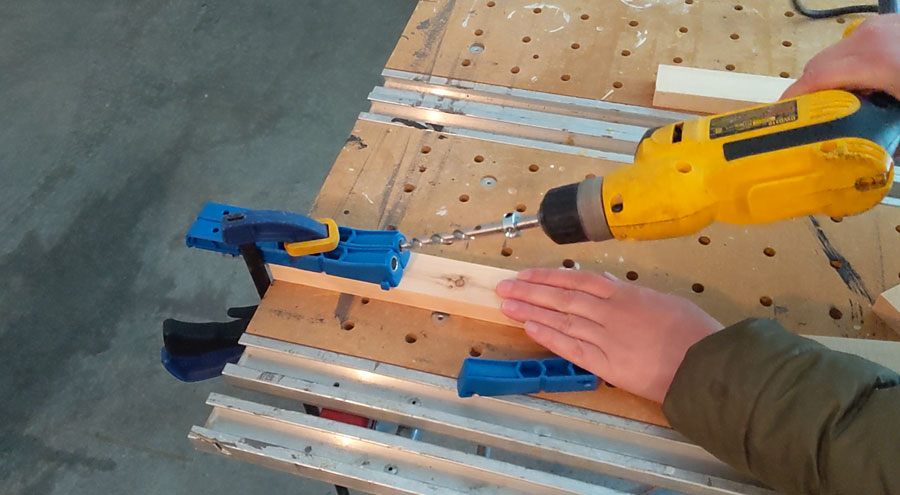
Next, drill two pocket holes — using a 3/4″ material depth — into each end of your vertical frame pieces. Be sure to add the holes on the “bad” side of the wood that you previously marked.
Note: You definitely don’t have to screw your frame together. You can easily use wood glue instead and clamp until dry. I just happen to have a bunch of pocket hole screws and jump on any chance to use my Kreg jig 🙂
Brianna Thomas, Big fan of pocket holes
Using 1-1/2″ pocket screws, attach the side boards to the top, then the bottom frame pieces. Drive your screws carefully; otherwise, you could crack the boards. Like I did. Wood filler to the rescue!
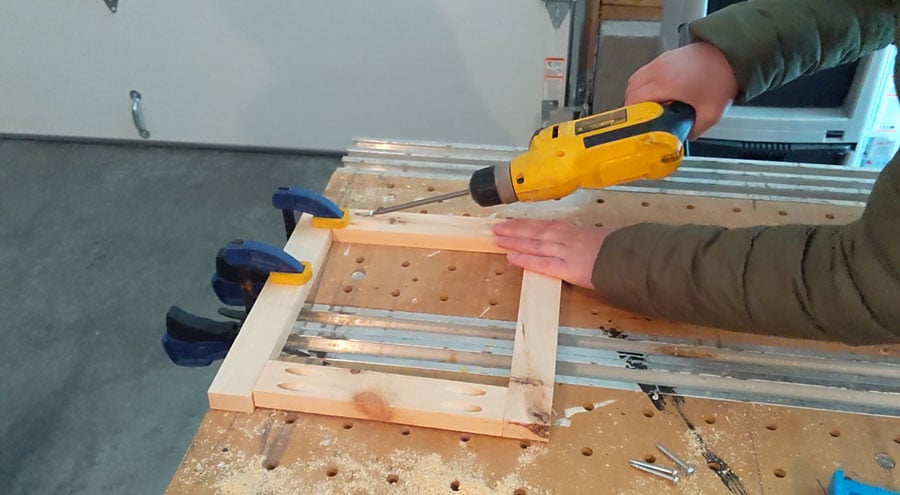
Try gently guiding your boards to square if they’re a little twisty like mine. There is some give to the board, so with a slightly loosened screw and a little nudge, you can correct anything too egregious.
Step 5b: Add wood filler to any gaps
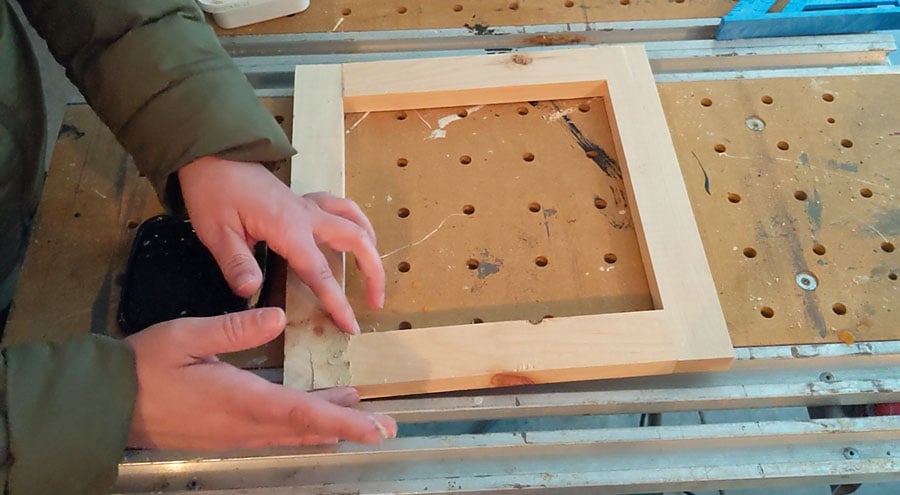
I’m calling this step 5b because if your boards are straighter than mine, you might not need wood filler. But if you find you have any unsightly gaps, smooth wood filler into the crevices to create a smoother final finish.
Allow your wood filler to dry completely before moving on to the next step.
Step 6: Sand vent cover frame until smooth
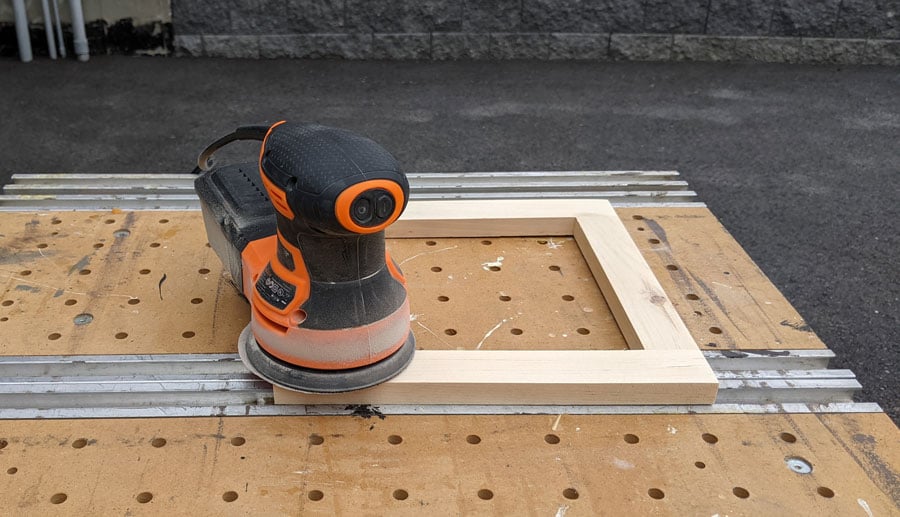
Sand your vent cover frame smooth with 80-grit sandpaper. This is partly a matter of personal preference, but I like to follow up with a 120 and then a 180 grit for the best finish. Others don’t care as much.
Do what works best for you!
For more about why I sand in steps, check out this easy laptop desk build for more detail.
Brianna Thomas, Picky about sanding
Step 7: Paint your frame
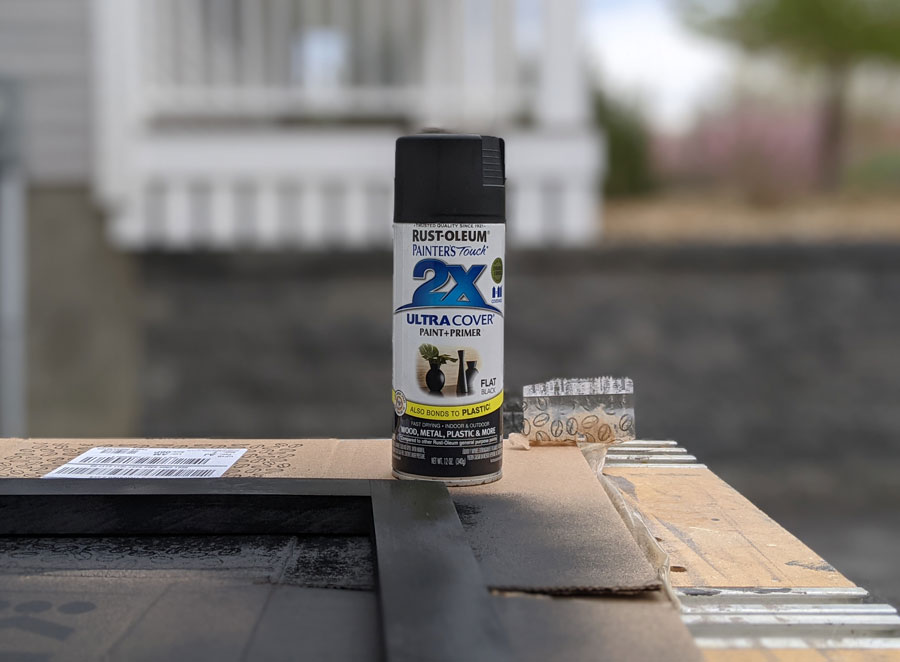
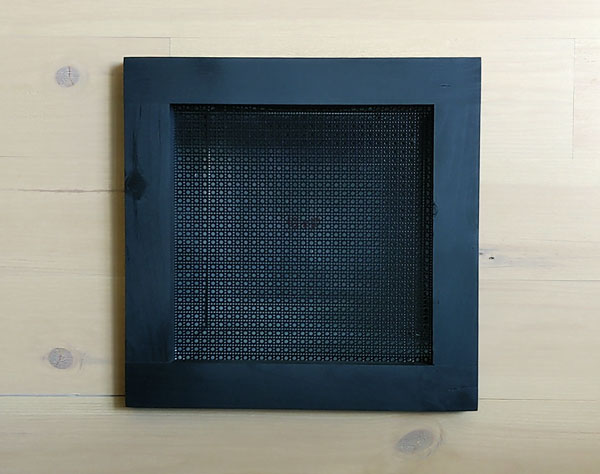
Wipe your freshly sanded frame of any dust or debris and paint (or stain) the color of your choice. I used matte black spray paint because it’s quick and classic, but go as mild or wild as you’d like! That’s the true joy of creating something just for you, right?
Allow to dry fully before moving on to the next step.
Step 8: Cut screen to size
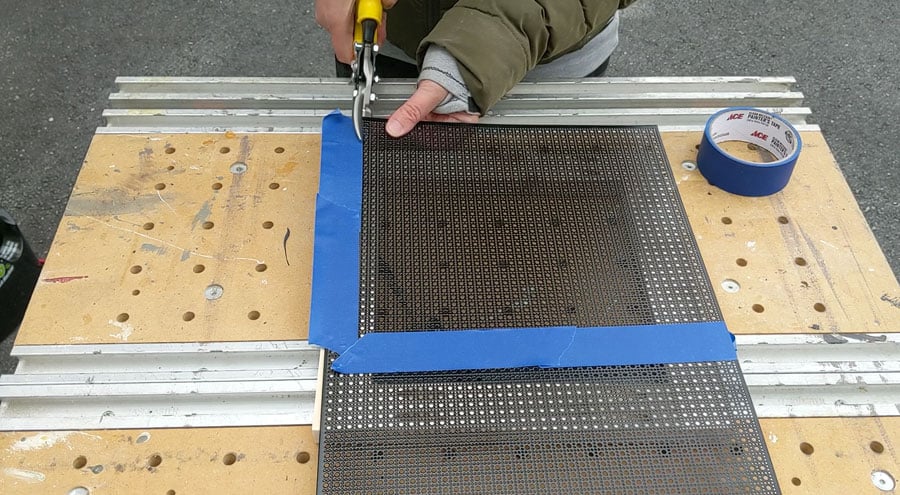
Using tin snips, cut a sheet of decorative metal screening to the size of your frame. I used this one because I love how the pattern looks a bit like caning. If you want to make this project even more affordable (or you need to make many air vent covers), you could use regular window screening!
I used painter’s tape to mark where I wanted to cut. Allow for generous overlap onto the frame, stopping about a 1/4″ shy of the outer edge.
Step 9: Attach the screen to the frame
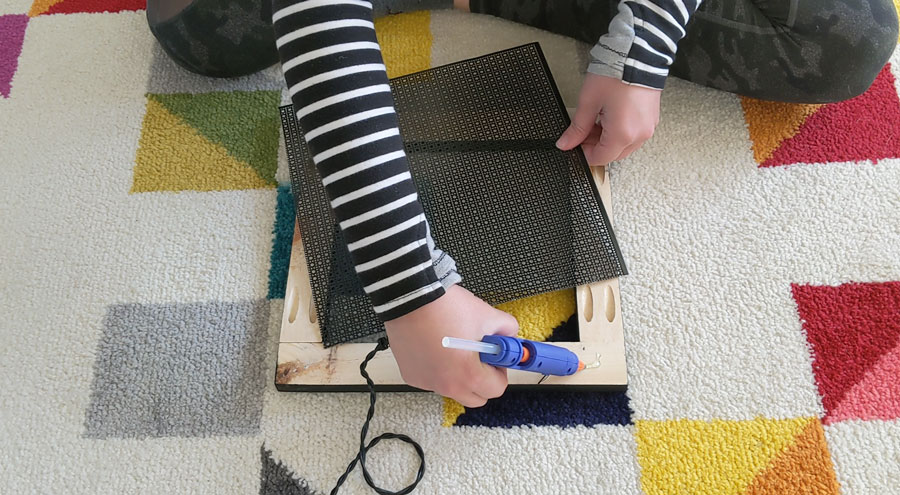
Next, attach your sized screen to the frame of the air vent cover using hot glue. I initially planned to use Liquid Nails, but I misplaced my tube, so I went with hot glue instead. And I’m so glad I did!
By pressing the screen into a blob of hot glue, the excess will push through the holes of the screen. Quickly smooth the glue over the screen surface (be careful, it’s hot!). In doing this, you create a bond on both the front and the back of the screen, setting it immediately.
Continue around the edge of the screen, securing at the corners and in the center of each edge.
Step 10: Attach Command Strips and install
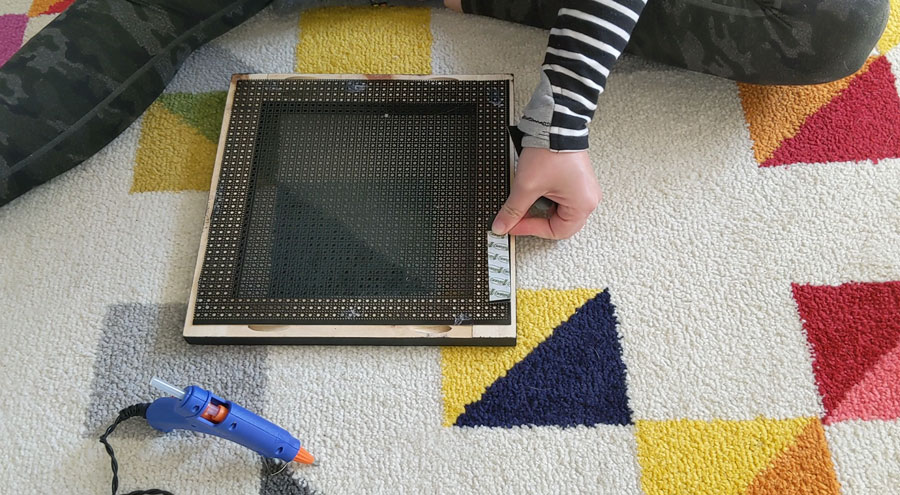
Finally, attach Command Strips to the back of your DIY decorative air vent cover and stick it on the wall! I love the picture hanger version because you can easily reposition your vent cover once the strips adhere to the wall in case you didn’t set it quite right the first time.
I used the Command Strips rather than screws because it leaves the frame unblemished. An exposed screw head would really ruin the look of the frame! Plus, the frame is easily removable for servicing or filter replacement — no screwdriver required.
There you have it! How to make a DIY decorative air vent cover. I hope you enjoyed this project and learned something useful in the process.
Want more? Here’s the full collection of Bloom in the Black DIYs.