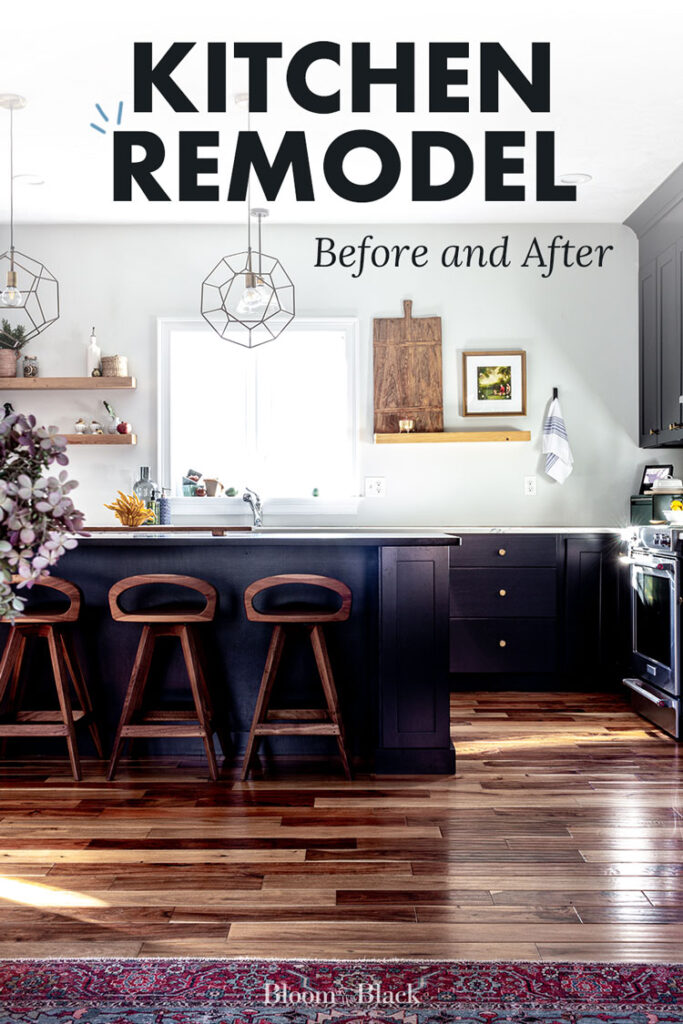
Kitchen Renovation: Before & After
People hear “renovation” and picture walls blown out, months of dust and debris, and tens of thousands of dollars spent.
Not all renovations have to be that way, though!
Our kitchen renovation has been five years in the making while taking small steps along the way to get us to dream kitchen status. No walls were removed. Heck, we didn’t even PAINT the walls. Just some very intentional and strategic changes that we’d been dreaming about for half a decade.
Pin for later!
This post contains some affiliate links for your convenience. Click here to read my full disclosure policy. Thanks for supporting Bloom in the Black!
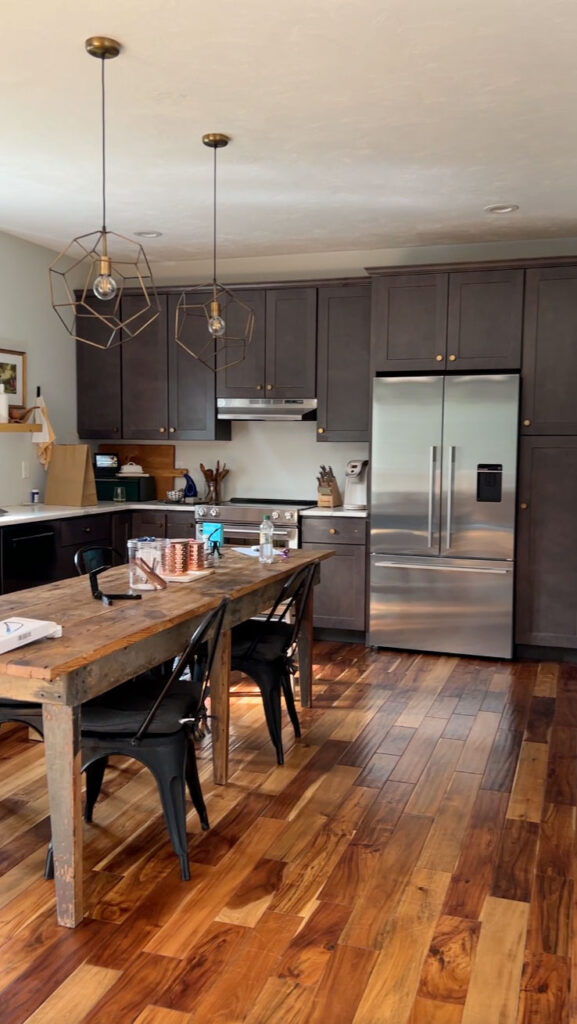
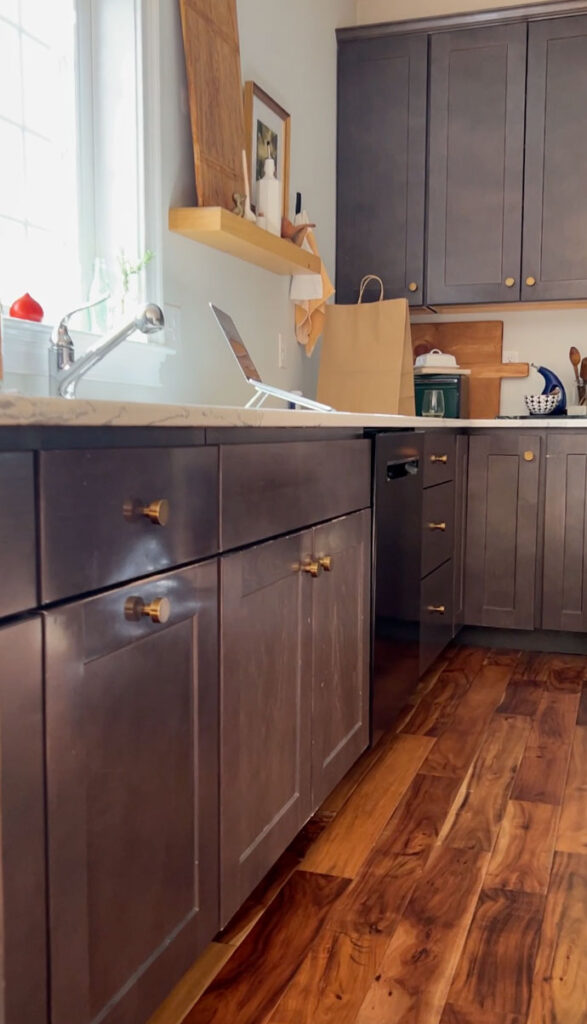
The Before
What we started with was mainly fine, but when we bought this house, we always knew we’d make some changes and made decisions accordingly.
Some background: our house was built in 2017, and we purchased the house at the tail end of the build. We were able to make some customizations, but nothing major. We were able to select the cabinet color from three choices and picked the one that was closest to what we really wanted (black). I requested they leave off the upper cabinets on the sink wall and not include the island.
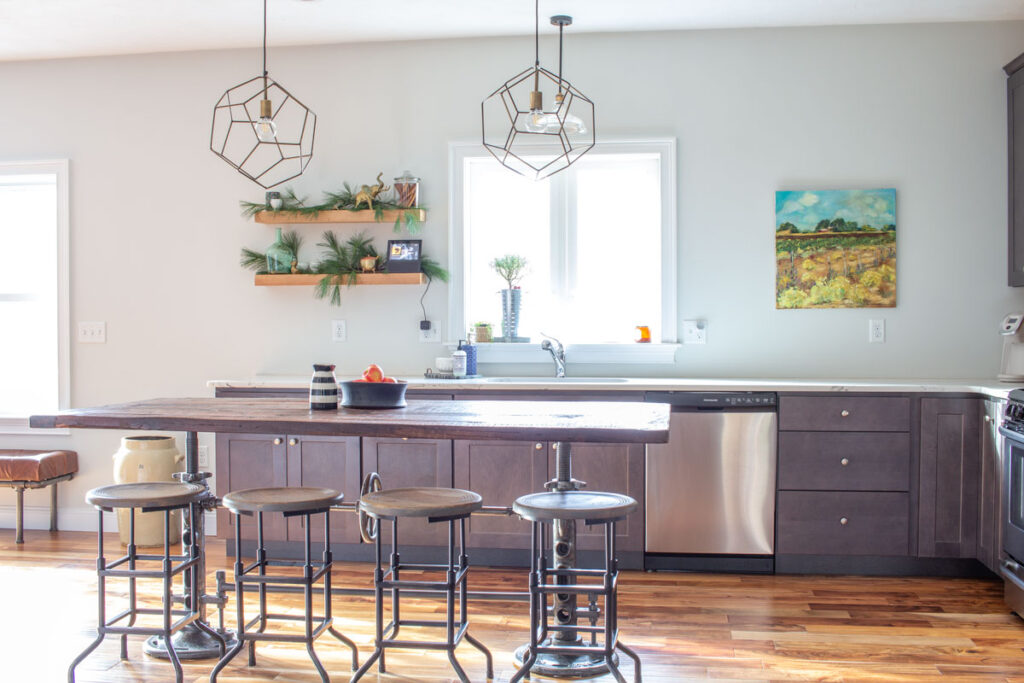
This raised some eyebrows, but I have very good reasons for this!
First, the view of our backyard is beautiful — but there’s only a teeny tiny window over the sink. Someday we’d like to replace that with three more oversized windows to make the most of the view, so it would have been a waste to install upper cabinets that we’d end up tearing out anyway.
Second, the island the builder had spec’d was WAY too small for the kitchen. And way too small for my family! I did some quick calculations and found that an island roughly 105″ x 35″ would be perfect for the space. The island that was spec’d was roughly half this size.
If you need guidance on figuring this out for your kitchen, check out my post on the best size for your kitchen island.
We also wanted to close the gap between the top of the cabinets and the ceiling.
By requesting that he not include the island and leave off those extra upper cabinets, this allowed us to save for one that we would love so much more and freed up a little extra money to put towards an upgraded countertop.
So this summer, we finally took the plunge into the first phase of this project: painting the cabinets and building the dream island!
It was just in time because our cabinets were in rough shape at this point.
The Plan
We used the same woodworker who built the beautiful blue bookcase (with the secret dog tunnel) in the adjoining room. He’s super talented and on the same design wavelength as me, which helps a lot with communication.
Here’s what he did:
- Built and installed a custom kitchen island
- Sprayed the existing cabinets black
- Built a secondary bank of cabinets in the adjoining room to match the blue bookcase
I sketched what I wanted the island to look like, and he worked up a quote for the island build and the rest of the punch list. I was very pleasantly surprised at how affordable it was! Not pocket change, mind you, but under 10K for such an impactful renovation? Worth every penny we’d saved up.
The Progress
That said, it was a little challenging to get through.
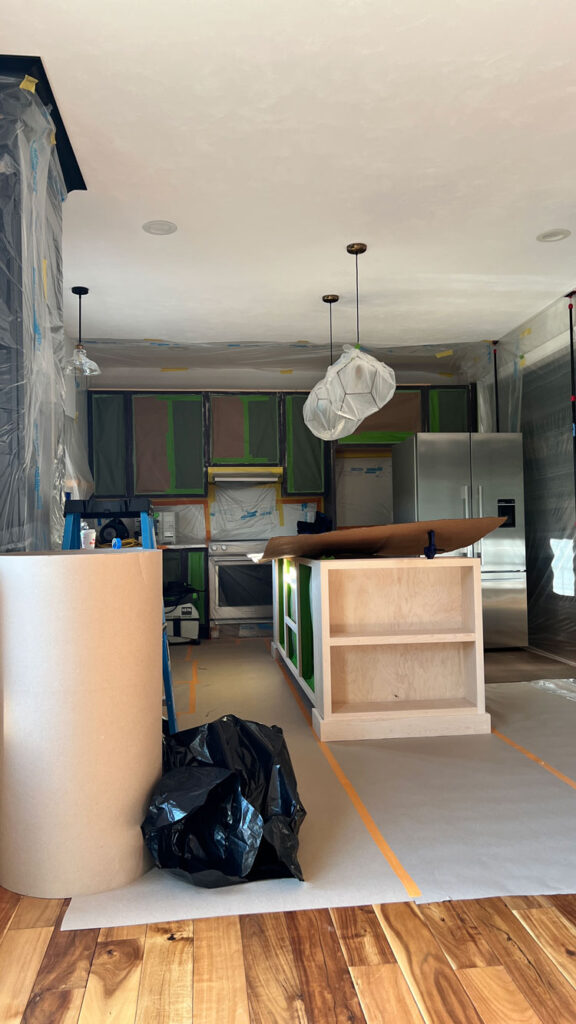
We had to vacate the house while the paint spraying was happening and ended up camping in the backyard in the high heat of August. It was actually kind of fun, but it would have been better if it hadn’t been 95° out.
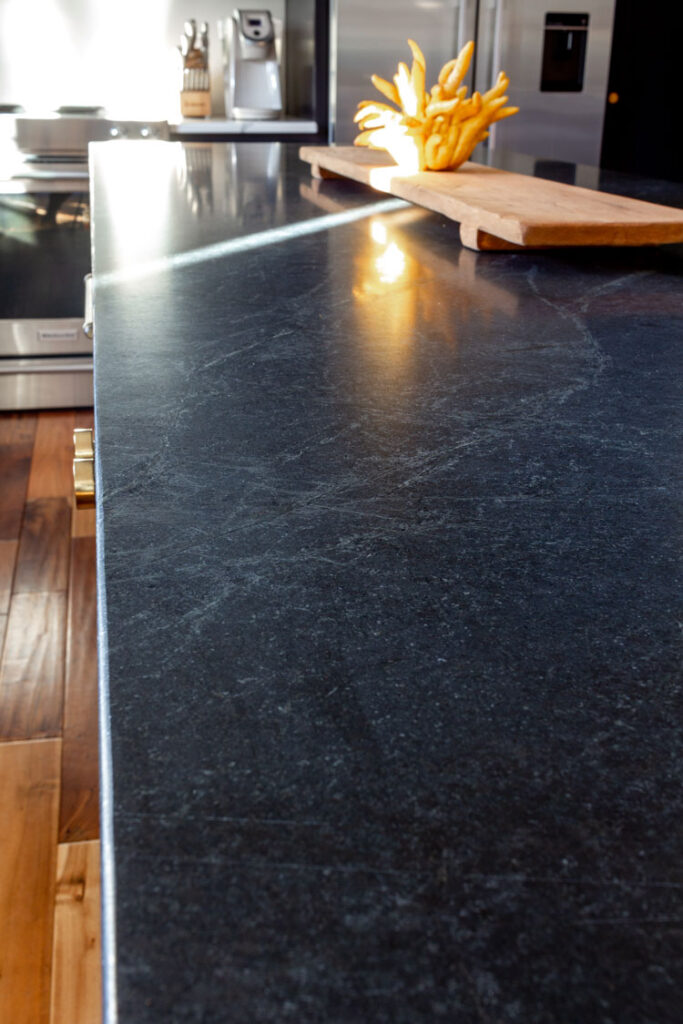
I’d been dreaming of a soapstone counter for the island (soapstone is so dreamy to work on if you like to cook), and I had a blast picking out a slab.
I absolutely love the contrast of the dark island counter with the lighter perimeter counter.
At this point, we were getting there but still had to wait a bit for the doors and drawers to arrive.
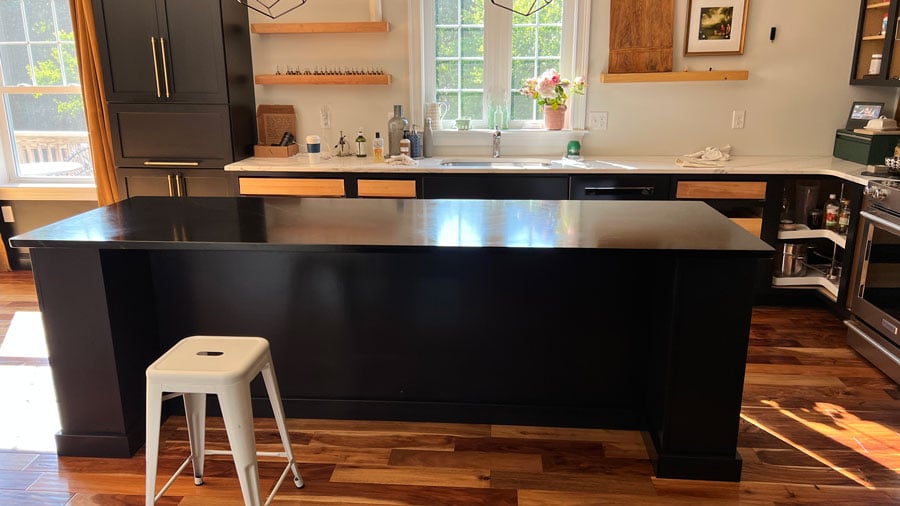
The After
This might not look like a massive transformation to some, but I can tell you that it’s been life-changing. Having a large island for dining and food prep has been such a joy.
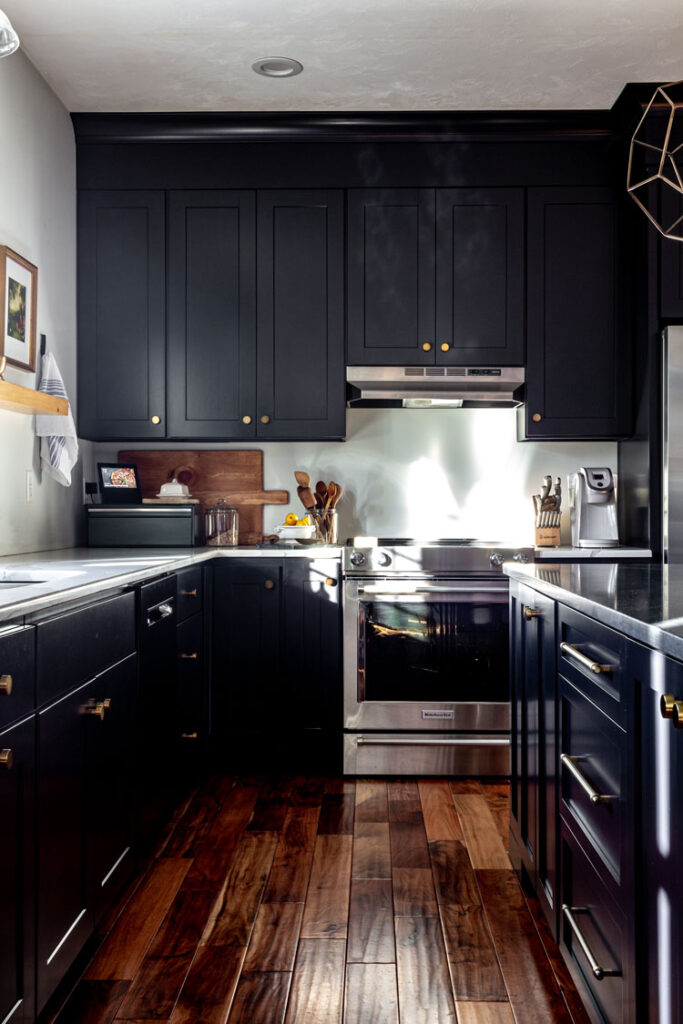
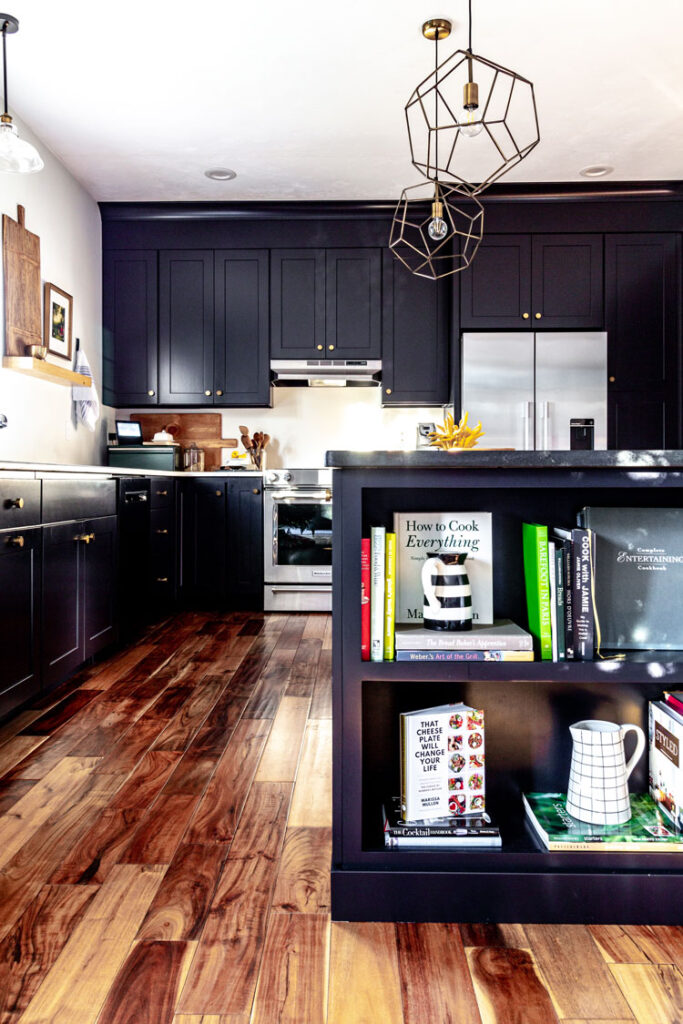
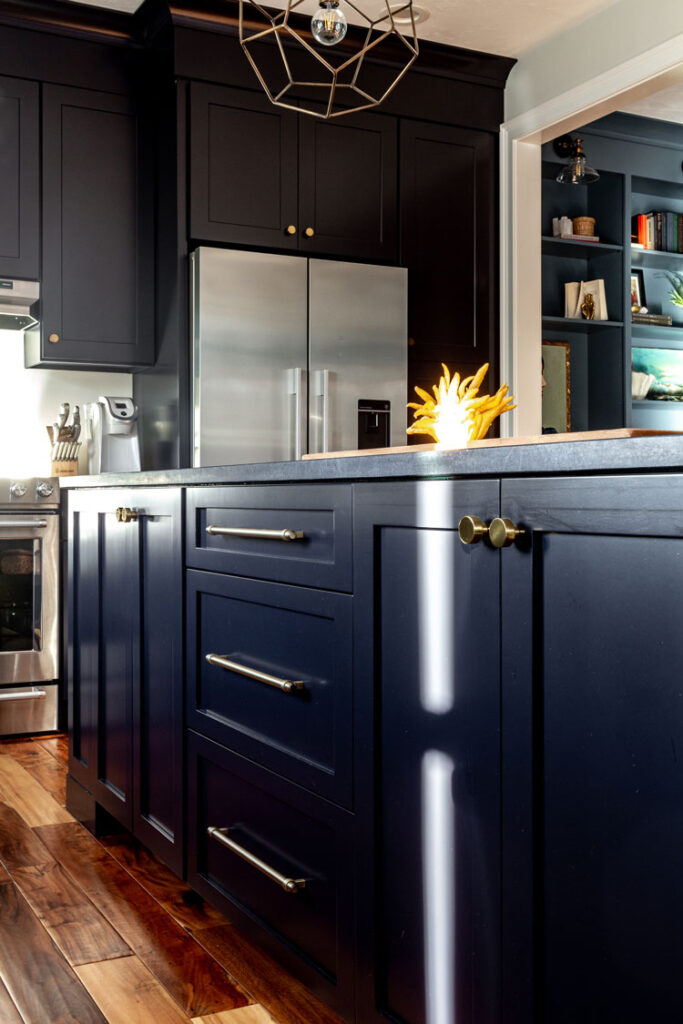
Painting the cabinets that crisp black (Jet Black by Benjamin Moore) makes the existing kitchen features pop so much more than they did before. Like our white quartz counters? They looked nice before, but they look absolutely fantastic now.
Same with our modern brass hardware. I replaced the knobs a few years back, but they didn’t truly shine until now.
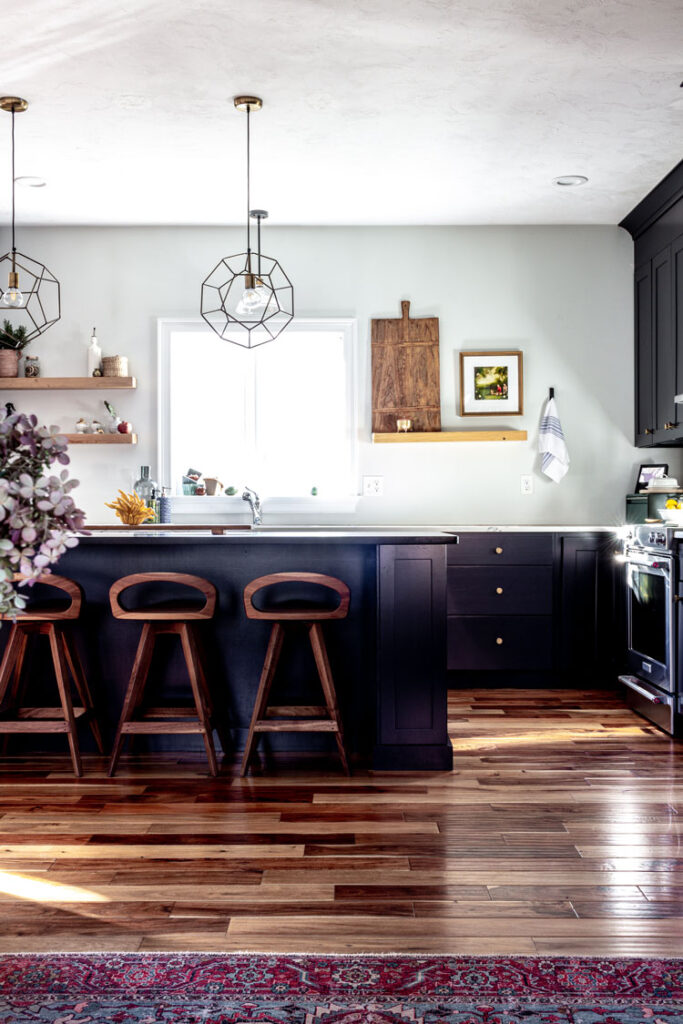
Since we’d been using a table for the past few years, I had to purchase some counter stools. I’ll be honest, since we saved quite a bit on the kitchen update, I splurged a bit on these counter stools.
They’re handmade from walnut and of true heirloom quality. I love that I can pass these down to my girls someday.
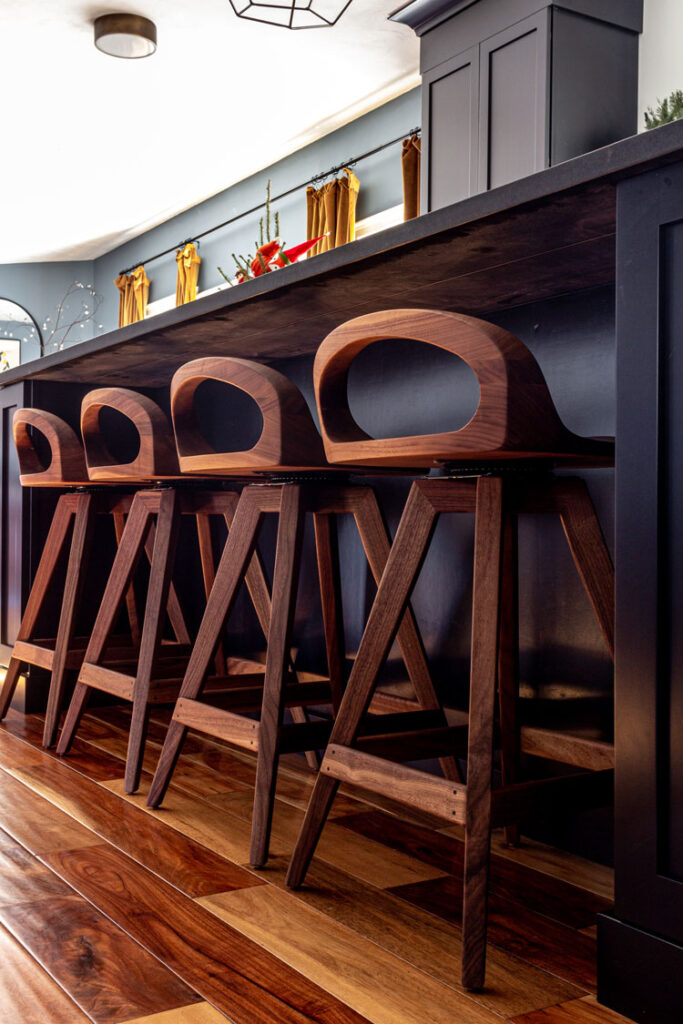
Plus, they swivel, which is fun! Here’s how we figured out which way the island seating should face.
On one end of the island, I had our guy build a small bookshelf to hold cookbooks. I thought this was an excellent styling opportunity since this end of the kitchen is open to the living room. But clearly, I need to get more cookbooks! Looking a little empty for my tastes 🙂
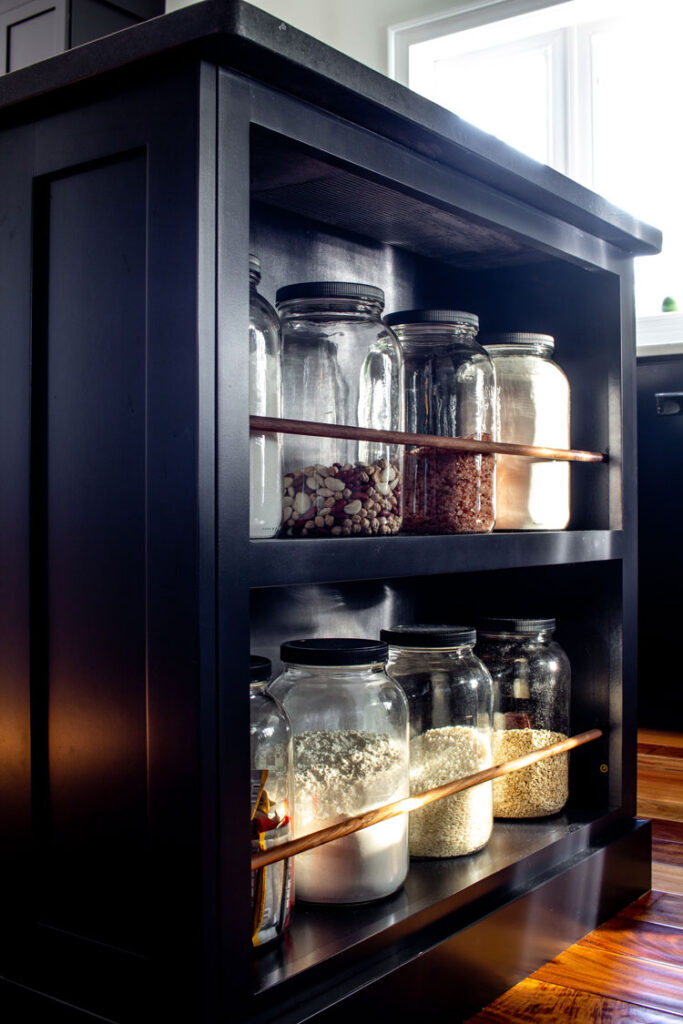
On the other end, I had him build another set of shelves for dry-good pantry storage. There’s a walnut rod across this set to prevent glass jars from accidentally being knocked to the floor. That pop of walnut is a nice tie-in with the counter stools.
I’m incredibly excited to have all of this workspace now! I cook A LOT, and I value counter space above all else in my kitchen. Plus, now I can prep and chat with my kids on the other side of the island rather than have my back to them.
It’s the little things.
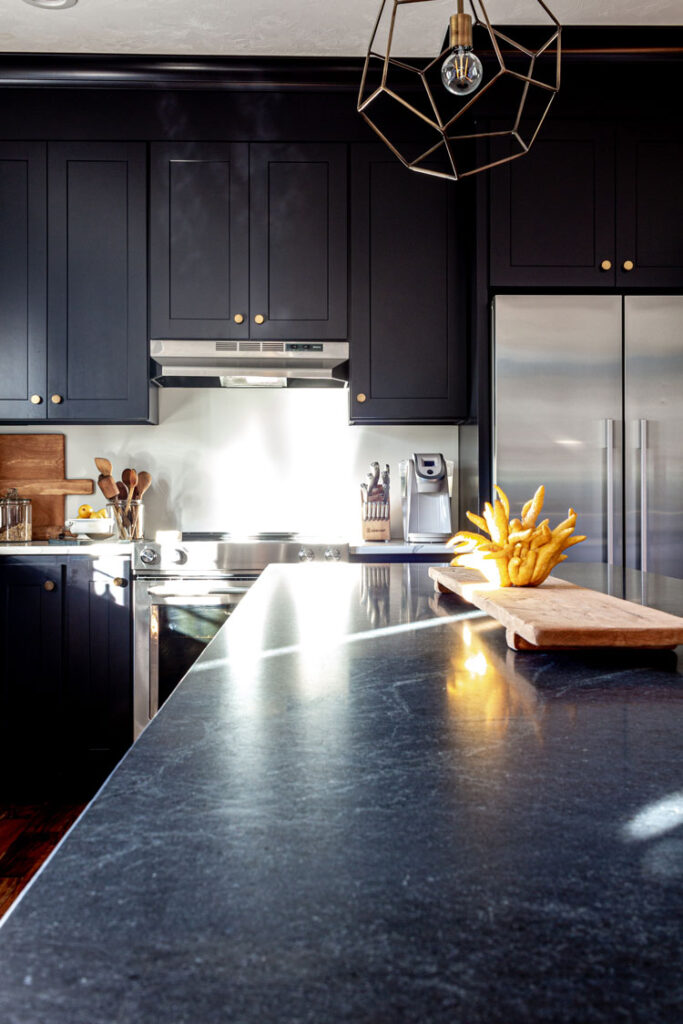
And I just wanted to share a little detail shot of the soapstone. I love all those tonal swirls and rivers through the gray-green stone.
Here’s the storage side of the island. I designed this to have three center drawers flanked by two cabinets with shelves. I plan to reorganize the whole kitchen into functional zones in the new year.
And that’s it! I hope you enjoyed this quick before and after post of a project that was anything but quick.
If this got you feeling inspired to do some cooking, be sure to check out some of my easy family recipes!