How to Make a Potato Stamp to Print on Fabric
I recently set out to tackle an upholstery project on a very limited budget. It was for a kids’ bedroom so I wanted something a little special but fabric can be cha-ching. Using a drop cloth is a great option for affordable upholstering, but a bit safe (bor-ing) for a kids’ room.
So I got to thinking: could I MAKE a drop cloth into something special?
Heck yes.
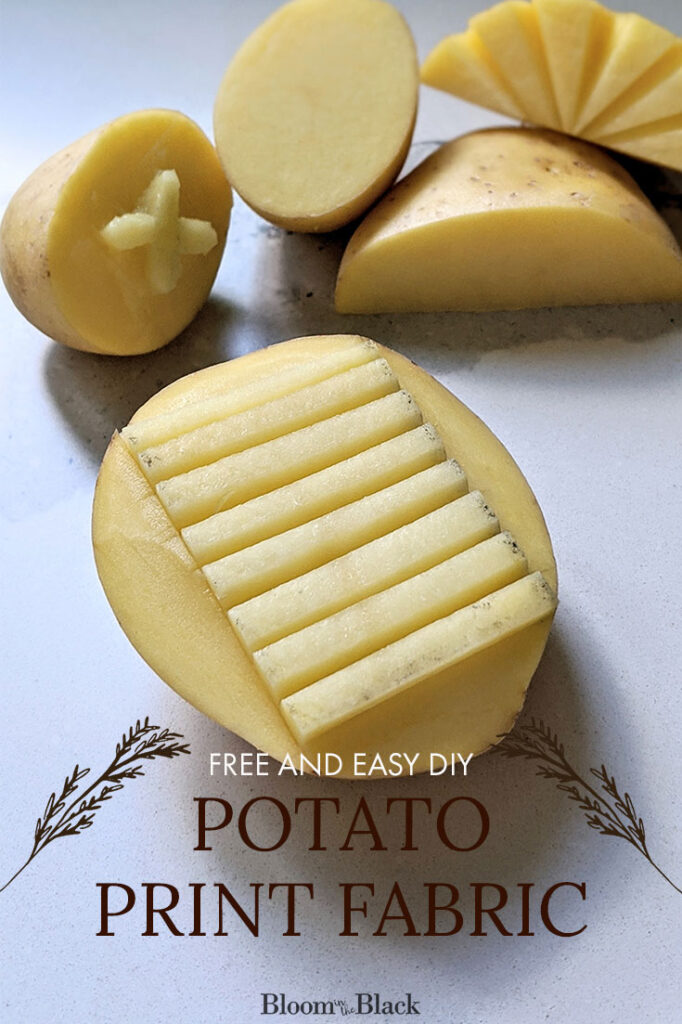
In this post, I’m going to teach you how to make a potato stamp to print fabric, the right way, for beautiful results.
Pin for later!
This post contains some affiliate links for your convenience. Click here to read my full disclosure policy. Thanks for supporting Bloom in the Black!
How to Make a Potato Stamp
Basically, you’ll cut a potato in half, carve out your desired shape, then spread a thin layer of paint on the shape, and press firmly into your fabric. This fabric stamp will cost you pennies and you can customize it to be anything you want!
MATERIALS NEEDED
- Firm potato (Yukons are good)
- Sharp knife
- Paper towels
- Paint (Any kind. I used an old paint sample.)
- Small paintbrush
- Drop cloth (to paint on)
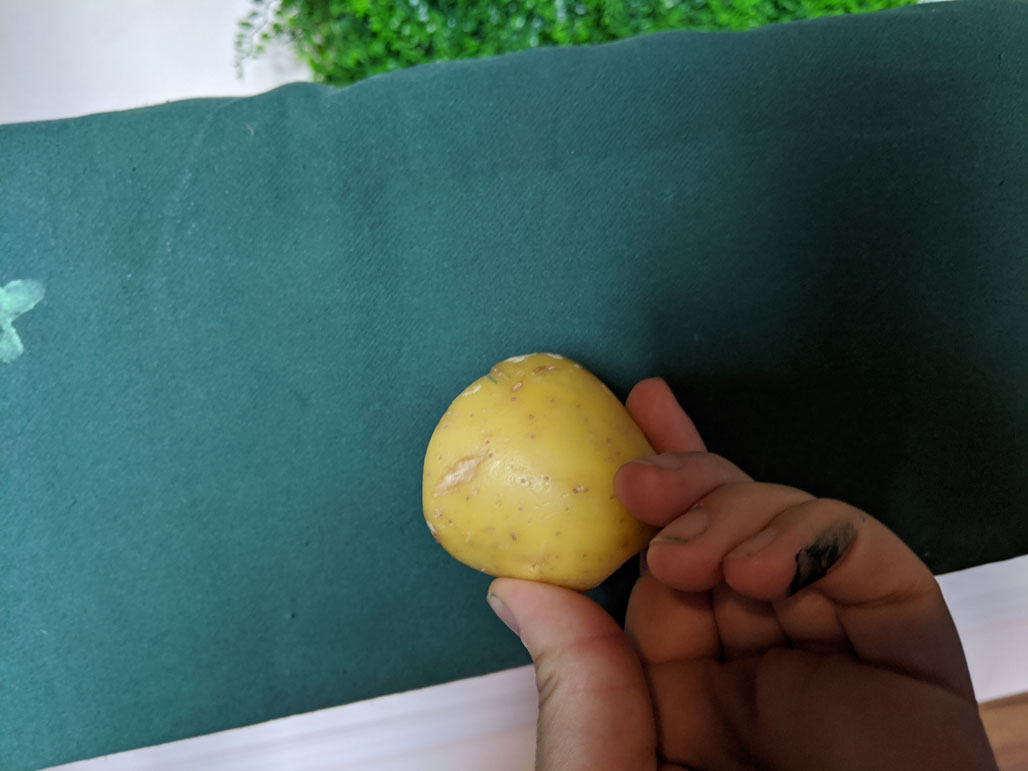
Step 1: Cut the potato in half
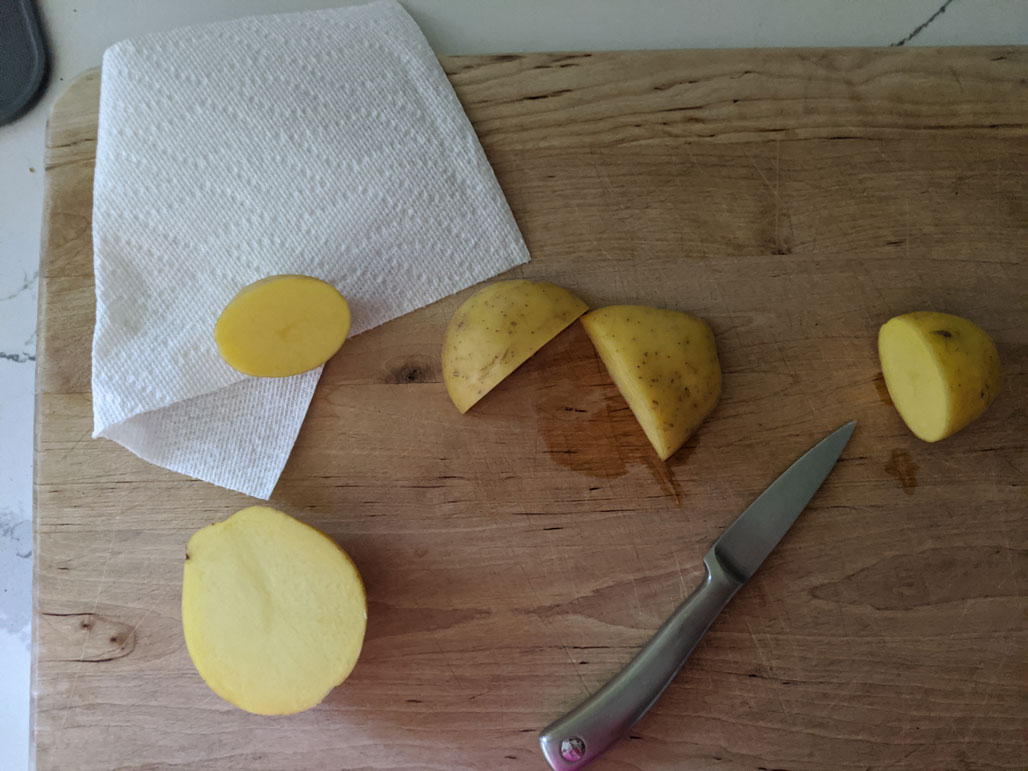
Decide what size potato you need and cut it in half. Choose your potato size based on the shape and size you want your stamp to be. Even a small potato simply cut in half can make a charming organic polka dot stamp!
I experimented with many different patterns. I used a medium potato for my stacked bar pattern and a small potato for my cross star pattern. Think about how big you want the final result and choose your potato accordingly.
Once you’ve cut your potato stamp halves, pat dry with a paper towel.
Step 2: Sketch or score your pattern on the potato
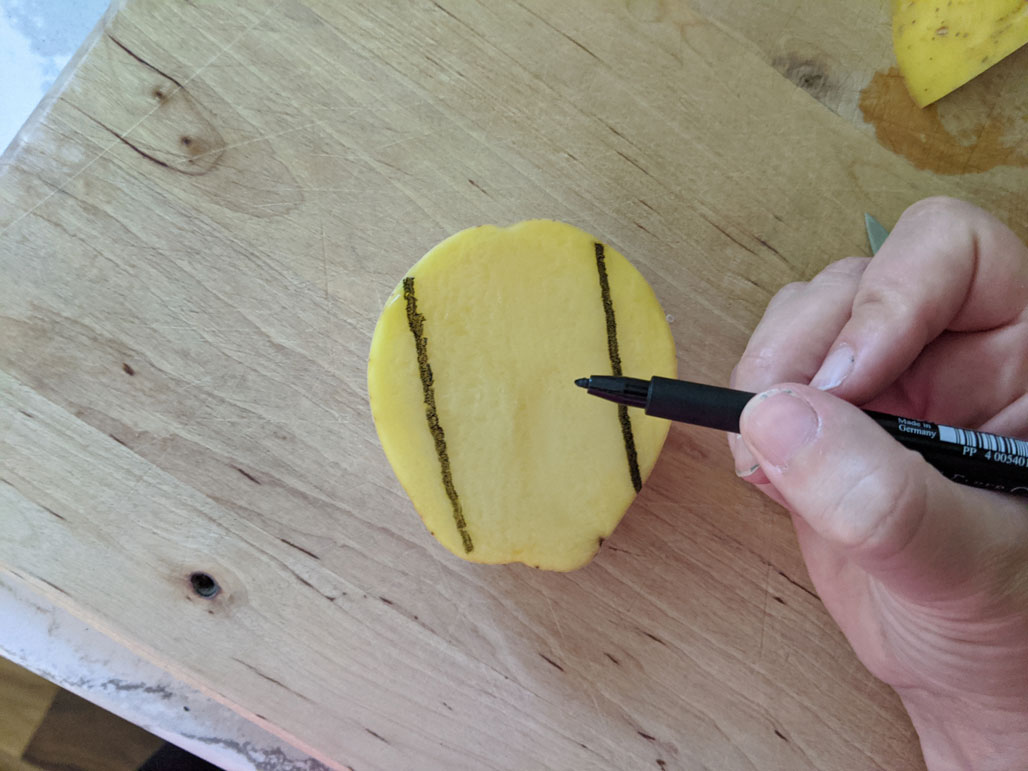
Next, you need to draw the pattern onto the potato. You can use a marker to sketch the pattern or a sharp object like a small knife or a pin to lightly score it onto the cut surface of the potato.
If the potato stamp will be something simple like stripes, you can freehand it.
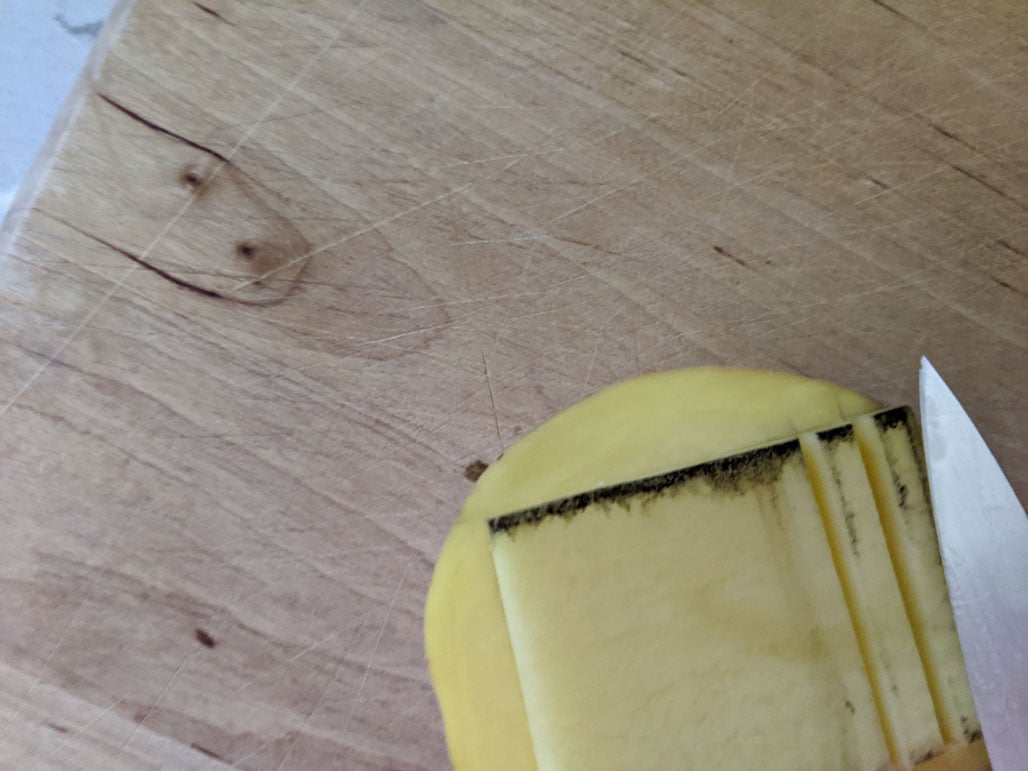
Step 3: Cut the edges to establish the depth
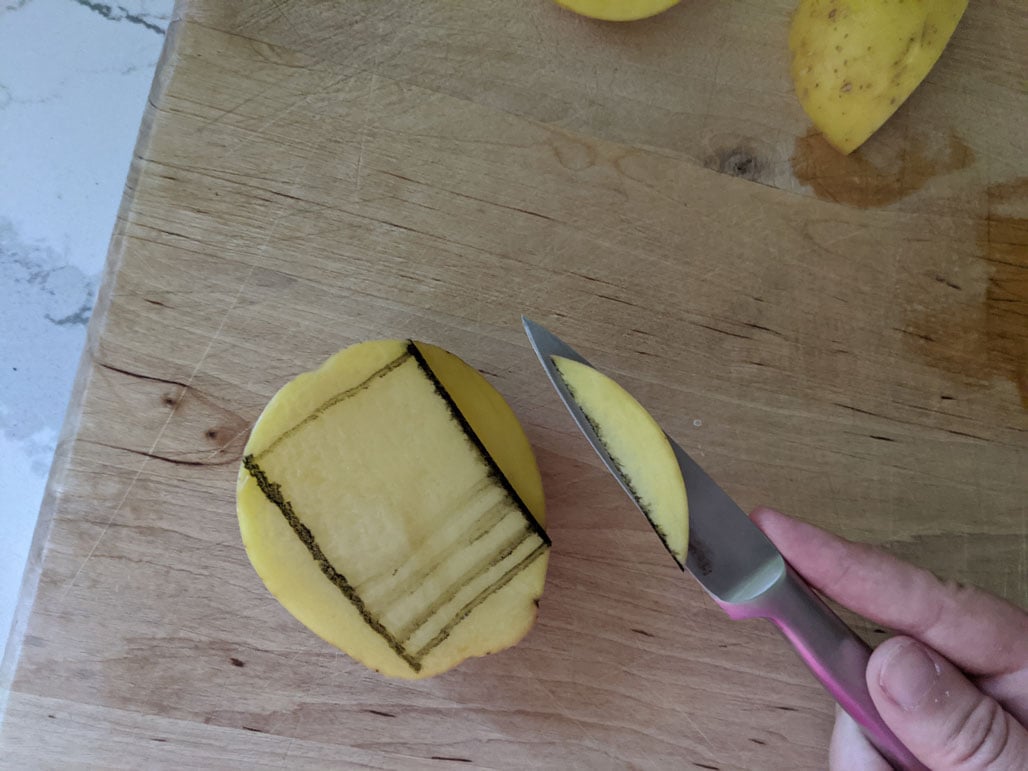
Cut a rectangle around the pattern, about 1/4″ inch deep, to mark the depth you’ll cut your potato stamp to. First cut down from the surface of the stamp, then cut in from the side to meet your first cut. Remove the potato slice and move to the next section.
I found that 1/4″ was ideal: deep enough to make a clean potato stamp but shallow enough that the stamp pattern itself was strong and wouldn’t break off.
Step 4: Cut out your potato stamp pattern
Now cut out your pattern! If the potato stamp pattern you’re creating has all straight lines this is easy! Use a small sharp knife to carefully slice down the pattern you drew to the depth you established in step 3, and remove the potatoes piece as you meet the previously cut edge.
But let’s say you have curves in your shape:
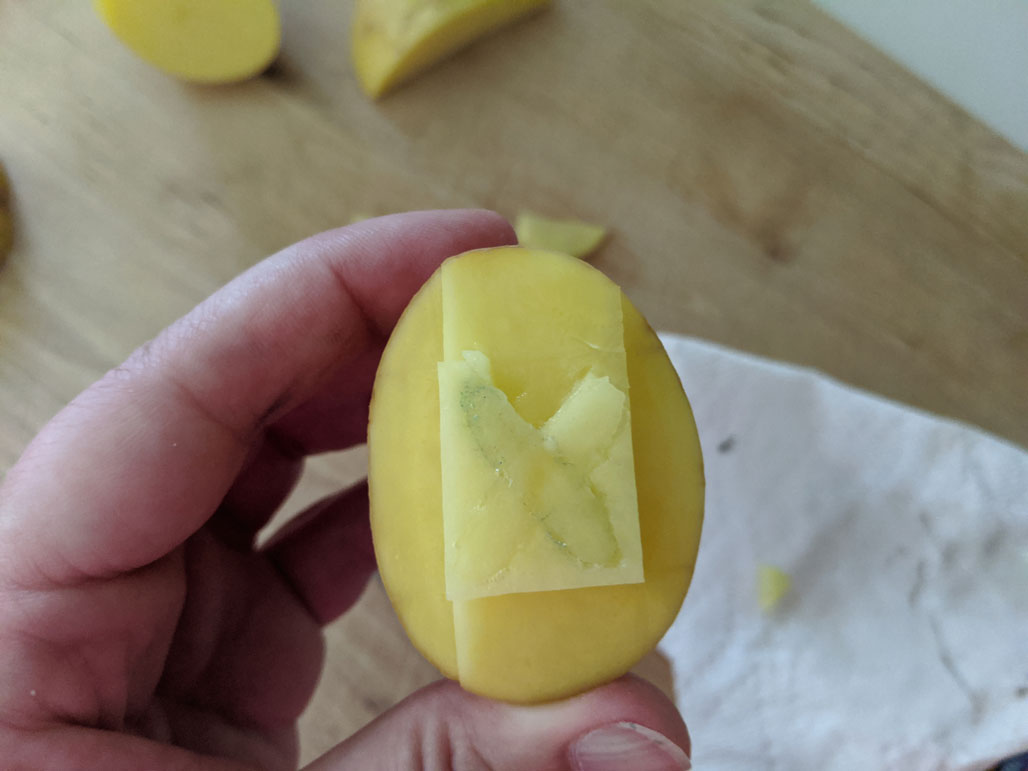
In this case, you would make very small slices down the pattern to the edge or your cut line to remove the potato fill tiny piece by tiny piece. The beauty of a potato stamp is the organic prints that it makes, so the cuts don’t have to be perfect. But rest assured that by cutting in small pieces and stages, you’ll get to a satisfying curve.
Step 5: Brush a thin layer of paint on the stamp shape
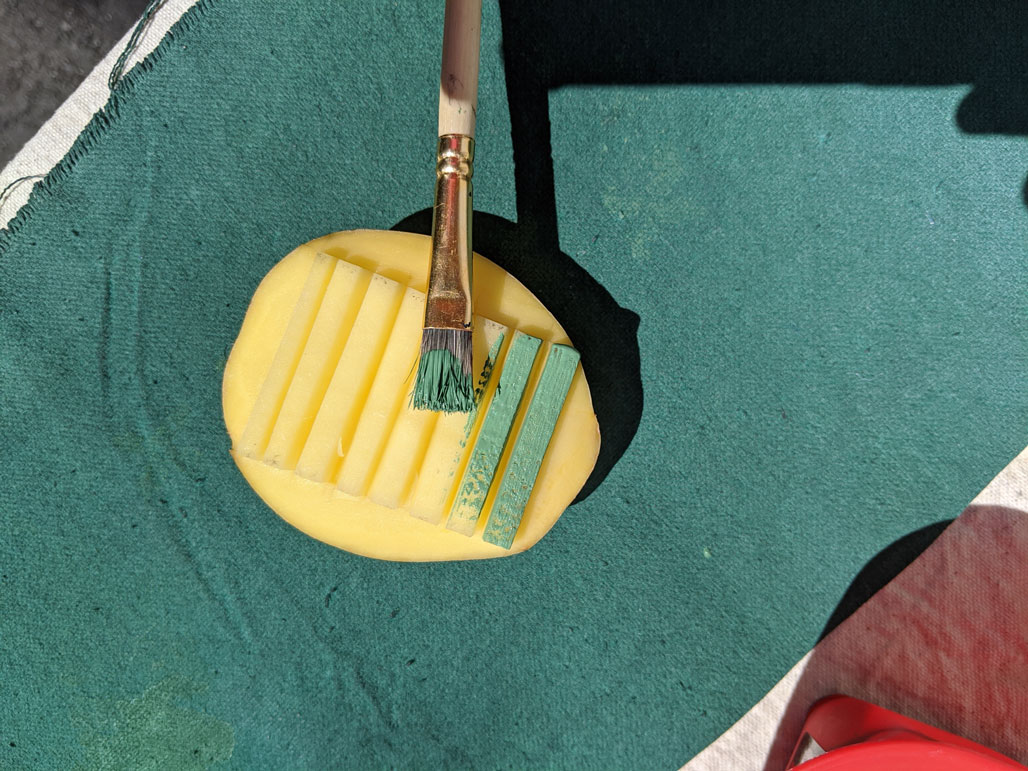
Use a small paintbrush or chip brush to apply a thin layer of paint to the stamp shape ONLY. You’ll be tempted to simply dip the stamp into the paint but don’t. The layer of paint will be far too thick and make a blurry messy stamp on your fabric.
Brushing a thin layer on the potato stamp will help you control the amount of paint that’s applied and create a sharp line around your shape.
Step 6: Press potato stamp firmly onto the fabric
Take your painted potato stamp and press it firmly and cleanly onto your fabric. Don’t wiggle it around! Press straight in and pull straight out.
Repeat until you achieve your desired pattern. Get creative: vary your placement and colors. Try layering the stamped shapes for a totally new look!
Optional: Test your potato stamp patterns
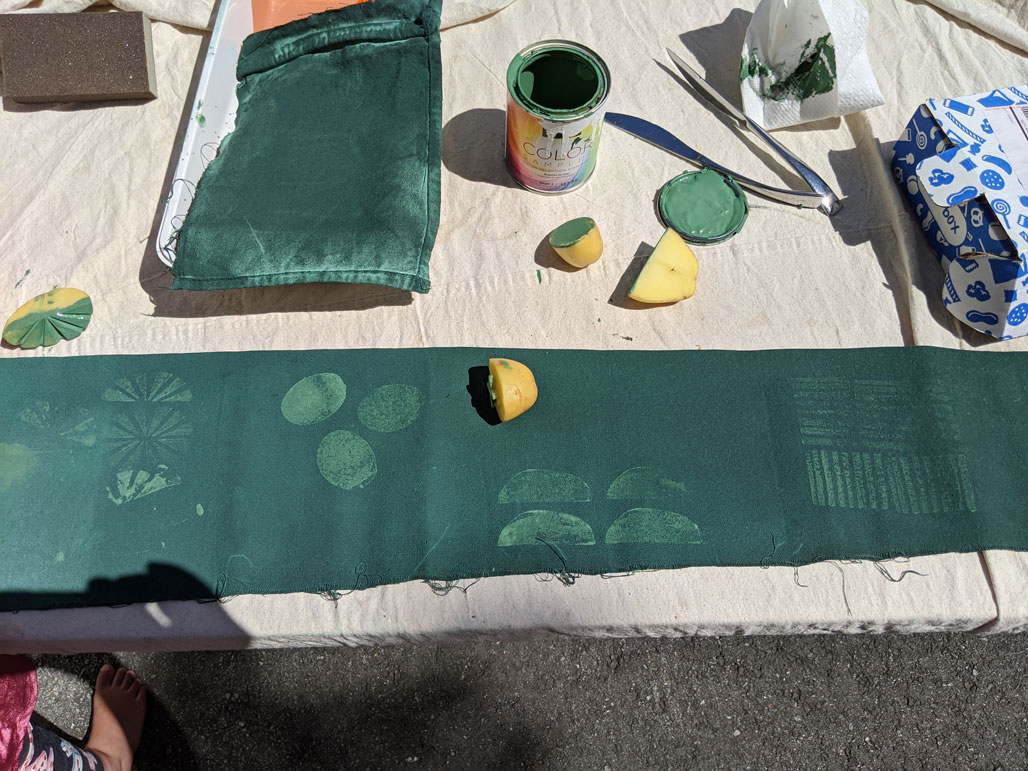
If you’re trying to decide between a few different patterns, test them on a scrap piece of fabric. I actually ended up using a completely different pattern than I thought I would for this bench project!
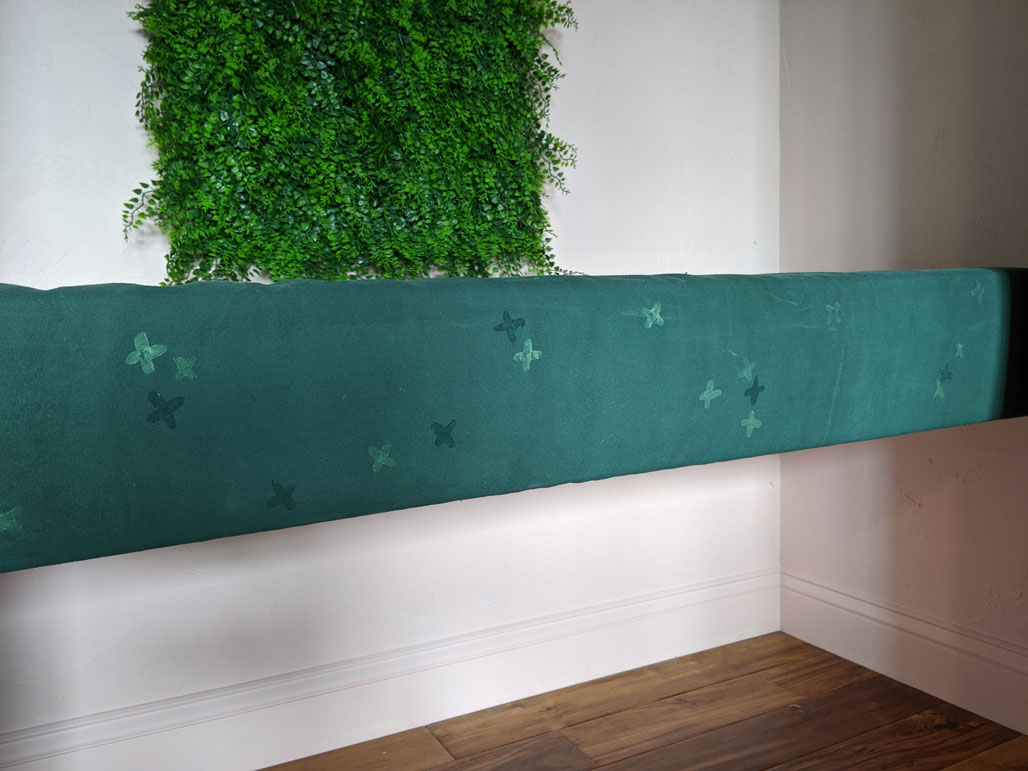
And you’re done!
I opted to stamp my fabric once the bench was installed in the reading nook so I could control the pattern placement, but I’ve also just potato printed a full yard of fabric then cut it down for my project. It all depends on the look you’re going for!
I hope you try making potato stamps. It’s a fun, cheap, and low-risk project you can even do with your kids! You can also use these to create potato stamp art on paper. That’s probably next on my list…