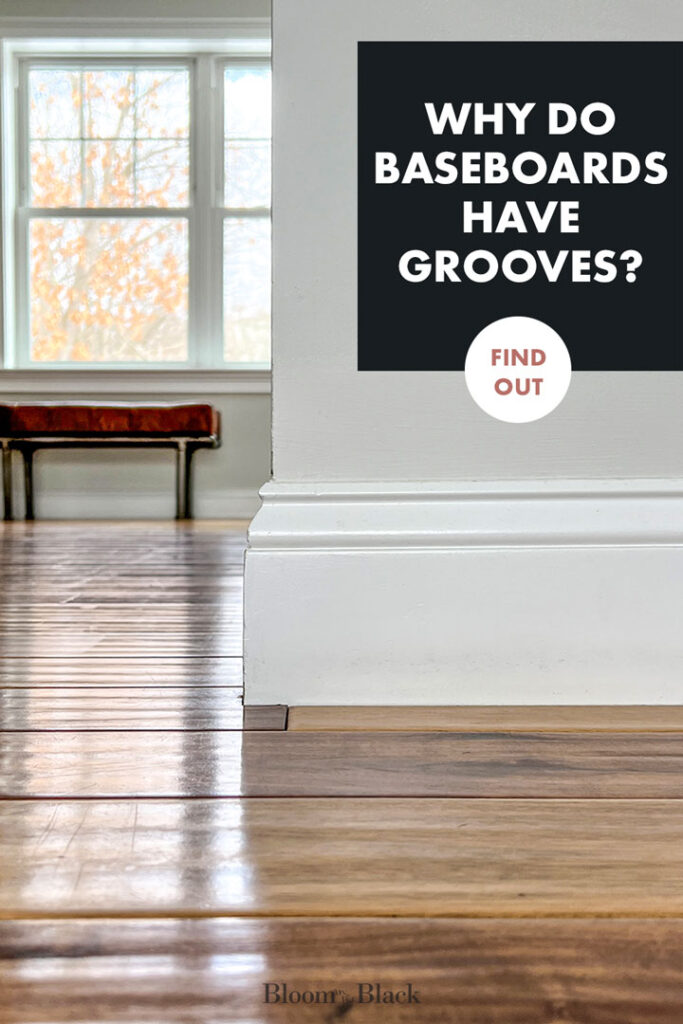
Why Do Baseboards Have Grooves in Them?
Baseboards are an essential part of the interior design of any home. They provide a visual barrier between the floor and the walls and can be made from various materials. But have you ever wondered why some baseboards have grooves in them?
Baseboards have grooves for base fastening, air movement, ease of installation, and reducing expansion and contraction. They also add an aesthetic touch and help conceal imperfections. Moreover, baseboards protect walls from moisture and debris that can build up on the floor.
In the rest of this article, you will learn why baseboards have grooves, how to clean them, and what kind of material should be used to make them.
Pin for later!
This post contains some affiliate links for your convenience. Click here to read my full disclosure policy. Thanks for supporting Bloom in the Black!
5 Reasons Baseboards Have Grooves
There are a few reasons baseboards might have grooves, and not all of them are related to aesthetics.
1. Base Fastening
Baseboards are usually installed at the base of the wall to prevent wet spills from penetrating drywall. Grooves in a baseboard make this process easier as they ensure that the baseboard is flush with the wall. The grooves make bending easier, which helps fasten the baseboard to surfaces that may stand slightly proud and prevent anything from flowing inside the wall.
2. Air Movement
Manufacturers understand that grooves help with air movement, especially during drying. In a simple explanation, surfaces need to release air as they dry up. Relief cuts allow for an easy flow of air after molding. Air circulation helps prevent the baseboard from bowing or warping as it adheres to the wall.
When the wood dries, it shrinks and sometimes detaches itself, causing weird sounds that are usually said to be tension and stress.
Some baseboards have grooves on the back side that allow for expansion and contraction as the humidity and temperature in the room change. These grooves can help prevent the baseboard from warping or cracking.
3. Easing Installation
Baseboard grooves help with stability during installation. There’s much involved in modeling and installation, including nailing, cupping, and bending. Grooves ease the process by making it easier to nail boards into place if they’ve been improperly dried.
4. Aesthetic
Grooves added to the front of your baseboards can add visual interest and detail to the room. They can also help to break up the monotony of a long, straight baseboard. Grooves at the back help the baseboard sit more flush against the wall, offering a smoother sightline from top to bottom.
5. Concealing Imperfections
Baseboards are often installed over uneven or rough surfaces, such as concrete floors. The baseboard grooves can help conceal these imperfections and give your home a smoother, more finished appearance. They help spaces look bigger by offering a seamless transition between the wall and the floor, regardless of any potential issues with the flooring.
Similarly, you can find grooves on door jambs, which may have other reasons. Read my article on the subject to learn more!
How Deep Should Your Baseboard Be?
The depth of baseboards can vary, but they are typically between 3 and 5 inches (7.6 and 12.7 cm) in depth. The depth of baseboards is generally determined by the size of the room and the style of the baseboards.
Many factors need to be considered when determining how deep baseboards should be:
- How much wall space do you have?
- How high do you want your baseboard to sit?
- What type of finish do you want on your wall? (If you plan to paint over it later, it will determine how deep you want it.)
- What kind of style do you want?
Ultimately, the choice of baseboard depth is something you would decide once you know what you want your home to look like and the function of the baseboards in your home.
How To Fix Baseboard Gaps
Baseboard gaps are very common in older homes. They can occur between the baseboard and the floor or the baseboard and drywall. Although they aren’t usually an immediate problem, they can lead to problems later.
To fix baseboard gaps, you can try the following.
- Adding a floorboard
- Installing shoe molding
- Using caulk to fill the gap
- Using flexible trim strips
- Using expanding foam
- Replacing the baseboard
You can use caulk to fill in the gaps between the baseboard and drywall and ensure the baseboard is level. If the baseboard is too high, shoe molding can fill the gap. You can use nails or adhesive to keep the shoe molding in place.
To fix baseboard gaps between the baseboard and the floor or drywall, you can try the following steps:
- Clean the gap: Use a vacuum cleaner to remove dirt or debris. If paint or caulk needs to be removed, you can use a scraper or a putty knife to scrape it away gently.
- Fill the gap: Once it is clean, you can fill it with wood filler, caulk, or a combination of both. If you are using wood filler, follow the manufacturer’s instructions for drying time.
- Sand and paint: Once the filler has dried, use a sanding block to smooth out any bumps and ridges on the surface. Then, paint the baseboard and the wall or floor to match the surrounding areas.
- Reattach the baseboard: If the gap was caused by the baseboard separating from the wall or floor, you might need to reattach it. You can use a hammer and nails or a pneumatic nail gun. Make sure to nail baseboards securely into the studs or subfloor of the wall.
If the gap is large or the baseboard is significantly damaged, you may need to remove and replace the baseboard to fix the problem. In this case, it may be best to consult a professional.
For DIY lovers, the YouTube video below can be resourceful in helping you fix a gap between the baseboard and drywall.
What To Consider When Buying Baseboards
Here are some things to consider when buying baseboards.
- Material: Baseboards are made from various materials, including wood, MDF (medium-density fiberboard), PVC (polyvinyl chloride), and more. Consider each material’s durability and appearance to determine which is best for your needs.
- Size: Baseboards come in various sizes, and choosing the right size for your space is important. Measure the walls’ height and the baseboards’ width to ensure a good fit.
- Style: Baseboards come in various styles, including traditional, modern, and transitional. Choose a style that suits your needs and aesthetics.
- Finish: Baseboards can be painted or stained and come in various colors and finishes. Consider the color scheme of your room and choose a finish that complements it.
- Installation: Baseboards can be installed by a professional or as a DIY project. Consider your experience and comfort with home improvement projects when deciding whether to install the baseboards or hire a professional.
- Maintenance: Some baseboards require more maintenance than others, such as regular sanding and refinishing. Consider the maintenance requirements of the baseboards you are considering and choose one that fits your lifestyle and abilities.
- Cost: Baseboards vary in price based on material, size, style, and finish. Determine your budget and choose baseboards that fit within it.
Final Thoughts
Baseboard molding is designed with grooves at the back to ensure that it sits flush against the wall and has enough air to prevent any bowing, warping, or other movements of wood. Baseboards may also have grooves in the front to add to the visual aesthetics of your room. Choose the right baseboard for you by considering the materials, overall style, and ease of installation.