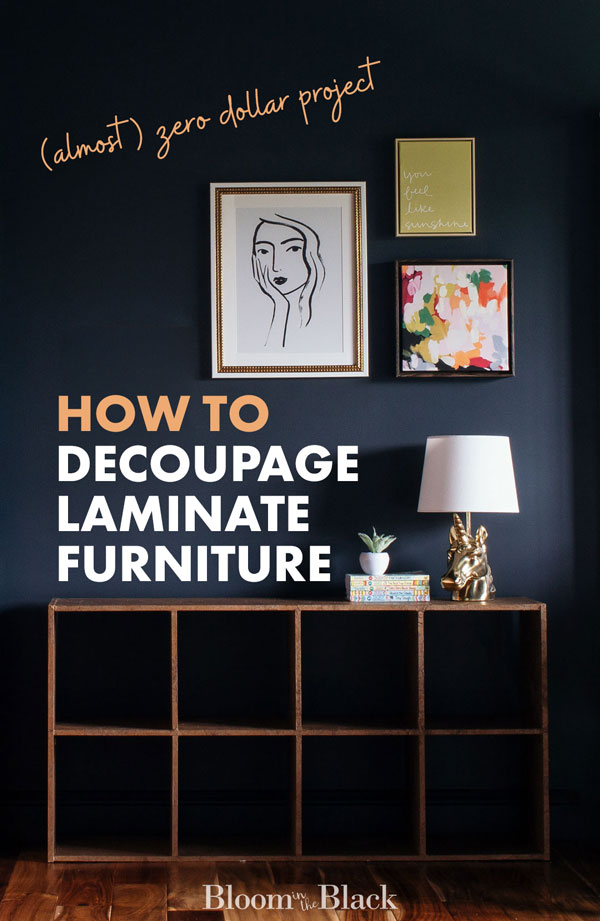
How to Decoupage Laminate Furniture With Brown Paper Bags
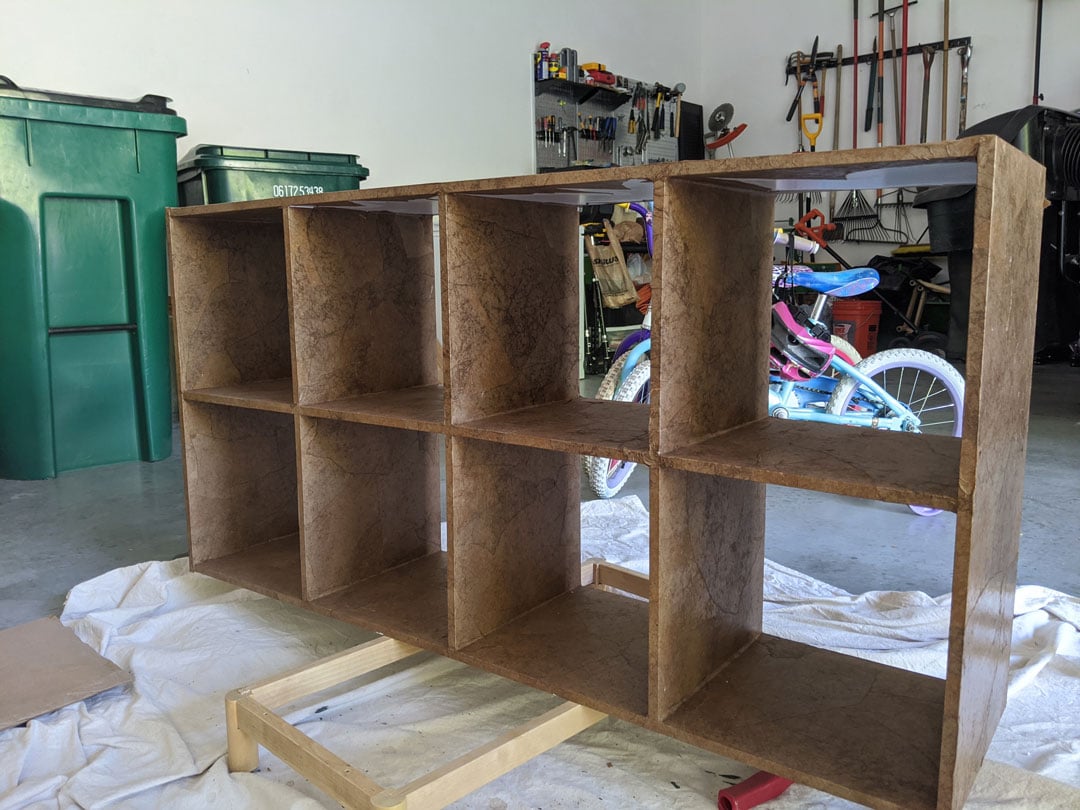
Like a lot of you, I had those inexpensive laminate storage cube organizers to store my kids’ stuff. Cubby organizers are incredibly useful, but they aren’t really built to last. And the finishing is usually pretty cheap-looking.
After a year or so mine had also become chipped, scraped, and scuffed. These cube shelves were in desperate need of a revamp, so when I redesigned the girls’ bedroom, I saw the perfect opportunity! I thought about painting them since painting laminate furniture is a big thing these days, but it didn’t really solve for the exposed screws and unfinished edges.
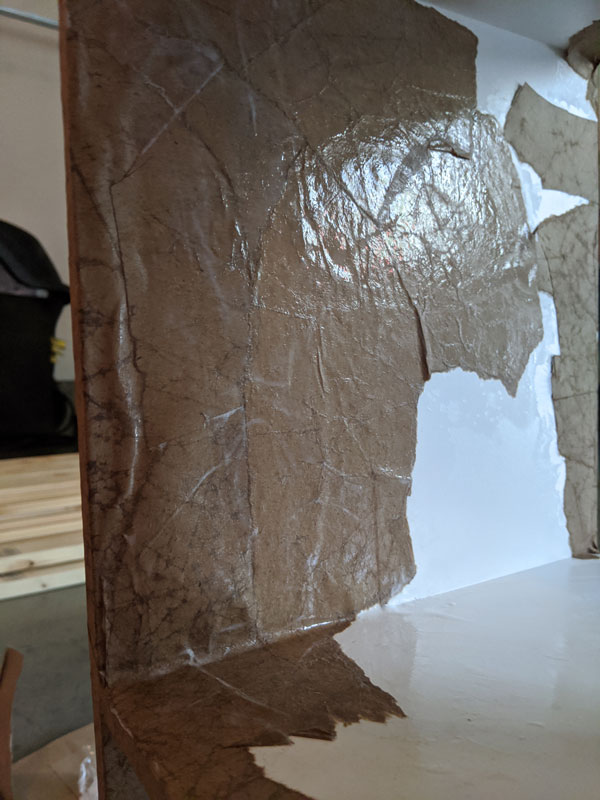
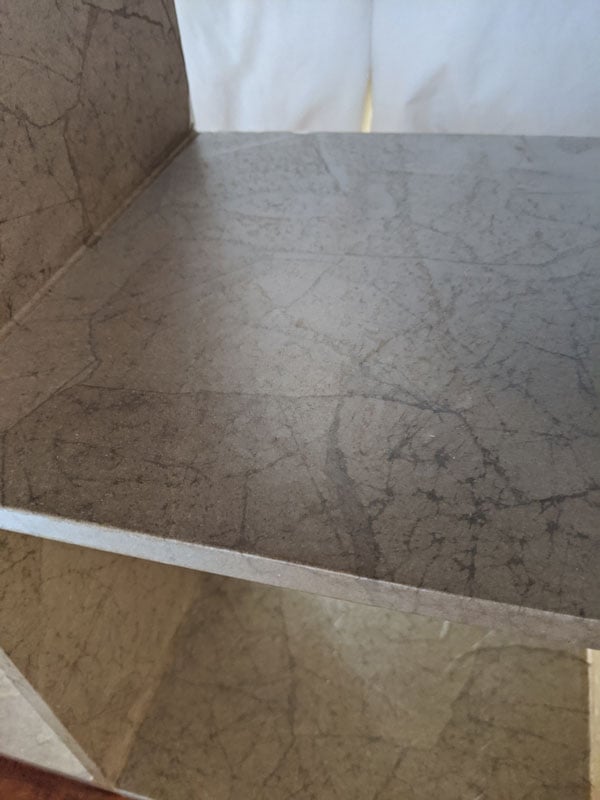
Instead, I decided to decoupage the storage cubes with brown paper bags and HOLY COW, they almost look like leather! And you know how much I love me some leather furniture.
In this post, I’m going to teach you how to decoupage laminate furniture, without painting, basically for free, simply by using some glue, water, and leftover grocery bags.
Pin for later!
This post contains some affiliate links for your convenience. Click here to read my full disclosure policy. Thanks for supporting Bloom in the Black!
How to Decoupage Laminate Furniture
Essentially what you’re going to do is tear up some brown paper bags, dip them in a mixture of glue and water, then smooth them onto your furniture in an overlapping fashion. If you already have these items on hand, this project will cost you zero dollars!
MATERIALS NEEDED
- Brown paper bags or kraft paper
- School glue
- Varnish
- Clear contact paper (optional)
Step 1: Gather as many paper bags as you can
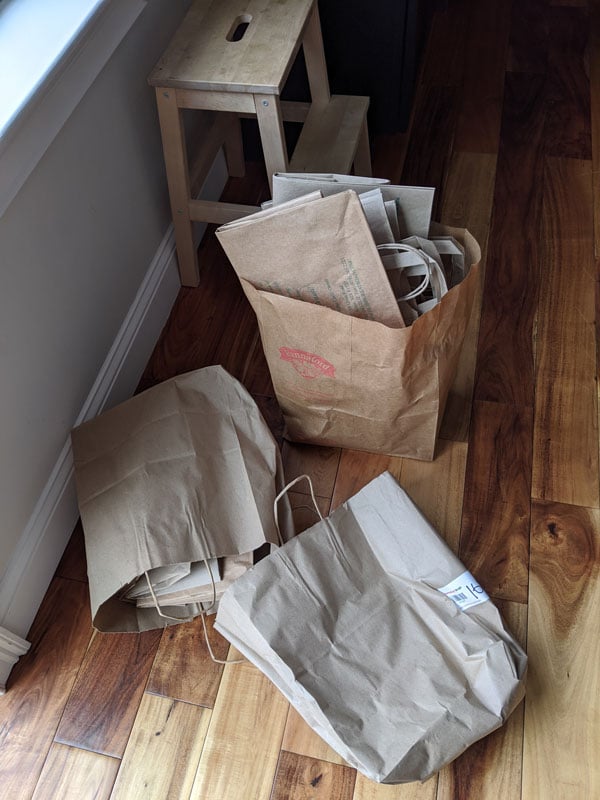
Collect as many brown paper bags as you can find (you’ll need quite a few). Ideally, you’d have bags without printing on them. If you plan to paint over the decoupage at the end, then printed is fine. Otherwise, only use the parts of the bag without print.
But what if you don’t have enough bags or they all have printing on them? No worries! You can use a roll of kraft paper instead. I actually decoupaged one cube organizer in grocery bags, and one in kraft paper. Each material has its pros and cons:
Brown paper bags
Pros:
- Free
- Environmentally friendly (i.e. reuse)
- Creates a more uniform color
- More durable
Cons:
- Breaking down the bags takes some time
- More likely to lift from the furniture if not properly overlapped
- Can be difficult to get enough unprinted paper for larger furniture pieces
Kraft paper
Pros:
- Quick to prep and easy to tear
- Adheres better
- Comes in large, unprinted quantities
Cons:
- Slightly uneven color
- Tears and wrinkles easily while applying
- Not free (though still very inexpensive)
Step 2: Tear the bags into pieces
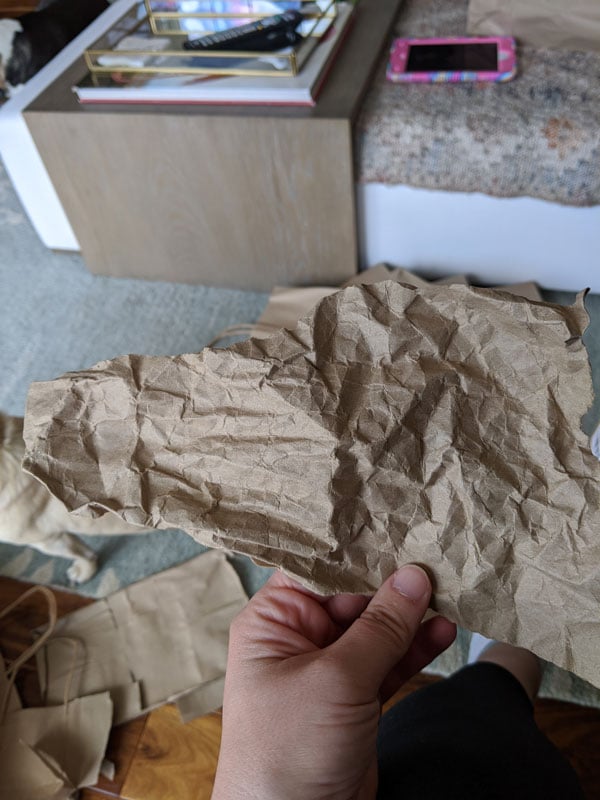
Next, you’re going to tear all your bags into irregular, organically shaped pieces. The more variety the better, but don’t stress over it too much.
Crumple the pieces up to create a rougher texture. This also serves to soften the paper and allow it to absorb more of the glue.
Tearing all the pieces ahead of time might seem tedious, but it helps to speed the process along once you start gluing. And I promise the last thing you’ll want to be doing with glue all over your hands is tearing up paper. So sticky.
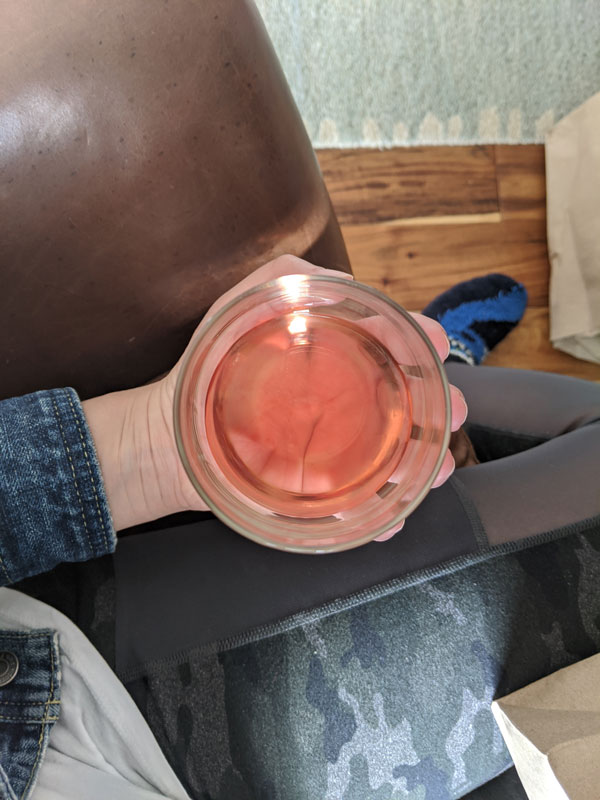
However, crumpling all that paper is tough on your hands so feel free to use an ice-cold glass of rosé to soothe the sting.
Step 3: Mix your glue and water
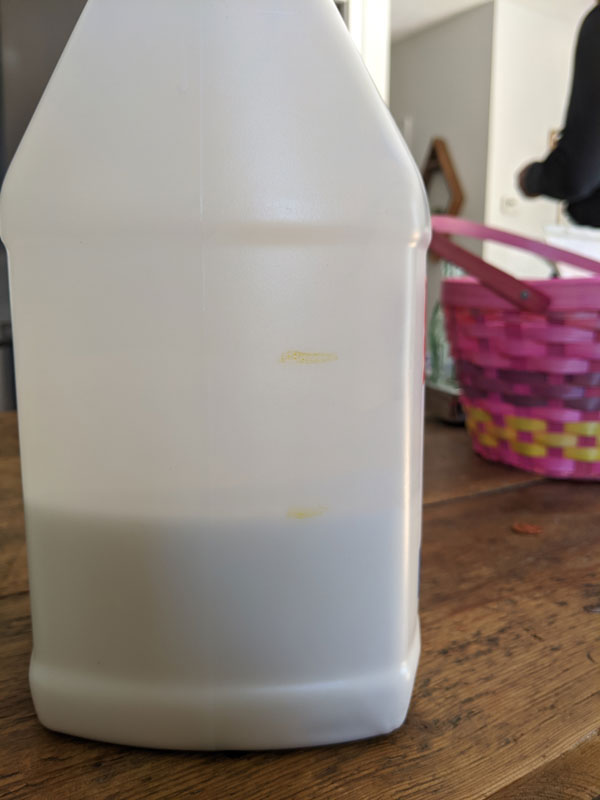
To make your decoupage medium, you’re going to mix one part school glue to one part water. I had a huge jug of glue that was only about a quarter full so I mixed it up in the jug and poured some out into a lined paint pail as I needed it. You could also just mix it directly in the container of your choice. You do you!
I actually like to keep a jug of this pre-mixed decoupage medium on hand in the old glue jugs. It’s cheaper than Mod Podge and always ready to go! I still use Mod Podge for specialty projects, but when I need a lot of decoupage medium and don’t need anything beyond the basic properties, glue and water is my go-to.
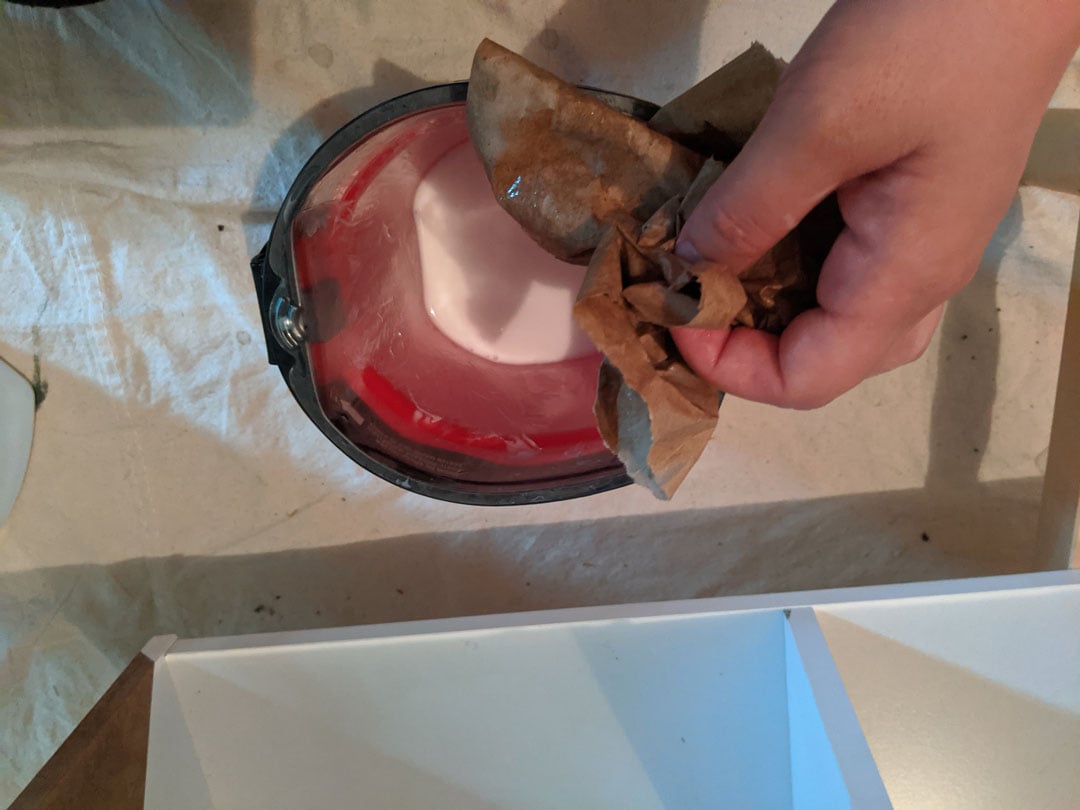
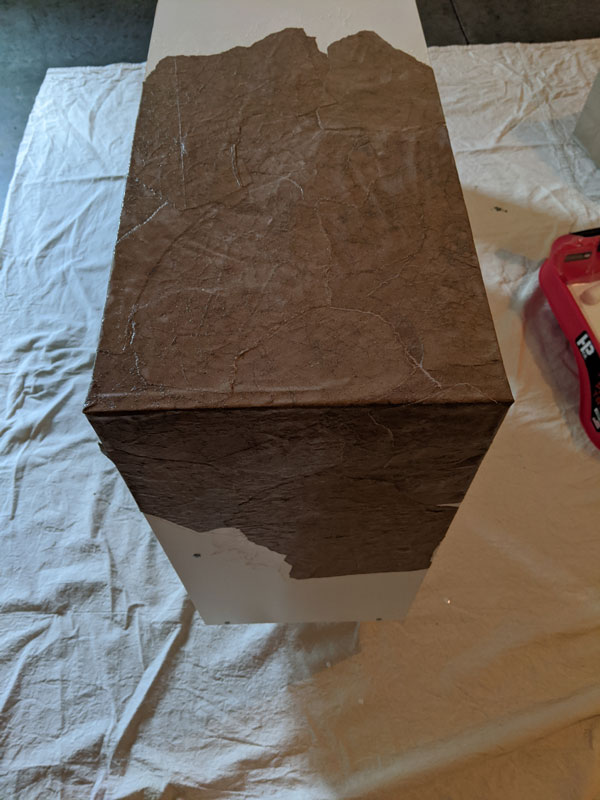
Step 4: Start decoupaging!
It’s finally time to decoupage! Dip the paper, one piece at a time, into the glue mixture and coat well. Place each piece onto the laminate surface and smooth with your fingers until there are no air bubbles.
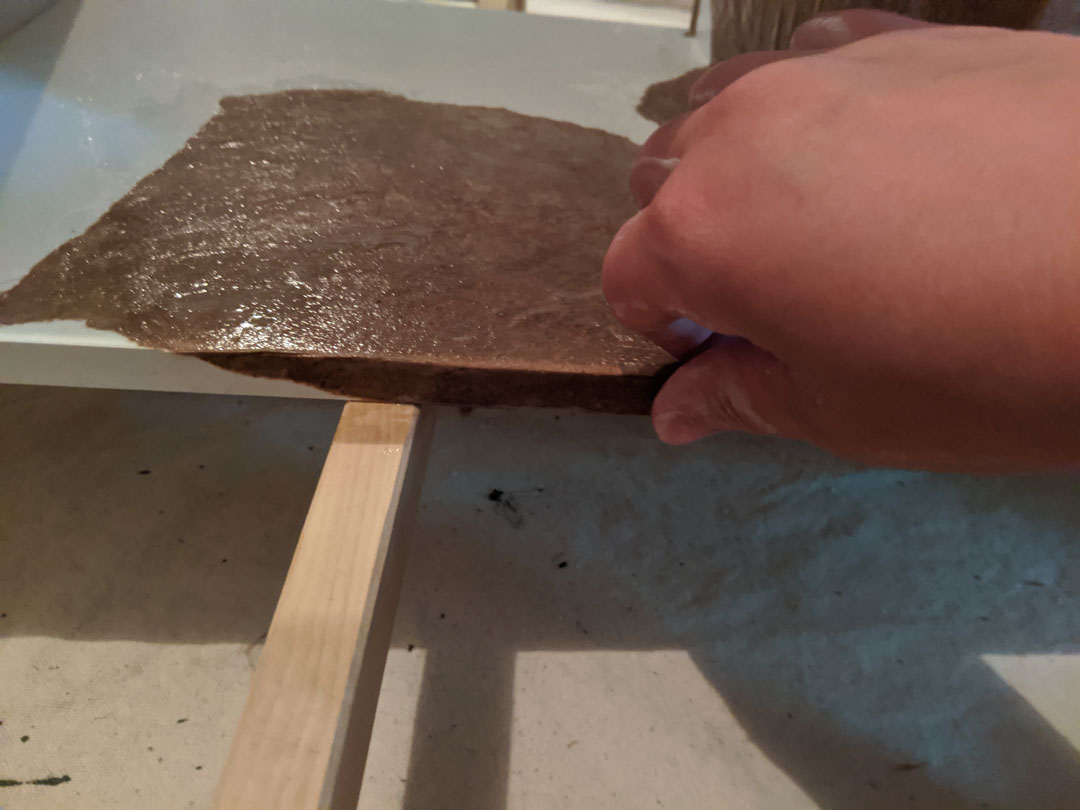
Overlap the pieces to a.) create a more organic texture and b.) build durability. Allow for a large overlap over corners and edges to prevent small pieces from lifting as the paper dries. Pay extra attention to corners and smooth edges crisp with your fingers for a cleaner finish.
Important tips:
- Be sure when you start this step you leave time to finish the whole furniture piece. You don’t want to leave any loose edges just laying on the laminate without overlapping another piece of paper, otherwise, you may find that large sections lift off the piece as it dries. Ask me how I know this. Whoops.
- If your furniture piece has no legs, be sure to elevate it on something to be able to wrap the bottom edges.
- Make your paper wetter than you think you need it. Dry spots will be weak points in the finish.
Allow the decoupaged paper bags to dry thoroughly (at least 24 hours) before moving on to the next step.
Step 5: Varnish
I recommend adding a coat of varnish to protect the finish. I used a spray varnish because I wanted it done quickly, but if you want a more durable finish, you might want a traditional brush application.
Bonus step: Add clear contact paper to shelves
Since my kids are going to be pulling storage cubes in and out of this thing constantly, it made sense to add contact paper. The smooth surface of the paper allows to bins to slide in and out easily and prevents any accidental snags.
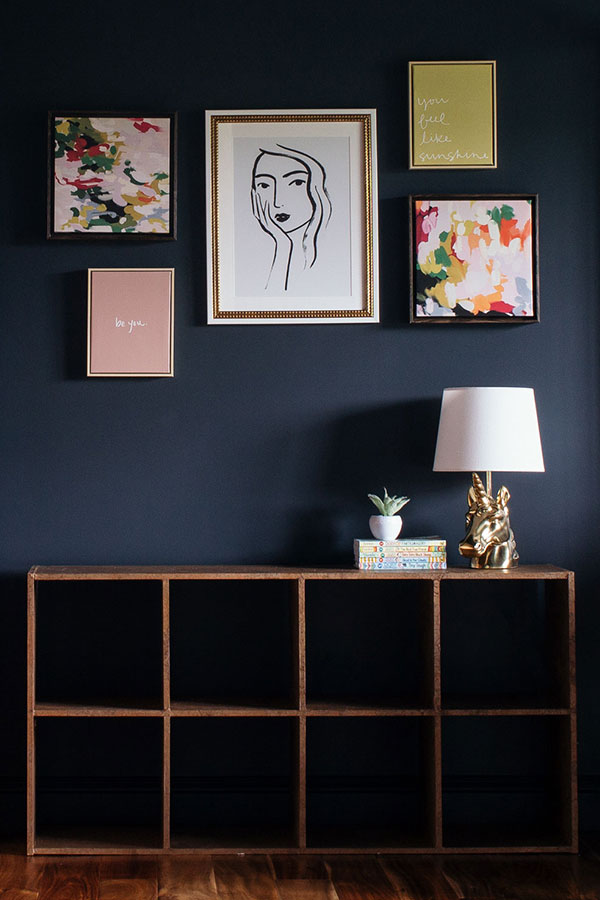
If I were using this leather-look cube organizer in another room, I wouldn’t bother with the contact paper and you better believe that I would have a blast styling those shelves. I think this type of piece would look amazing under a t.v. or as a console in the entryway.
Want more? Here’s the full collection of Bloom in the Black DIYs.