How to Make a Whiteboard Wall for the Ultimate Home Office
If you work at home or your kids are doing at least some of their learning remotely (or homeschooling altogether), I guarantee you’ve needed to use a whiteboard on a near-daily basis.
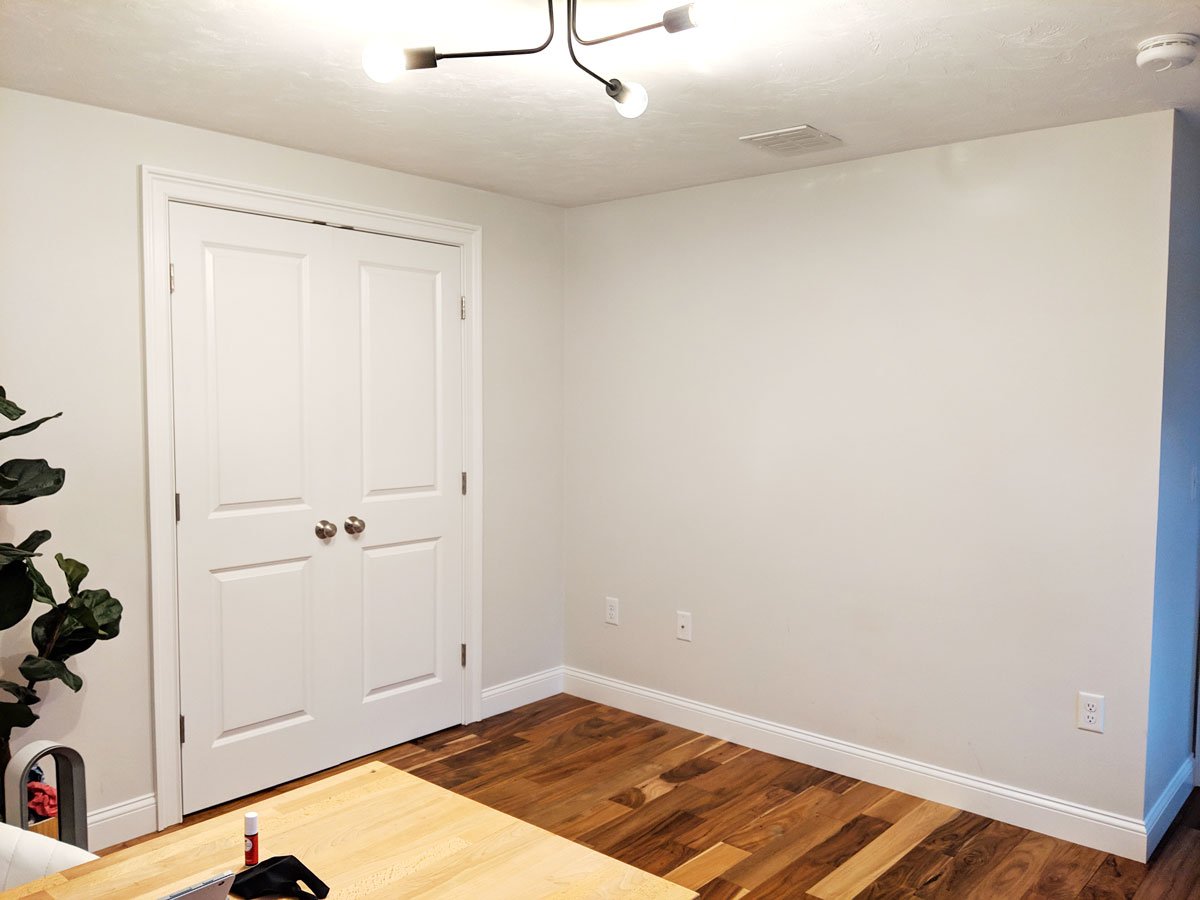
I’m lucky. Last year I redesigned my home office and in the process, happened to turn an awkward corner of the room into a giant whiteboard wall. And now? It gets used every. single. day.
We recently began homeschooling and the thing we use the most is our dry erase wall. It’s incredible for the kids to work out math problems, brainstorm essays, and practice sight words. I use it for grocery lists, ideas I don’t want to forget, and to write out our daily schedule.
In this post, I’ll teach you how to make a DIY whiteboard wall anywhere in your home. I’ll also share ideas on how to go beyond a basic white dry erase board.
Pin for later!
This post contains some affiliate links for your convenience. Click here to read my full disclosure policy. Thanks for supporting Bloom in the Black!
How to Make a DIY Whiteboard Wall
To make a whiteboard wall, you’ll simply apply several generous coats of dry erase paint to your wall and let cure for 5 days. I always recommend freshening up the coat of paint already on your wall for the best results, but you can also apply this technique over wallpaper for an exciting visual twist.
MATERIALS NEEDED:
- CLEAR dry erase paint (very important that you buy the clear)
- Foam Roller
- Paint Tray
If using wallpaper or a mural:
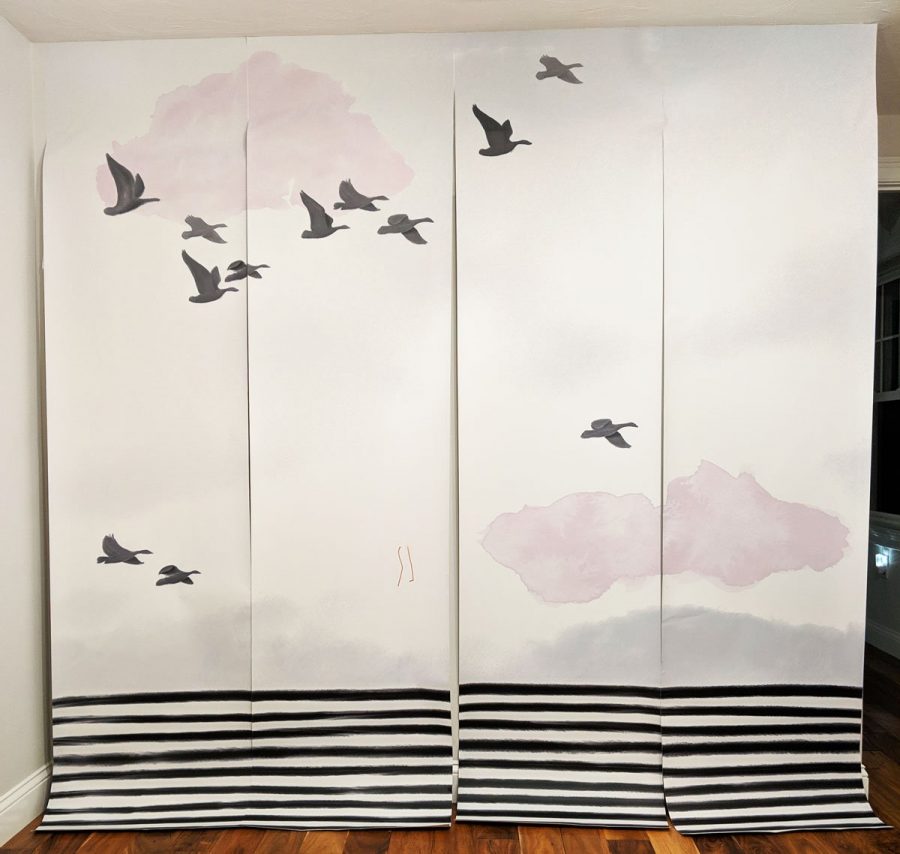
- Large peel and stick wall mural (I designed this one for my project)
- Smoothing tool
- Utility knife
If using a solid color:
- Latex paint of your choice (mid to light tone)
Step 1: Choose your whiteboard background
Your first step in making a whiteboard wall is to decide if you want it to simply be white, or if you want to play with color and pattern a bit. In this tutorial, we’ll be using clear dry erase paint so you can really choose anything you want!
In order for your dry erase wall to work well, you need to be able to read what you write on it (obviously), so there are a few guidelines to follow when choosing your background.
If you plan to use a solid color:
- Choose a color that’s mid-tone or lighter. You need there to be a high level of contrast between your marker color and the background. It’s common to use black markers, but if you want to have some fun, this rainbow pack of colors is our go-to. If you decide you want colorful markers, go much lighter and neutral on your background.
If you plan to use pattern:
- Have some large open fields of light color. They can have pattern or texture as long as the contrast is low so you can read what you write on top of it.
- Have one or more sections of visual interest. This balances the “blanker” areas. If there’s no visual interest, why even go with pattern?
- Keep in mind how you’ll use your whiteboard wall. Will you have a lot to write? Make sure there’s enough functionally “blank” space. Do you just want a little area to write, “Buy milk,” or a daily inspirational quote? Then you only need to account for a small blank space.
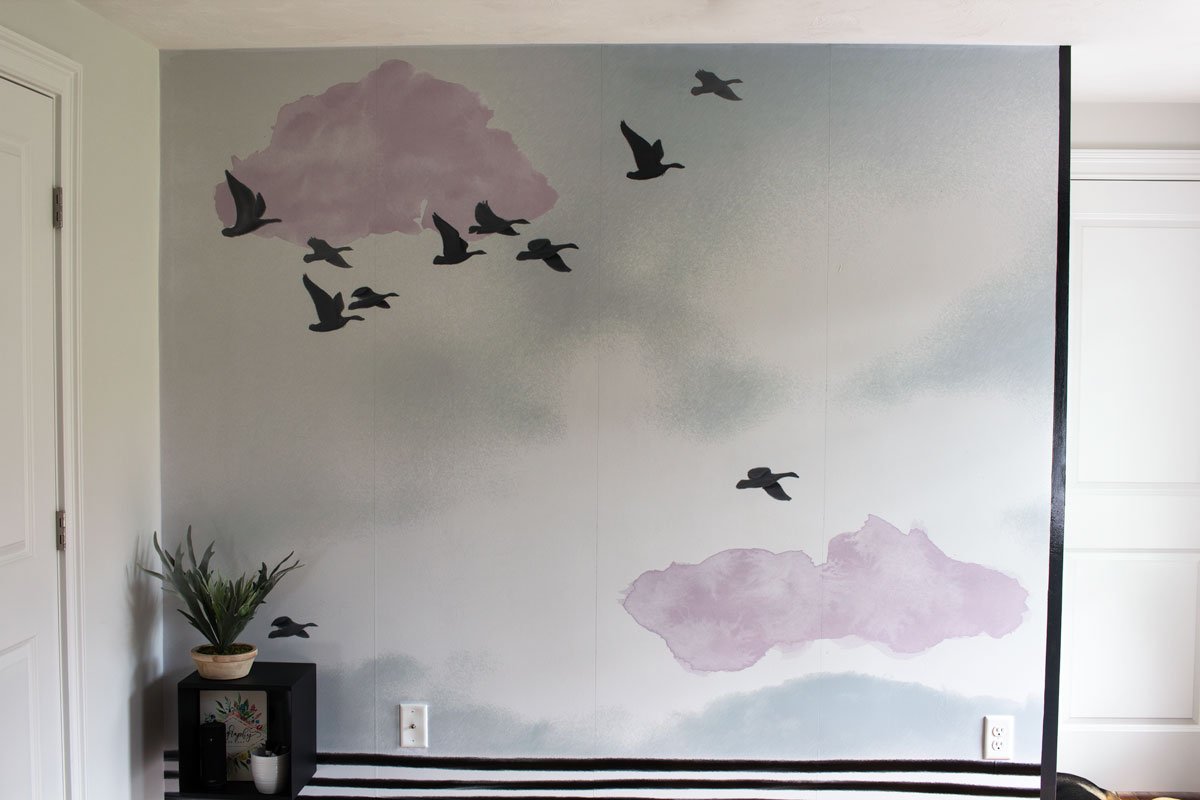
For my whiteboard wall, I used a peel and stick wallpaper mural with enough open space to track work goals and tasks, as well as for brainstorming and impromptu notetaking. In other words, I needed mostly blank space.
To accommodate lots of scribbling, most of my wall mural is taken up by pale, ephemeral clouds that can be written right over, and two pale pink clouds that I can use as callouts for anything important I want to remember or keep top of mind. The birds are my visual interest.
If you’re interested in going the mural route, I rounded up a bunch of ready-made murals that would work perfectly.
Step 2: Prep the background of your whiteboard
Whether you choose to use a solid color or use a patterned wallpaper, you’ll need to apply the background next.
For a painted wall: If you’re planning to keep your wall the same color it already is, you might be tempted to skip painting. Don’t. You’ll achieve the best results with a fresh coat of paint. When painting the wall a new color, be sure to get a solid, even finish. Once you add the dry erase paint it will call out imperfections so you don’t want any thin spots!
For a wallpapered wall: If you decide to hang a peel and stick wall mural or wallpaper, you’ll need a smoothing tool and utility knife. It’s important that you hang the paper as smoothly as possible with no air bubbles or only a few small ones that don’t bug you if you just can’t get rid of them.
After installation, wait 24 hours before moving onto step 3 to be sure no new bubbles crop up. If they do, I found that poking them with a pin then resmoothing the bubble to release the air works pretty well in most cases.
Step 3: Apply dry erase paint to the wall
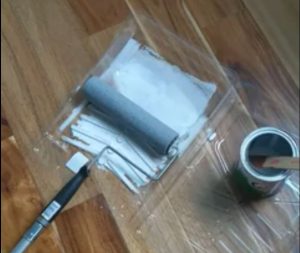
Paint several generous coats of dry erase paint to your prepped surface. Finally, this is where the magic happens — time to turn this wall into a whiteboard!
VERY IMPORTANT THINGS:
- Triple check to be sure you bought CLEAR paint, not white. Accidentally painting your wall white at this point would stink. The clear paint will look white when you mix it but will dry crystal clear.
- Make sure you bought enough for at least two coats. Especially if you decide to use wallpaper. The wallpaper will absorb a small amount of paint, which is why you want the extra coat at a minimum. Even with a painted surface, more is more when it comes to how well the whiteboard will erase.
- Each kit covers 50 square feet, so multiply the width of the area you want to cover by the height, then double that number to determine how much paint you need.
- Example: my wall is 8 feet wide by 7 feet tall, so I needed to cover 56 square feet. Double that number to account for doing two coats, and you get 112 square feet. I went with just two kits since my number was close, but I am strongly considering adding a third coat to cover some thin spots.
- Set aside enough time to finish painting without interruption. The paint needs to be activated by dumping the contents of the small can into the big can. After that, the dry erase paint is only good for 90 minutes. The paint rolls on very easily so it goes quickly, but you can’t put it aside then come back to finish later.
Keeping all that in mind, start painting! Just activate one kit at a time, and allow each coat to dry for 30 – 45 minutes before adding the next coat. In my case, I rolled a full kit to cover the wall, waited 45 minutes, activated the second kit, rolled that. Done and done. By far the easiest step of the process.
Want more ideas for your home office? Check out my home office content hub.
SHOP THE OFFICE

Step 4: Wait for the dry erase paint to cure
This might be the most crucial step of all. YOU HAVE TO WAIT. The paint needs to cure for a minimum of 3 days, but I would even go so far as to allow 5 if you added more than two coats.
If you write on your board before the paint has cured it will be ruined.
The marker won’t wipe off and you will be very very sad. I don’t want that for you.
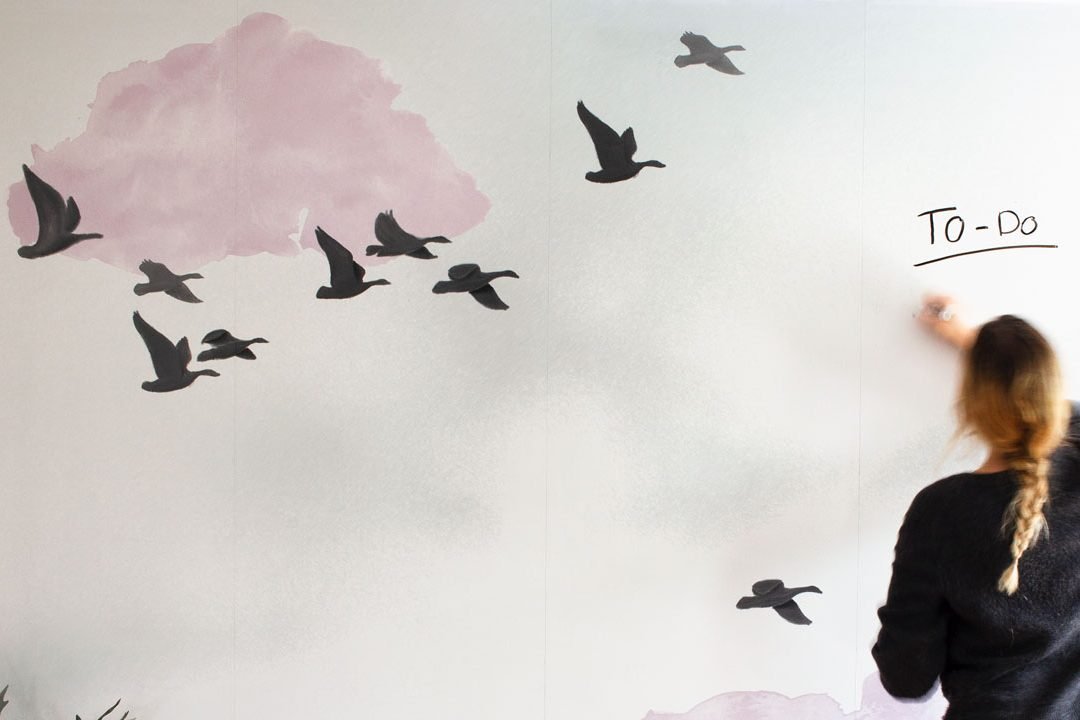
Step 5: Write on your new whiteboard wall!
You did it! Your whiteboard is beautiful and ready to write on. Invite your kids in to play — they’ll love that they can actually draw on these walls. Just make sure they know that it’s just THIS wall…
Like I said, this feature of the office is the one we use the most, but the vertical organization system has also been a lifesaver, as well as the super easy desk I built my kids.
And don’t forget to optimize your office for all those Zoom calls!
DIY Whiteboard Wall FAQ
Does the dry erase paint really work? Is this as good as a “real” whiteboard?
Yes! It really does work. If you take care to apply the coats generously and allow the dry erase paint to cure fully, this whiteboard wall functions exactly like a boring storebought whiteboard.
How do I clean my dry erase wall?
First of all, never use a household cleaner on dry erase paint (like glass cleaner or all-purpose spray). What you use to clean your counters and windows will damage the finish of your whiteboard and cause the marker not to wipe off cleanly anymore. Generally, you just need a whiteboard eraser or a rag to wipe your work.
But like any whiteboard, if you leave the writing on for long periods of time it’s harder to erase. Not to worry though! You can use whiteboard cleaner to remove stubborn marks.
Oops. I already used an All-Purpose cleaner. How can I restore my dry erase board?
You can fix this! To remove the stuck-on marker, wipe with rubbing alcohol until every last trace comes off. Then, wipe on a light coat of WD-40 with a clean rag. If the WD-40 doesn’t work well, you may have damaged the finish too much. In this case, roll a refresher coat of dry erase paint onto the wall, let cure for 5 days, and clean it properly from now on.
Can I use regular markers on my whiteboard wall?
NO! Only dry erase markers, please. Others might give you tricks on how to make regular markers work but I’m a purist. I believe in using the markers that were made for the job 🙂
I hope you enjoyed this tutorial on how to make a DIY whiteboard wall. Perhaps you’re feeling inspired to create your own for your home office, kitchen command center, playroom — the possibilities are endless!
Want more? Here’s the full collection of Bloom in the Black DIYs.
Still, setting up your workspace? Don’t miss my round-up of the best non-ugly office chairs for remote work!