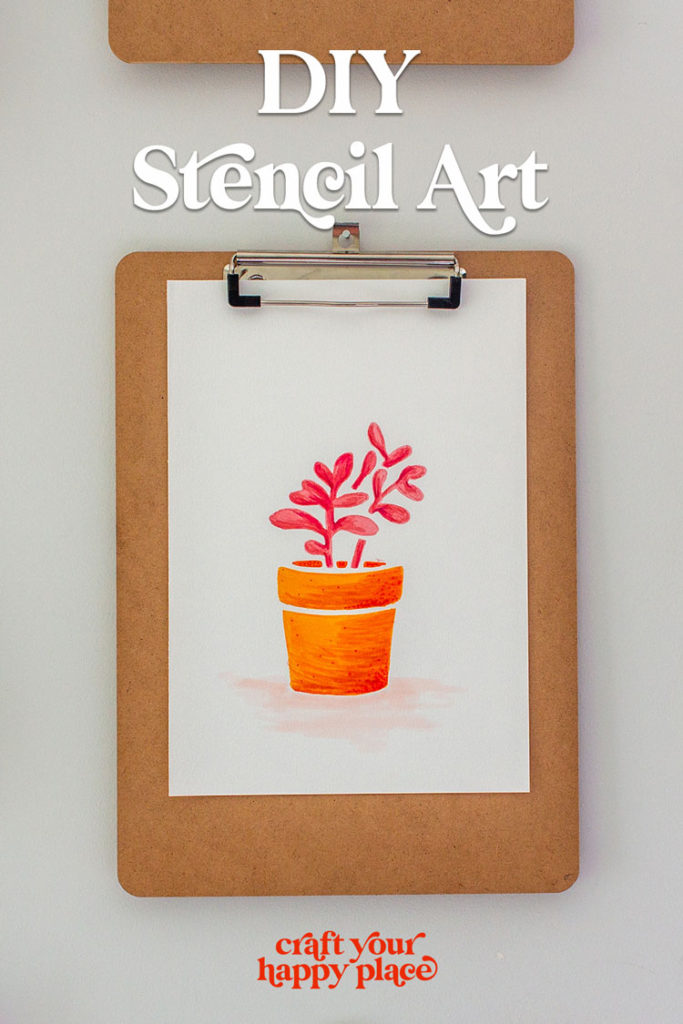
How to Make Easy Stencil Art (Even If You’re a Terrible Artist)
This post may contain affiliate links.
Have you ever wanted to make yourself some artwork but don’t actually know how to draw? Or paint? Or anything of that nature?
Sometimes you just want to get a little crafty right?
There’s actually a super-easy way you can do a little therapeutic art sesh to make something you’d actually want on display. The secret? A stencil.
In this easy DIY post, I’ll show you how you can use a basic stencil to create artwork to match your room — no artistic skills required!
Like it? Pin it!
This post contains some affiliate links for your convenience. Click here to read my full disclosure policy. Thanks for supporting Craft Your Happy Place!
How to Make Custom Art from a Stencil
To make stencil art, you simply tape the stencil to your paper, fill it in with blendable markers, then add some loose detail. I realize this adding detail part sounds daunting but trust me, you can’t go wrong.
MATERIALS NEEDED
- Small stencil (I used part of the “Cactuses Allover” stencil set)
- Scotch or masking tape
- Blendable markers (I love that these sets already come in “done for you” color palettes)
- Mixed media paper
Step 1: Tape stencil to paper
Your first step is obviously going to be to place the stencil on the page. Just be sure to press the tape very lightly so it doesn’t tear the paper when you remove it later.
Think about what you want to be in the background. A solid color? The ground? The sky? Try to imagine the finished piece you’re aiming for and place the stencil in the best spot.
If you have no idea, just place it dead center on the page. You can’t go wrong with that!
Step 2: Select your color palette

Choose three to five marker colors to work with. My daughter has a huge set of these blendable markers (I LOVE them and borrow them constantly), but if you don’t use them a lot it likely isn’t worth the price tag. In that case, stick with the small set of markers that includes a pre-selected color palette to make this DIY project even easier.
You don’t have to go for realism — the funkier the better! Try to stick with colors that will layer well. If you’re not sure what that means, think back to first-grade art class and which colors make other colors (red and yellow make orange) and which don’t (blue and orange make mud). Feel free to pick two or even three shades of the same color if you want to add even more depth later.
Step 3: Fill in the stencil
Using your lightest colors, fill in the entire stencil. Be careful — we taped this loosely so it’s easy for a marker to sneak under the stencil border if you get too crazy.
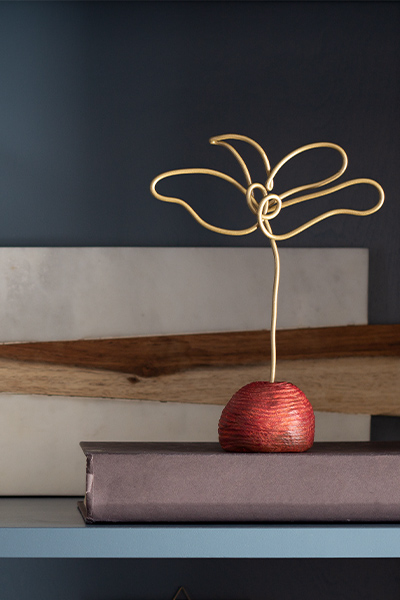
Decide on the main color of each section of the picture. In this case, I knew I wanted a pinkish plant and an orangish pot. The reason we’re using the lightest shades of our palette is so we can layer in detail next. AKA the fun part!
Step 4: Add detail to your picture
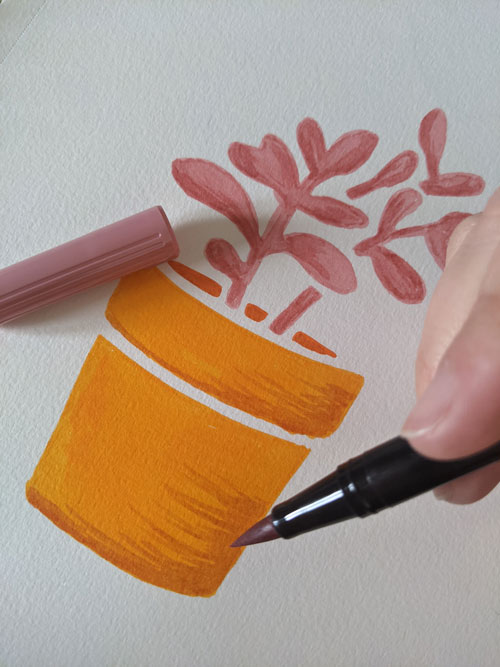
Take your darker colors and add some depth and shading. The nice thing about these markers is that they’ll give a somewhat watercolor effect which, by nature, is a little messy and imperfect.
This works in our favor!
Remove the stencil (careful with that tape), and, working slowly, play around with adding some darker shading to the edges. Try imagining where your “light source” is coming from and add some dark streaks to the opposite side of the object.
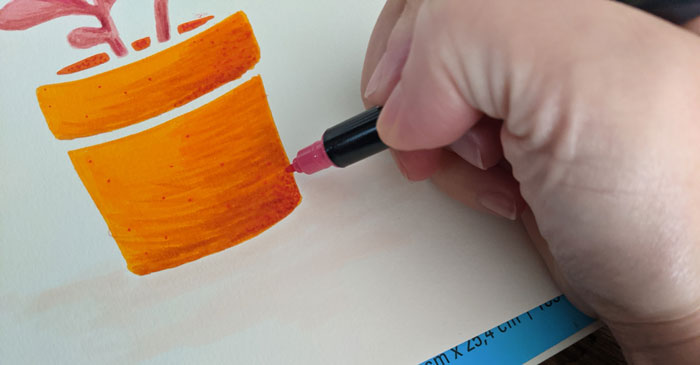
Add a few little dots to add texture if you want. Space them out on lighter areas and tighten them up in darker areas. Keep them as random as possible.
Step 5: “Ground” your picture (optional)
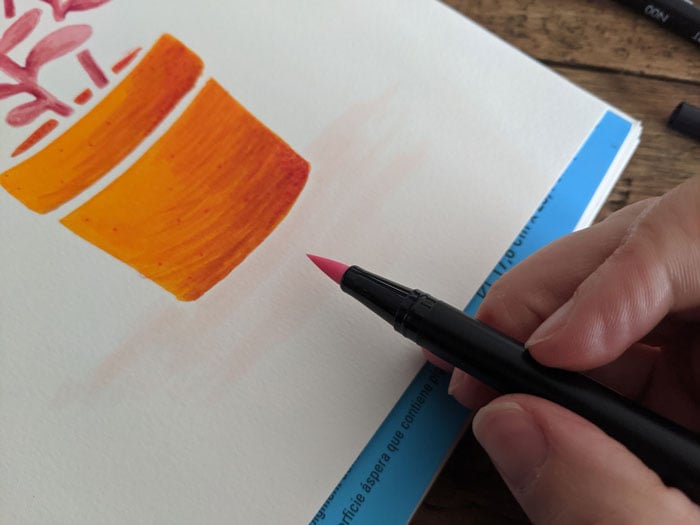
If you feel like your object looks like it’s floating in a way you don’t like, add light shading underneath to ground it. This step is purely optional. There’s nothing wrong with floating objects, it all depends on whether you like how it looks.
Use a very light color and make some wide, loose swooshes of color under the object and slightly up and “behind” it. This will give a more realistic sense of perspective. Layer in more swooshing to deepen the parts of the ground directly under the object.
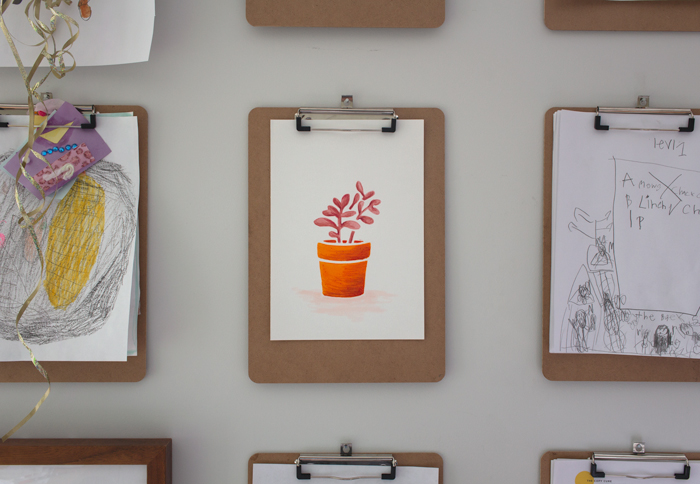
Your stencil art is done!
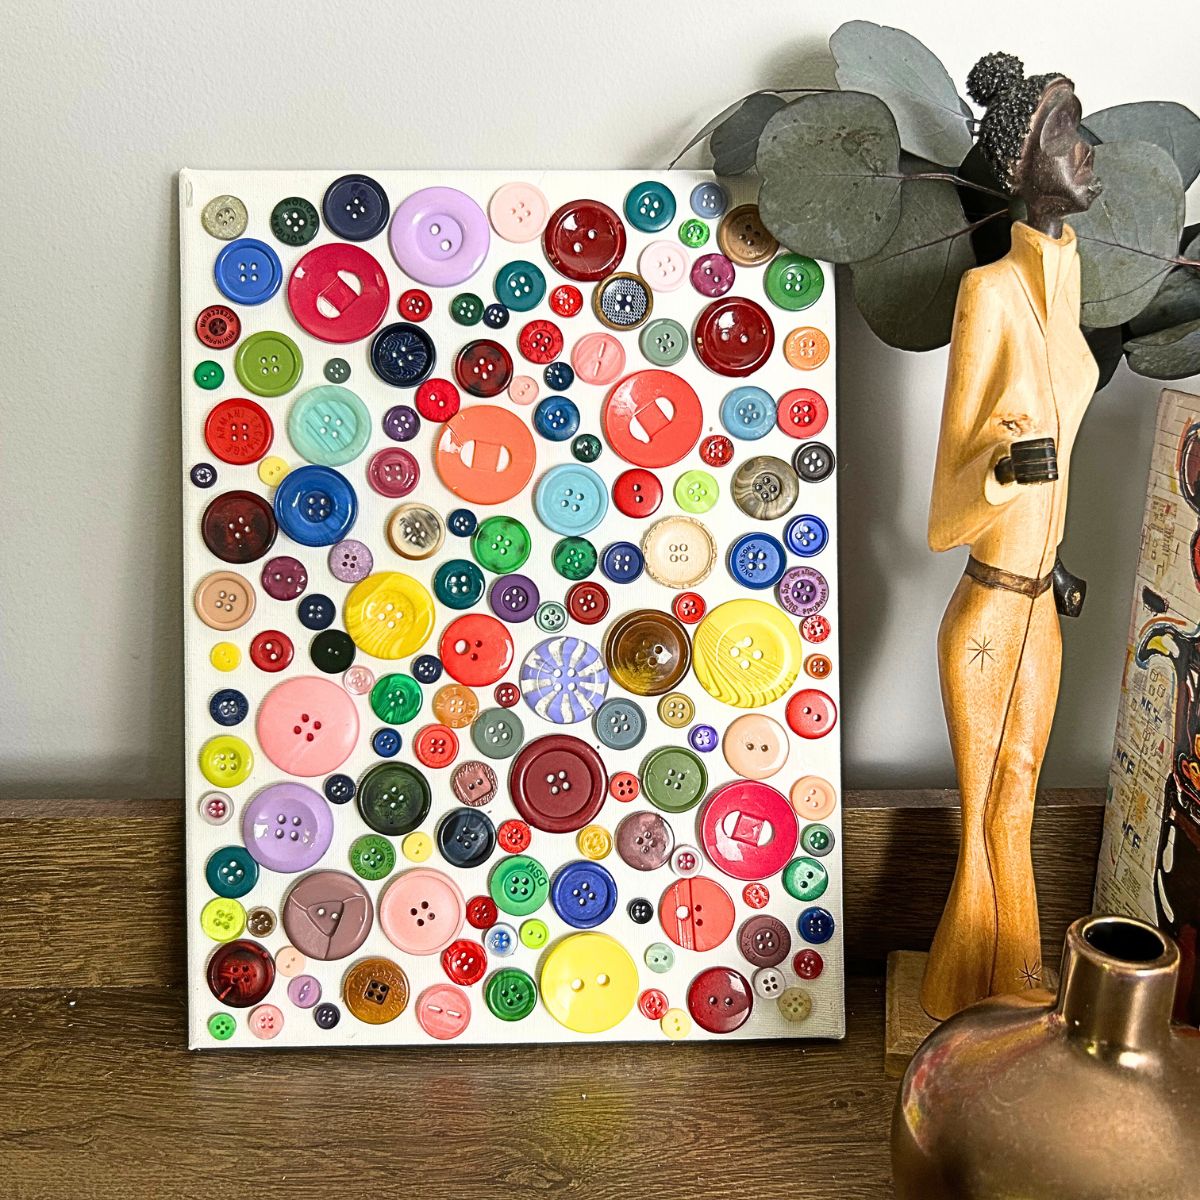
Now that your masterpiece is finished you can pop it in a frame or simply clip it to the wall. I added mine to the clipboard command center in my office. It looks adorable and keeps my eye from constantly straying to my to-do list!