How to Paint Two-Toned Furniture — Plus The Secret To Perfect Edges
I recently decided to learn how to make furniture. I don’t know about you, but I’ve been getting my DIY on something fierce lately.
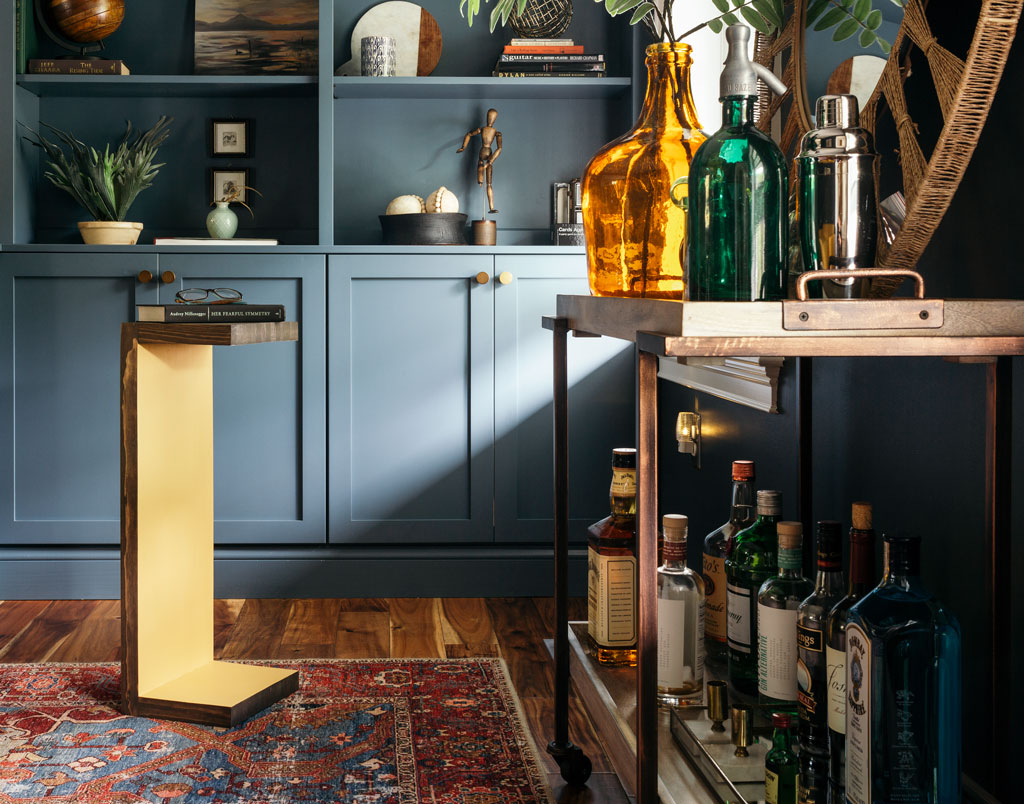
I finished building my first piece, a c-shaped side table (if you’re not sure what that is, this is a good example), and it was actually… good. Like, really good. Like I actually wanted to have it in my house good. Yay!
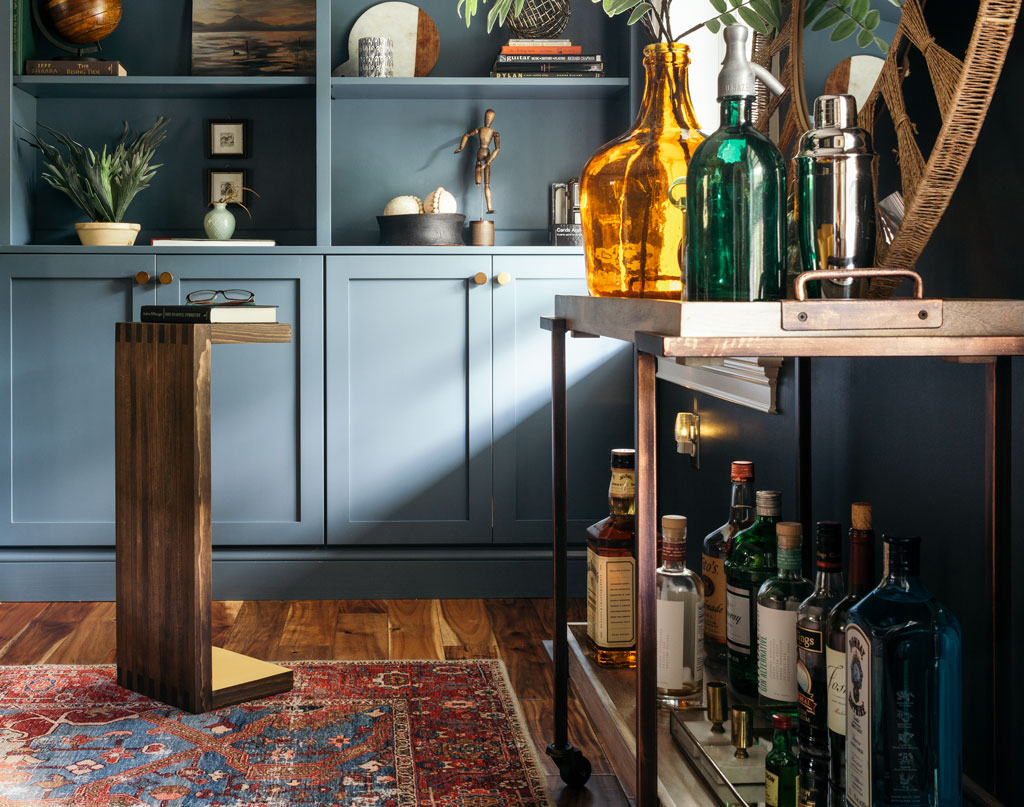
But then I got scared. In its pristine raw wood state, it was perfect. I didn’t want to simply paint or stain it one solid color and call it a day. I wanted to do something special. So I came up with the idea of a peekaboo color pop on the underside of a richly stained exterior.
As luck would have it, I’d connected with a fellow maker on Instagram who works with and sells Fusion Mineral Paint. I’d heard of it but had never tried it. Supposedly it has some magical foolproof powers to make every finish beautiful? Plus it’s basically made for furniture? I was willing to give it a shot so I teamed up with Danielle Goggins of Goggins Creations to help my table reach its full potential.
In this post, I’m going to show you how to create a modern two-toned finish, with Fusion Mineral Paint and SFO (aka Stain and Finishing Oil).
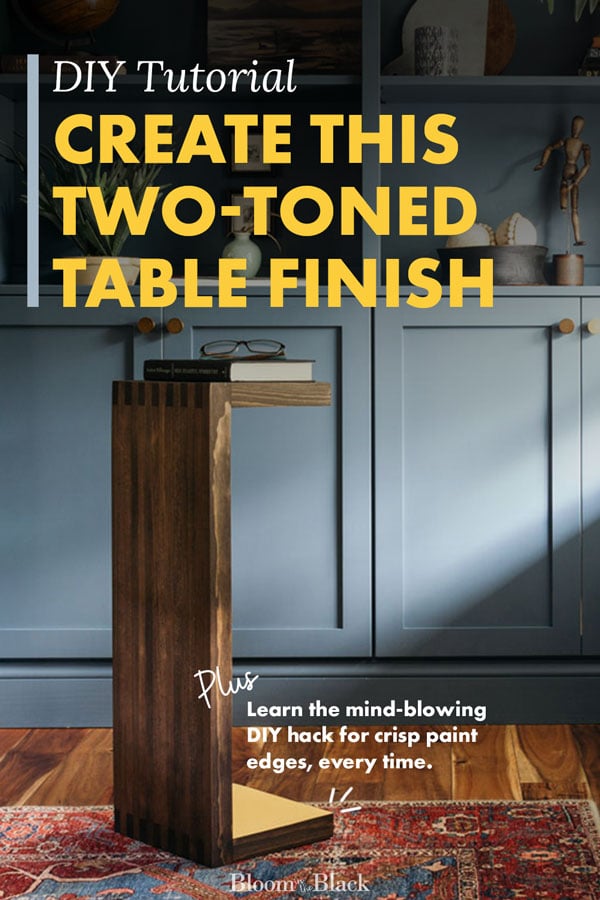
Pin for later!
This post contains some affiliate links for your convenience. Click here to read my full disclosure policy. Thanks for supporting Bloom in the Black!

How to Create a Modern Two-Toned Paint Finish
Essentially we’ll be staining the exterior of the table, and painting the interior. I used Fusion Mineral Paint and SFO on raw, well-sanded wood so no additional prep was needed. If using a different product, I would recommend starting with a wood conditioner prior to staining.
Lucky for me, I was able to skip that step!
MATERIALS NEEDED
- Tack cloth
- Paint brush
- Fusion Mineral Paint (or favorite paint)
- Stain and Finishing Oil (or favorite stain)
- Painter’s tape
- Mod Podge
- Chip brush
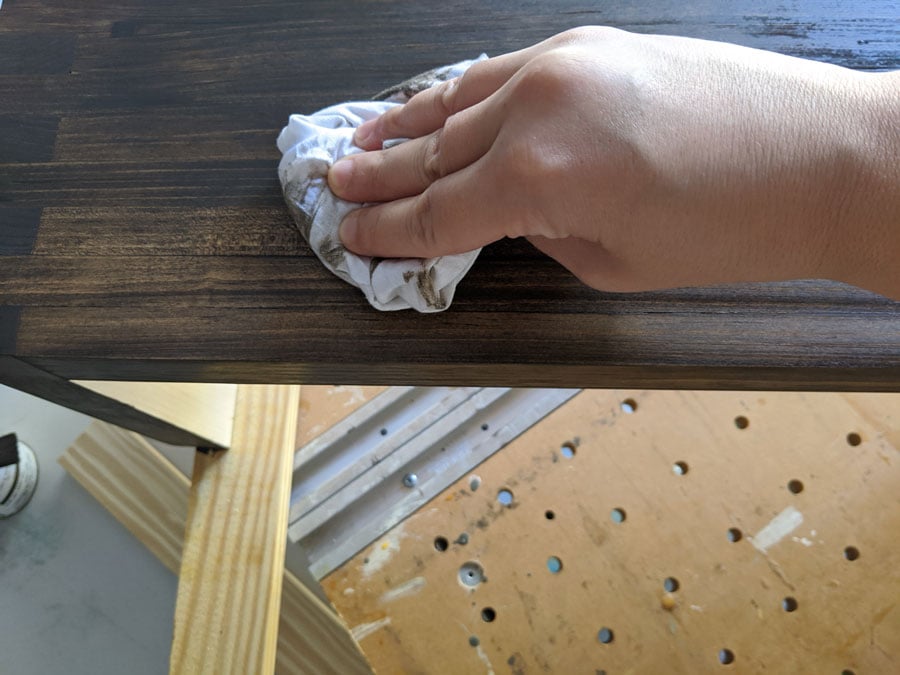
Step 1: Wipe down your surface with tack cloth
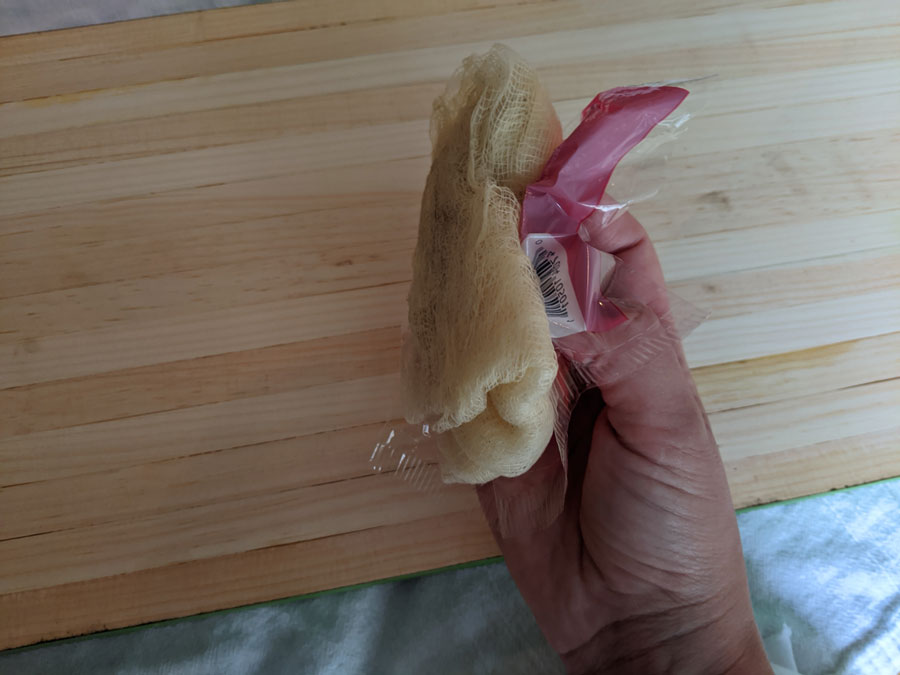
Assuming that you’ve already sanded your whole piece with the same grit sandpaper, wipe everything down with a tack cloth. Be sure that your entire piece has been sanded with the same grit (I went through many grits to get a silky smooth finish and ended with a 220 sandpaper). By using the same grit, you’ll allow the wood to receive the stain evenly and wiping with the tack cloth will ensure that all of the dust particles and sawdust have been removed from the surface.
If you’re not using the SFO, apply a coat of wood conditioner before staining. If you are, then you get to move straight to the next step!
Step 2: Stain the exterior of your two-toned table

Next, you’ll apply the stain in a smooth, even coat, let sit for 10 – 15 minutes, then wipe away the excess with a rag. Sloppy staining will make any project look like a hack job, no matter how amazing the piece underneath. This step can trip some people up, so I have a few tips for you.
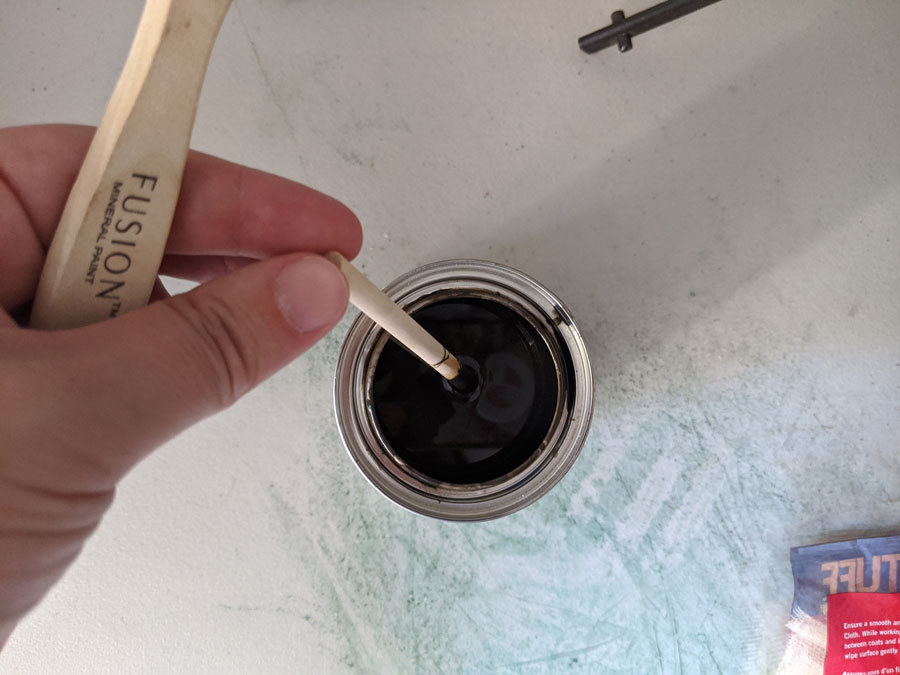
Stir your stain, don’t shake the can
It will feel a lot easier to simply shake up your can of stain but don’t. Shaking can cause little bubbles in the finish which you obviously don’t want.
Use a cheap wooden craft dowel or popsicle stick to gently, but thoroughly, stir your stain. https://www.youtube.com/embed/5KREfBYxD9E?controls=0
Stain from the middle, out
It may feel more natural to start staining at the edge of your furniture piece, but doing that will cause excess product to pool at the edges and drip down the sides. No bueno.
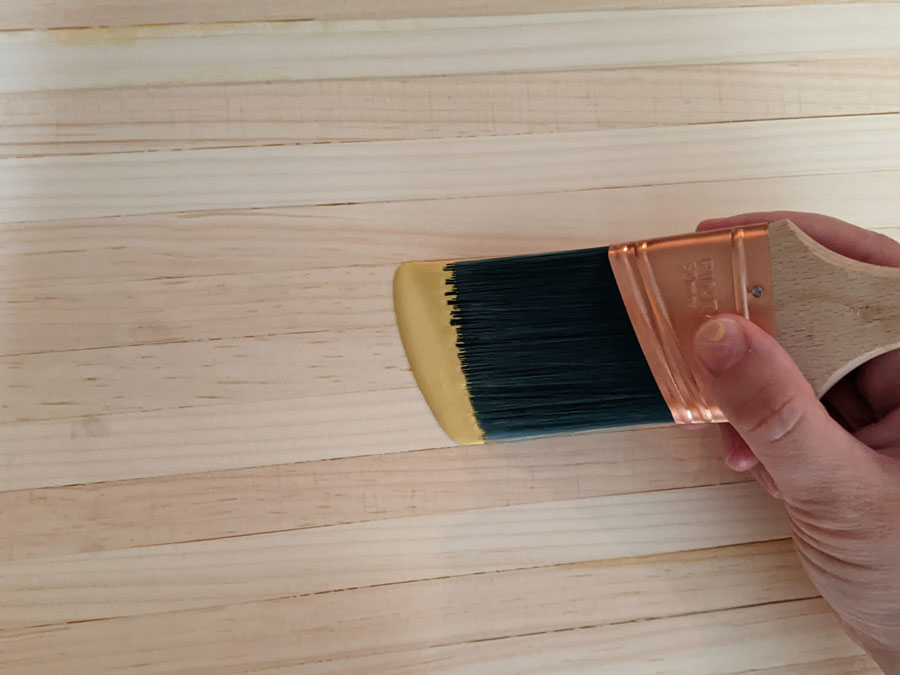
Start from the center with a fairly wet brush and drag your product out to the edges. As your brush becomes drier, gently push the product up to the edge. I like to hold my brush parallel to the surface and pat to keep my bristles from flicking down and hitting the side.

Time each section separately
Stain is actually absorbed into the wood and you can achieve deeper or lighter tones depending on how long you leave the product on and how many coats you use. If you time your whole piece as one single unit, some sides will inevitably be darker than others due to the fact the wiping stain off is faster than brushing stain on.
What I do is I stain one single section to its natural stopping points (in this case, the backside of my table), then immediately set a timer on my phone. As that runs, I stain another section, then set a separate timer for that section, and so on until all the sections have their own timer set.
The key to this method is keeping track of what order you stained your sections in! So make a note.
Wipe excess off thoroughly
Using firm, even strokes, wipe the excess stain off with a rag. Technically you should use a lint-free rag but I didn’t have one and mine came out fine!
Don’t miss this two-tone laptop desk with full build instructions.
Make extra certain you’ve removed all the excess stain. If you don’t, tacky shiny patches that take forever to dry will crop up and create a blotchy surface.
Step 3: Let your stain cure
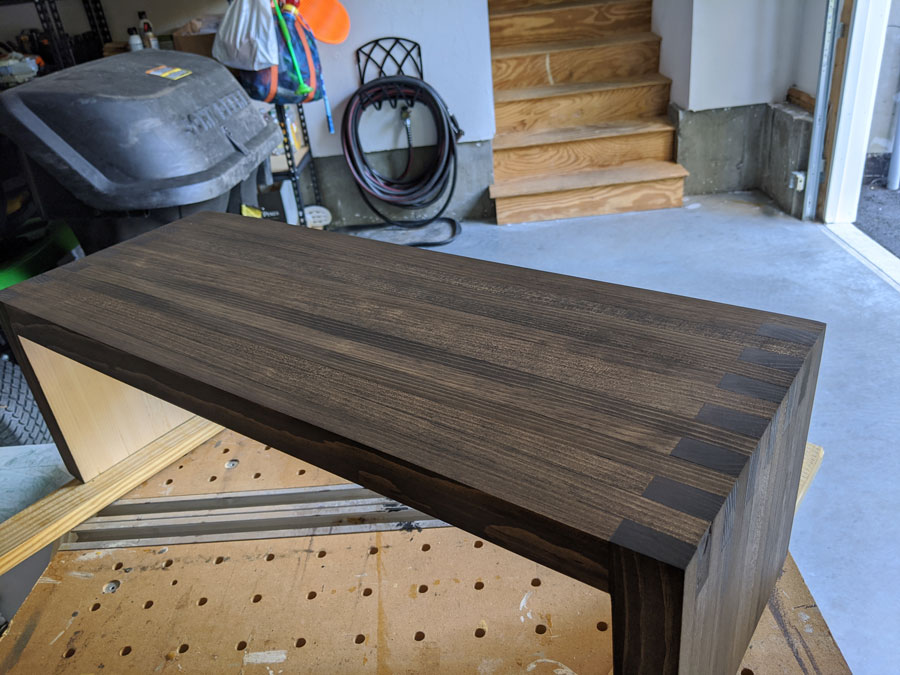
Before moving on with your two-toned furniture finish, allow your stain to cure for a minimum of 24 hours. 48 is even better. We’ll be taping over some of the stained areas in the next step and we don’t want to mar the smooth finish we worked so hard to achieve!
Step 4: Tape the edges
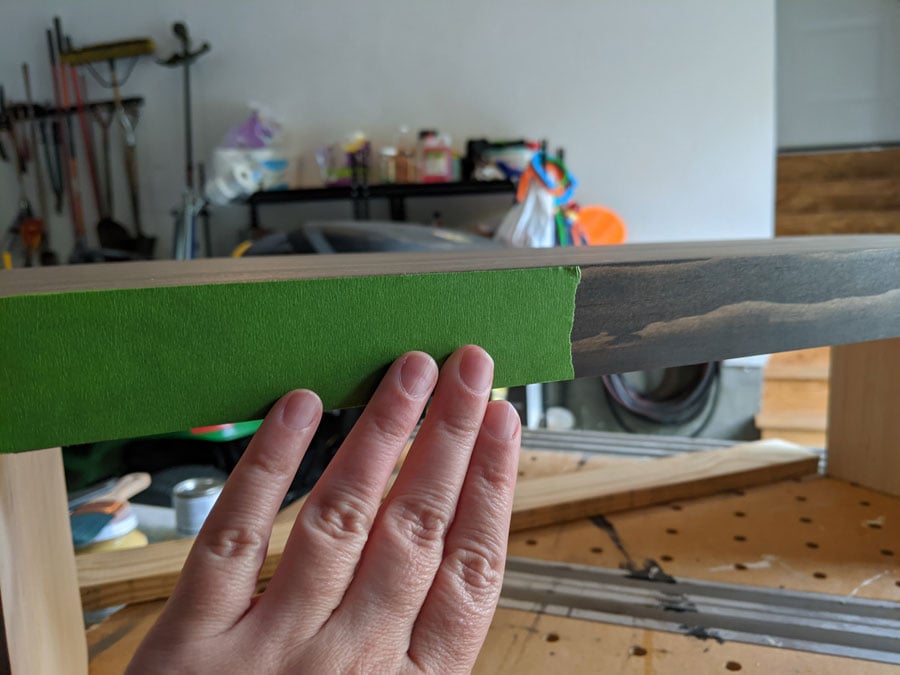
Using painter’s tape, precisely tape off all of the stained edges that will meet a painted section. Here’s where you’ll learn my secret to perfectly crisp edges when using both paint and stain.
The first, obvious, step is to align your tape as perfectly as humanly possible to stained edge. Really get down at eye level and check that your tape goes right to the edge, but not over. Use small pieces of tape to make this easier.
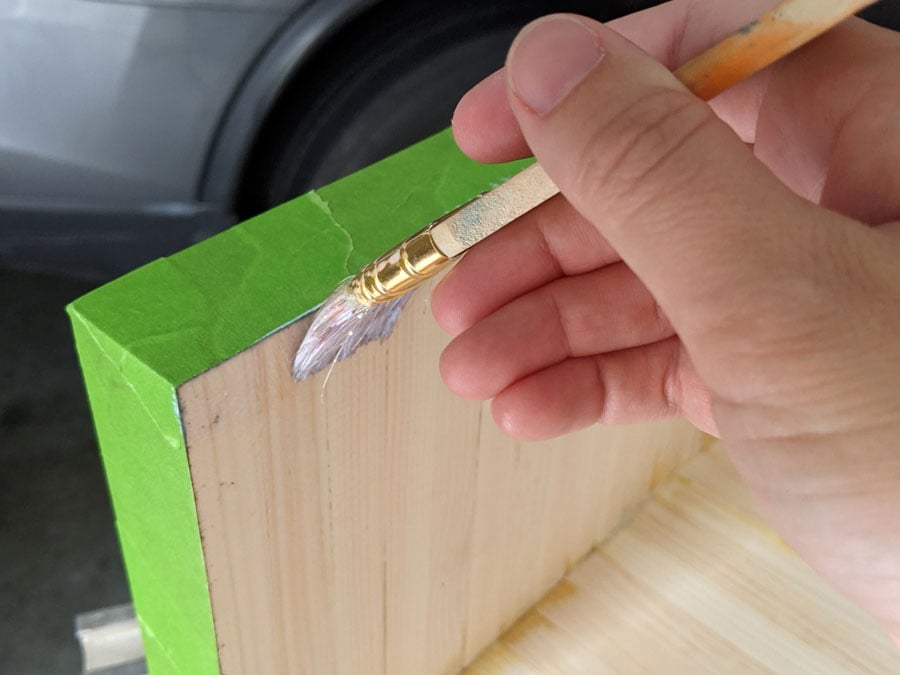
Next is the magical part: you’re going to seal the tape edges with Mod Podge. I know I know, it sounds weird. But hear me out.
If you’ve ever painted, you know that paint almost always bleeds under painter’s tape. No matter how well you think you have it stuck on. Liquid always finds it’s way into tiny fissures. A standard fix to the issue when doing a two-toned paint on paint treatment is to paint the edges of the tape first with the color you’re trying to mask. The reason for this is that the coat of paint creates a seal in the same color you’re trying to protect. So any bleed is going to come from the color that’s already there.
Make sense? OK, now, with stain, you can’t do that for two reasons:
- It won’t create a seal
- The stain that bleeds under the tape will create a dark line because you build a darker stain color with each coat
But Mod Podge? Mod Podge is clear. And creates a seal!
So, paint a layer of MP along the edge of the tape, painting into the edge to encourage a little bleed. Then, wipe off the excess with a cloth. Let dry for 15 minutes.
To see the Mod Podge tip in action, check out this video from my friend Lindsay who tests the technique using both masking tape and painter’s tape.
Step 5: Paint
Finally, paint the underside of your piece. Again with the magic of Fusion Mineral Paint on raw wood — no prep required! I was a little concerned that the wood would soak up a ton of paint and I’d need 4 or 5 coats, but the coverage was amazing and I was able to get a solid finish in just two coats. Plus the topcoat is built in so that’s another step saved.
If you’re using another type of paint, I might suggest a coat of primer first plus a topcoat. Otherwise, you’ll be painting forever and might end up with scuffs after a period of normal use.
Even with the tape sealing, I’d recommend you be gentle while painting near the tape edges. Don’t paint into the tape or use a super wet edge. Pretend the tape isn’t even there and that you need to freehand it, and you’ll end up with edges as perfect as these:
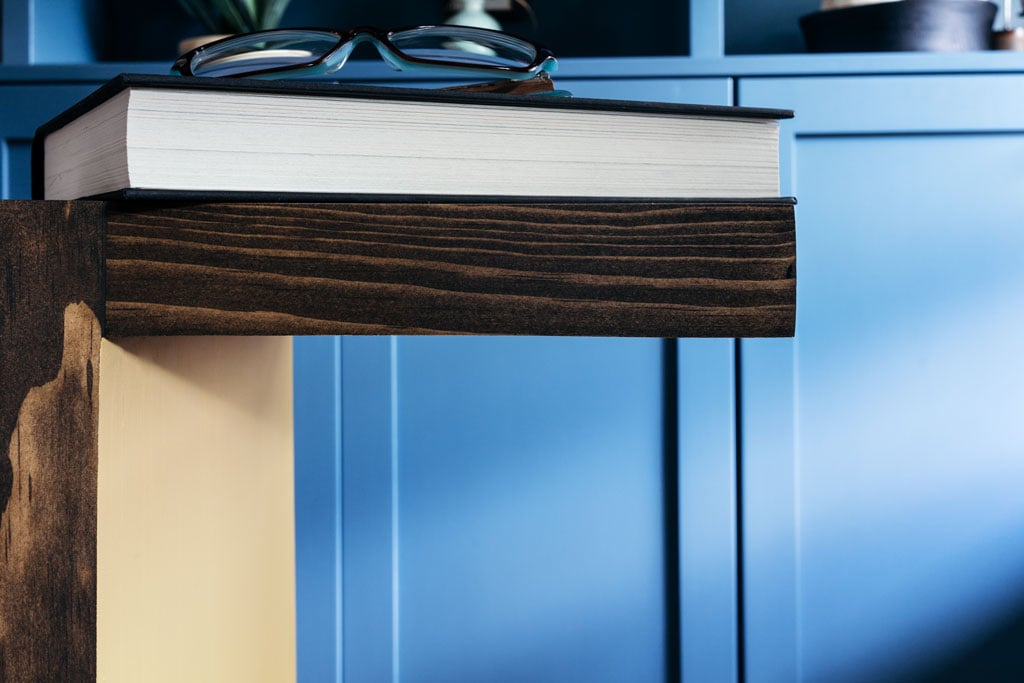
So good right??
Leave the whole thing to dry for another day before calling it done. You really want that surface to have time to dry. The SFO will cure in about three days but wait a full 10 days before attempting to clean it. Baby it a bit while it fully matures.
After that though, all bets are off. This staining oil is extremely durable, scratch-resistant, and waterproof, which is why I decided it was the perfect finish for my tabletop.
Just a little PSA. If you decide to buy some, you’ll be shocked at how small the can is. When mine came I thought, “yeesh, that’s not even enough to paint my nails!”
But after using it I realize why: A little goes a loooong way. I barely used any for my whole table!
Will you try this project? I hope so! It’s a great finishing technique to add a little modern punch to your next furniture project.
Want more? Here’s the full collection of Bloom in the Black DIYs.