Adding a Dreamy Coffee Bar to Our Cozy Reading Room
Ironically, our library used to be a dining room.
When we first moved in back in 2017, we decided we didn’t really need a dining room, so we converted it into a home library slash lounge area.
Now it’s 2023, and we don’t need a dining room per se but would love a spot to make and enjoy a quick breakfast, a cup of coffee, or a cozy hot cocoa that’s out of the way of the main cook in the kitchen (ahem, me).
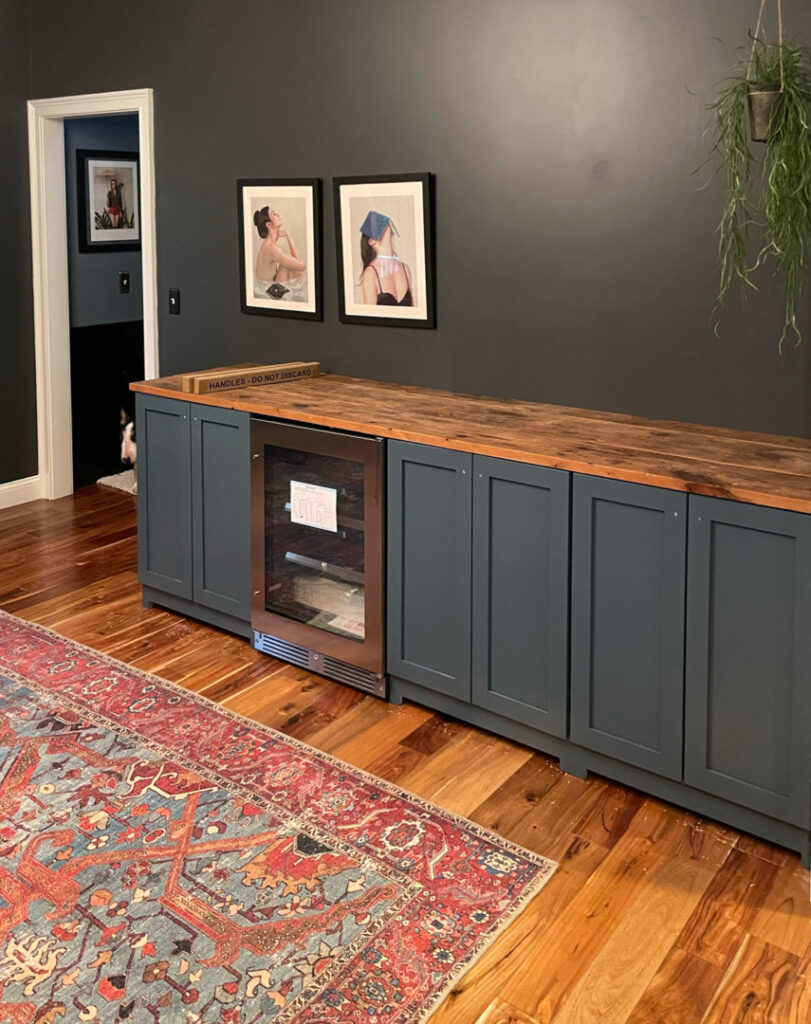
So when we refreshed our kitchen last year, our woodworker built a bank of cabinets in the library with a spot for a mini fridge. This was the beginning of our home coffee bar.
This post contains some affiliate links for your convenience. Click here to read my full disclosure policy. Thanks for supporting Bloom in the Black!
I knew that I wanted a long shelf to run along the top to hold mugs, decor, and other gadgets and that I could easily DIY this in just a few 10- to 15-minute sessions during my lunch breaks (I work from home most days).
First, I patched and painted the holes from the art that was originally hanging on the wall. I tried to use a 4-1 hole filler that had spackle, primer, spreader, and sandpaper all in one tube.
It turned out to be a huge gimmick. Just stick with basic spackle.
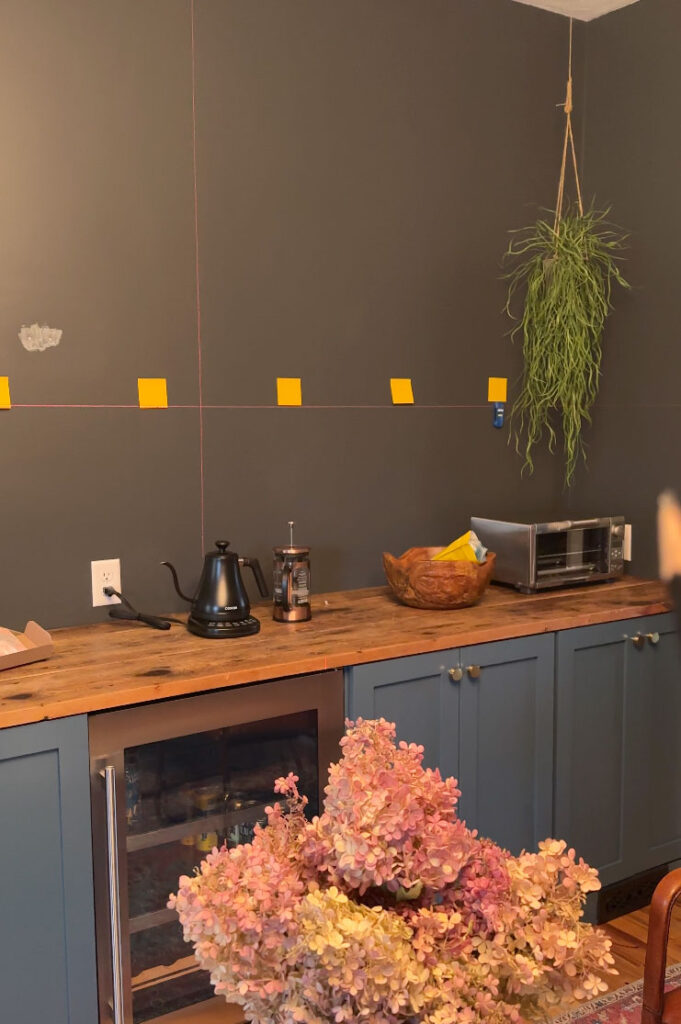
Next, I located all the studs with this NON-gimmicky, simple magnetic stud finder. It worked like a charm to find all my studs in 3 minutes flat. No struggling with the beep, beep, beep of the deep scanners that throw tons of errors.
I marked them all with post-it notes because I couldn’t find my painter’s tape 🙂
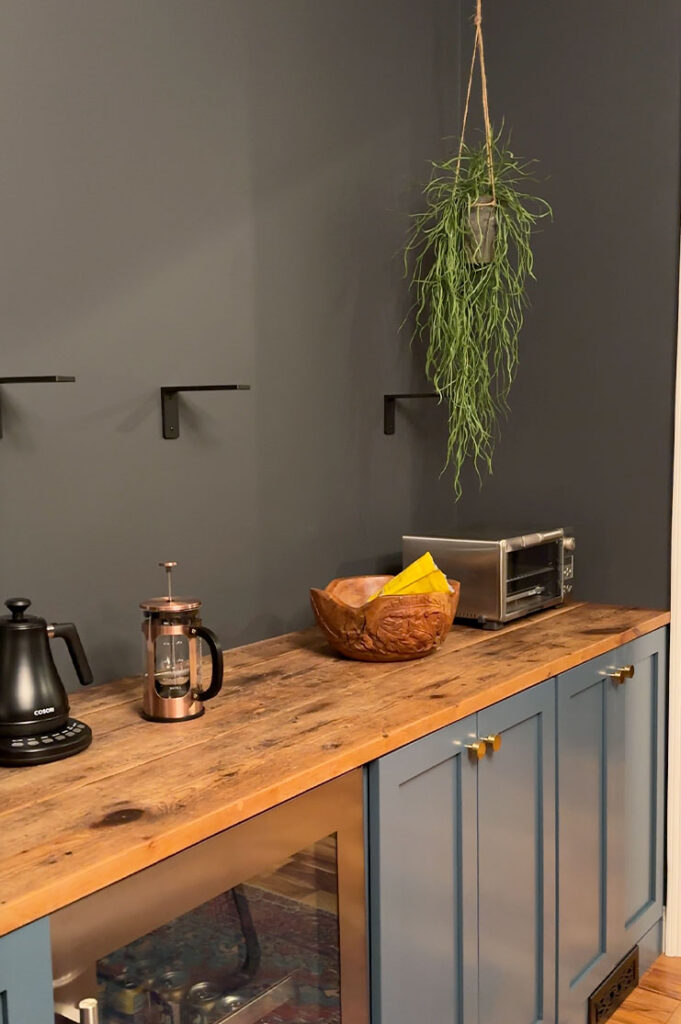
I used a laser level to make sure my pilot holes were all level. Then, I grabbed the metal brackets and marked the two screw holes on the wall, drilled my pilot holes, and attached all of the brackets. That step was maybe 15 minutes? Easy peasy.
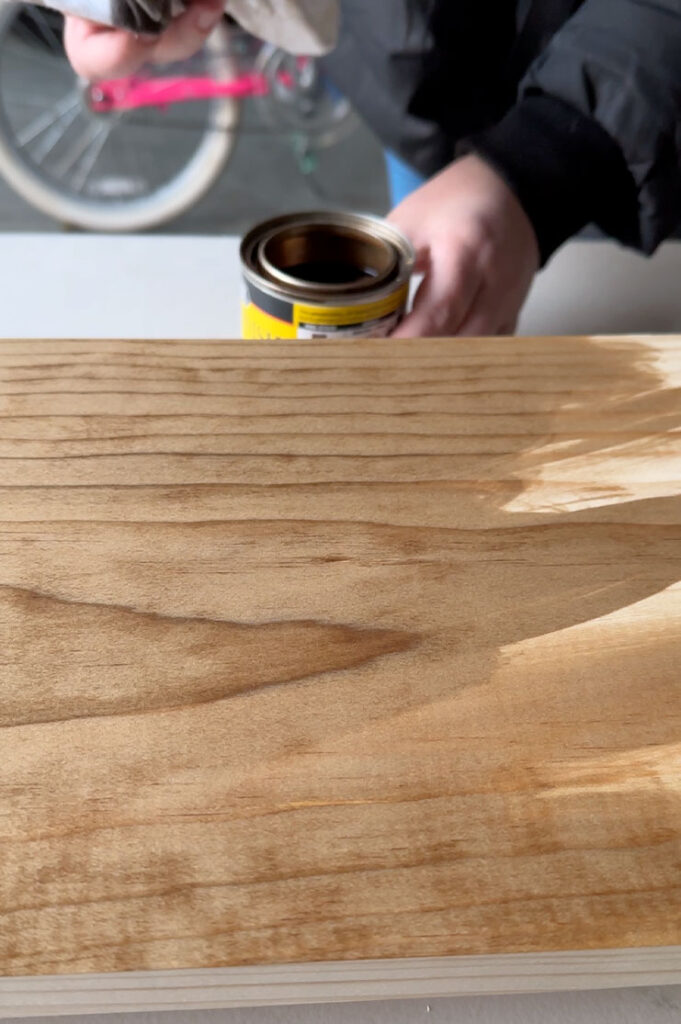
I kept things really simple for the shelf by using a 1 x 10 x 8 select pine board without cutting it down. Or sanding it. Or using wood conditioner before staining.
Would I recommend this approach in general? Definitely not. But since the countertop of this breakfast bar is a very worn reclaimed wood, I felt a blotchier finish would work in my favor. And be faster, naturally.
Luckily it turned out great!
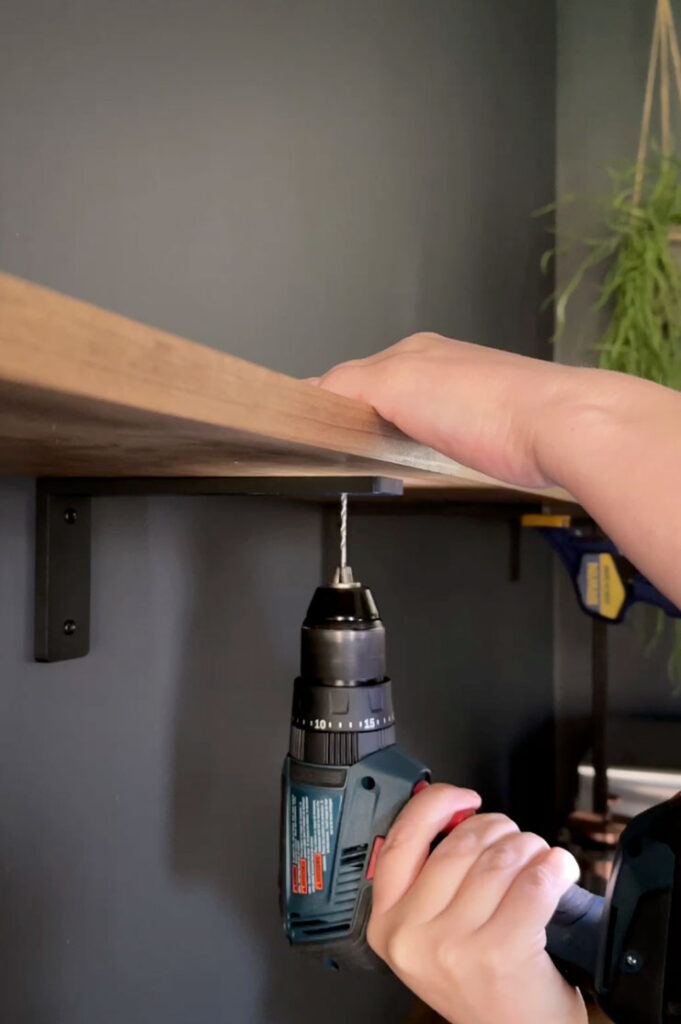
Once the stain was dry (I used Early American by Minwax), I attached the shelf to the brackets with the included screws.
I really liked working with these brackets (available on Amazon). They’re sturdy, hold a ton of weight, are easy to install, and include all the hardware you need.
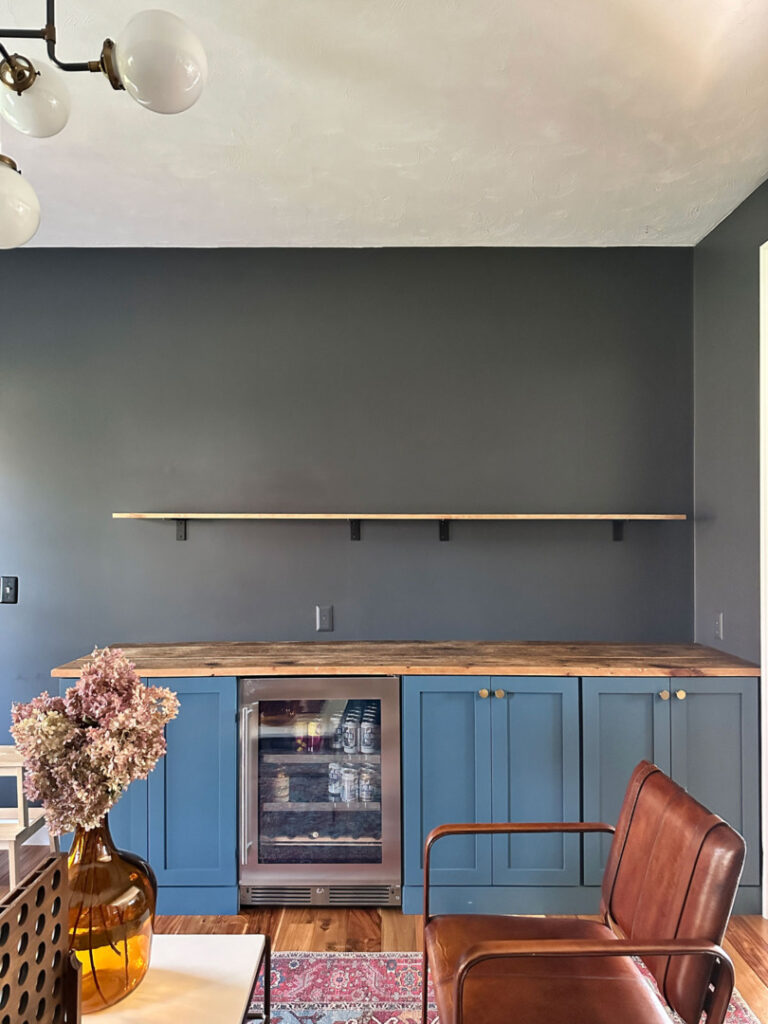
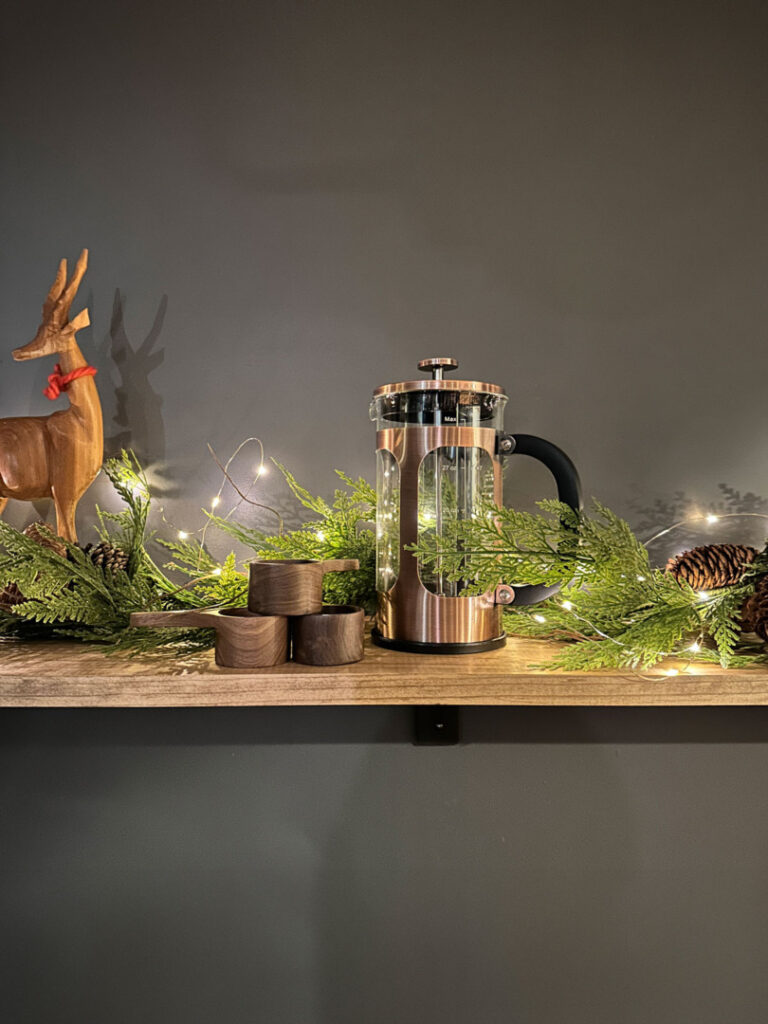
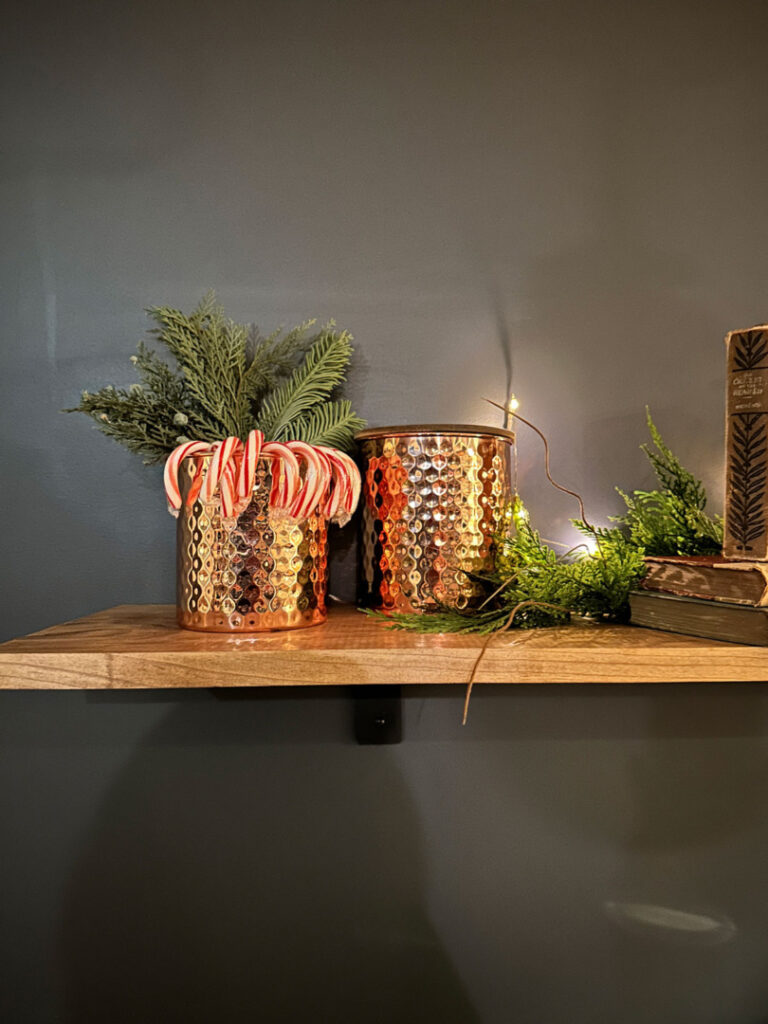
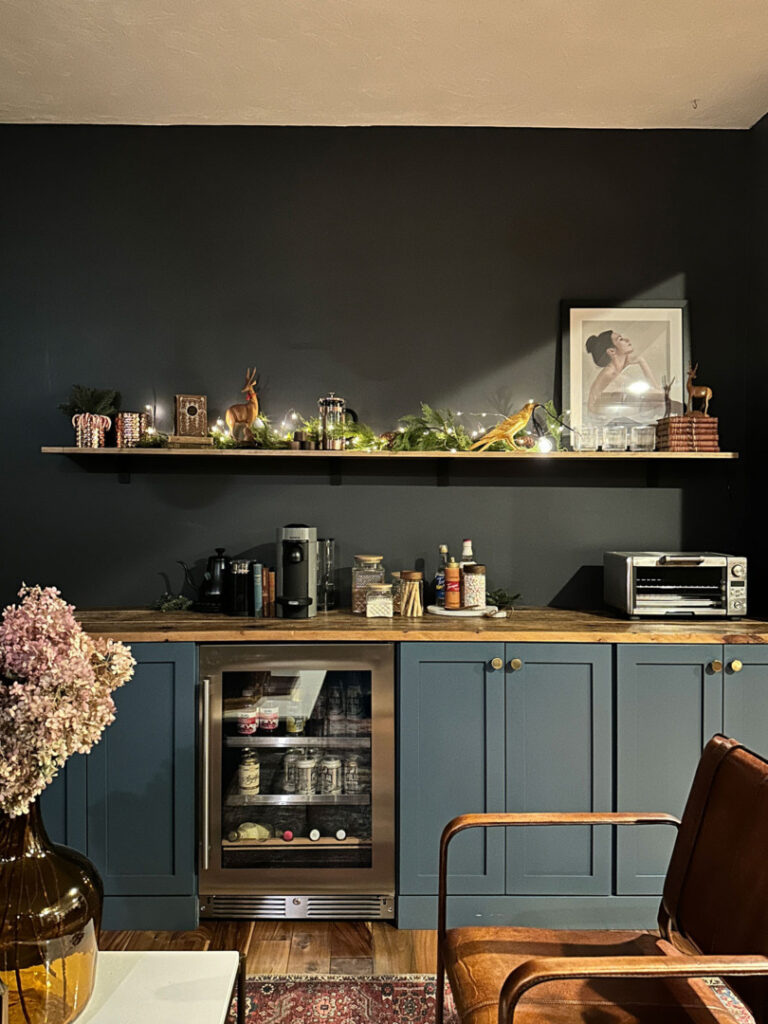
After the shelf was installed all that was left was to add a few small appliances and dishware, decor, and yummy fixing for hot cocoa. Since I finished this right before holidays I had to decorate it for Christmas of course.
For appliances, I added a coffeemaker (Nespresso and French press), a milk steamer, an electric tea kettle, and a mini smart oven (we mostly make toast in it but my 12-year-old also uses it to make dinner when she doesn’t like what’s being served LOL).
For drink garnishes and mixes, I added some homemade dried orange slices in a beautiful glass jar, plus some homemade hot cocoa mix and sugar in the other two jars that came in the set. I also added some chocolate hazelnut cookies, dried cereal marshmallows, and a couple of syrups and sauces.

I added a simple faux evergreen swag and battery-operated twinkle lights to the shelf and this AMAZING Harry Potter vibe lamp that I found on Amazon. I love ravens, I love gold, and I love quirk. This was a total winner and added so much personality to this coffee bar!
Plus, I also identify as Ravenclaw.
I’d love to add some more artwork down the road, but for now, this new breakfast coffee cocoa spot is feeling perfectly functional and borderline magical.
If you like anything you see here, I’ve rounded up all the pieces I included in my Amazon storefront to make it easier for you to find what you need!
