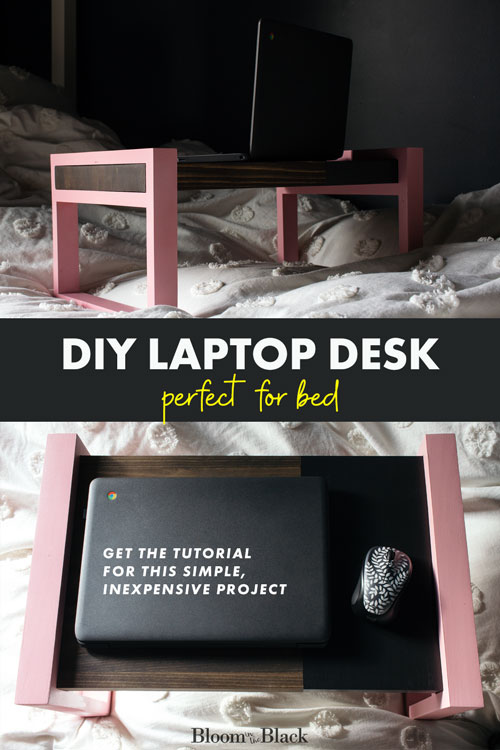
How to Make a Laptop Desk (For Bed!)
In my house, we have two parents and two kids working and learning at home. I’m guessing that in your house, you might have at least one of those things happening?
The thing that’s tricky, is that most houses aren’t built with multiple offices, if any. I converted a bedroom into an office a year and a half ago and my husband has a desk in the finished basement, but even so, me and two kids working in one office isn’t ideal. In order to concentrate, we sometimes need to hide someplace quiet. Like a bedroom!
Rather than turn every bedroom in the house into an office (no thank you), I thought about how we could make a bedroom into a sometimes office. The answer?
A laptop desk for your bed of course!
Hey, maybe you’re lucky and don’t need (or want) to work from your bed. In that case, this project works as a bed tray too.
In this post, I’m going to show you how to make a DIY laptop desk — that doubles as a bed tray — for less than $20 in materials.
Pin for later!
This post contains some affiliate links for your convenience. Click here to read my full disclosure policy. Thanks for supporting Bloom in the Black!
How to Make a DIY Laptop Desk for Your Bed
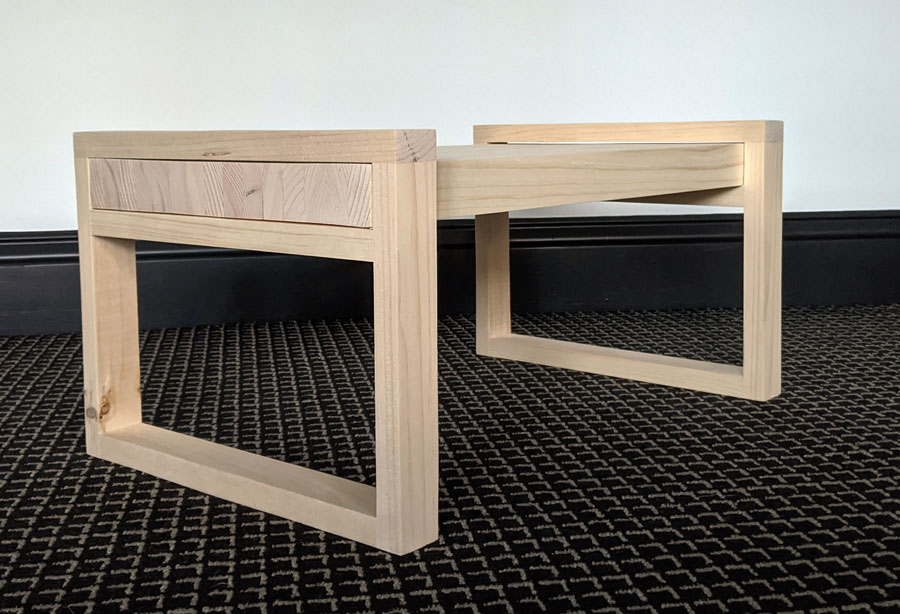
This simple woodworking project uses only five 1 x 2 x 8 pine boards and basic tools. You’ll simply cut the boards to length, make a butcher block style top by gluing the strips, and building the legs to your desired height.

This design is simple, modern, and blends with any decor style. I’d actually first got the idea to make a laptop desk from my friend Lindsay who made hers from scrap wood and raved about it.
Add your own personality by using the paint and stain combination of your choice! I’ll give you a bunch of finishing ideas later in the post.
TOOLS AND MATERIALS NEEDED
- (5) 1 x 2 x 8 pine common boards
- Pencil
- Wood glue
- 12″ clamps (4)
- Kreg Pocket hole jig
- Kreg 1.25″ pocket screws
- Sandpaper (60, 80, 120, 180, 220 grit — this set has all of them!)
- Orbital sander
- Miter saw
- Paint or stain of your choosing
It’s important to note that this list includes tools as well as materials. The cost of the project assumes that you already have the tools you need, as those are a one-time or every now and then cost.
Need more workspace? Check out my picks for best floating desks.
Step 1: Measure and cut your top boards and legs
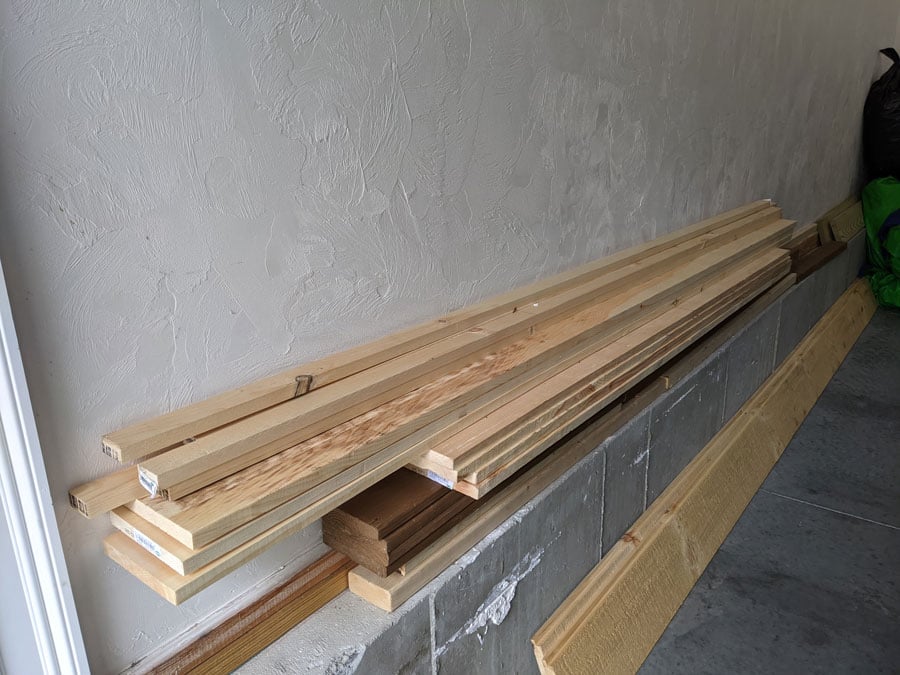
First, measure and cut the boards for your laptop desk surface. We’re going to approach this build in stages in order to get the cleanest, tightest fit for your boards. To do this, we’ll construct the desktop first.
From your five 1 x 2 x 8 boards, cut 16 lengths at 20″ each (4 each from 4 boards) and 4 lengths at 9″ from the fifth board. Set aside the remaining board lengths — we’ll be using those for the horizontal braces later.
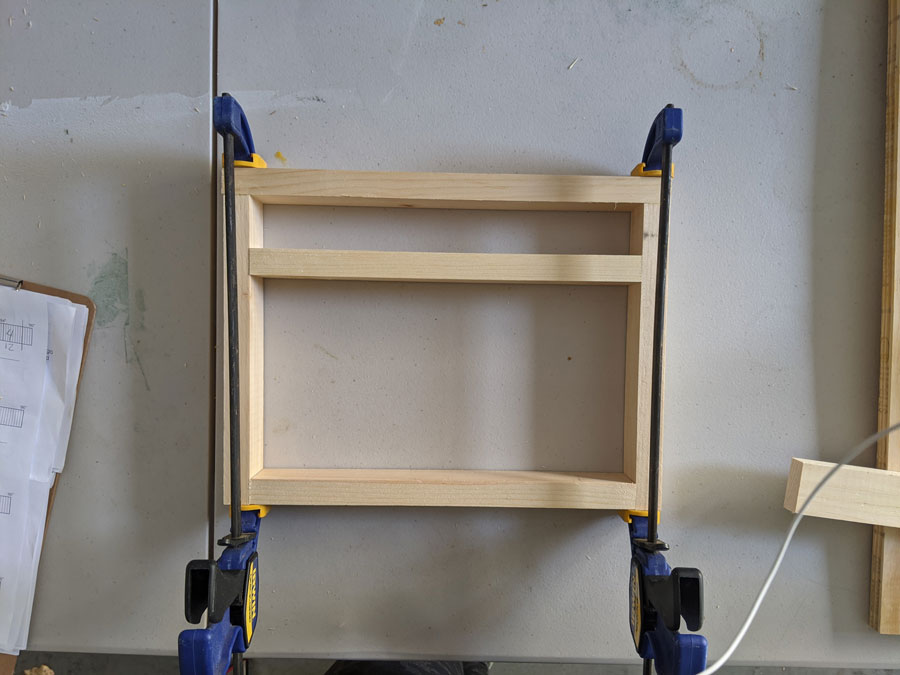
Step 2: Glue and clamp the desk top

Next, apply glue to one side of each board length and quickly press your boards together. To ensure the best result, do a dry fit first by lining the boards up — the 2″ sides should be pressed together with the 1″ facing up to form the surface. Continue to rearrange and swap the boards until you like how they look.
Essentially we’re creating a butcher block style top. I just love the visual weight this gives to the finished laptop desk!
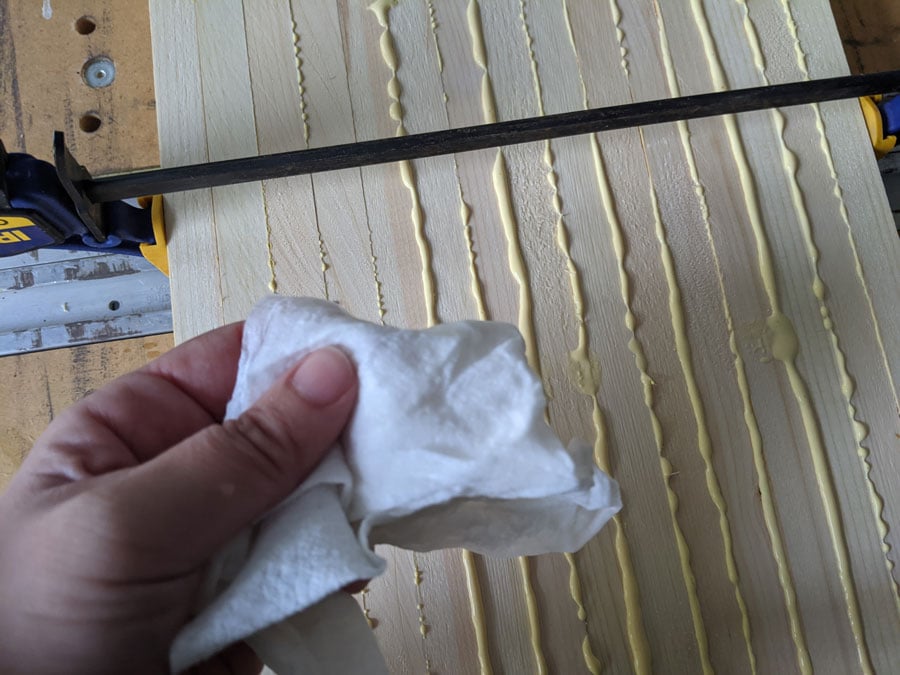
Once you have your dry fit the way you want it, quickly glue up your boards, then clamp and let dry for 24 hours. Be sure to wipe up any glue that seeps out post clamping with a damp rag.
Yes, I used way too much glue. But wow, is my laptop desk strong!
Wood glue dries yellow and will not take stain properly, so the more glue you wipe up now means the less you’ll need to sand off later.
Step 3: Sand the entire top smooth
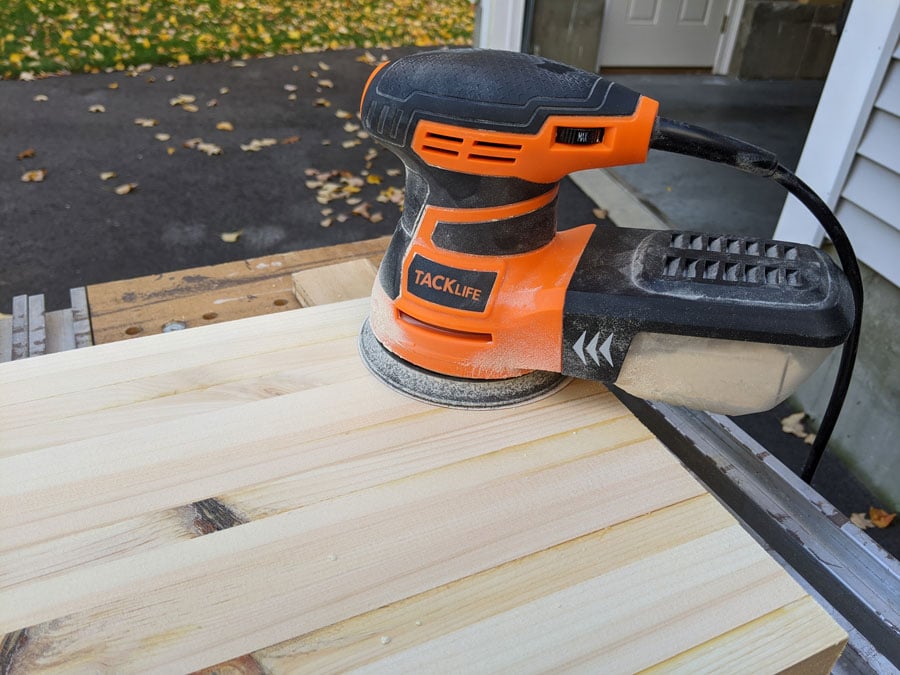
Working your way through various grits of sandpaper, sand the entire desk top smooth and level. You’ll probably notice that your glued wood pieces are pretty uneven. It’s to be expected when using common board, so not to worry! We’re now going to do a very thorough sanding that will knock everything down to one level.
Starting with 60 grit sandpaper, thoroughly sand the top, bottom, and all of the edges. Work your way through 60, 80, 120, 180, and 220 grits. Some people prefer to do just 80 and 180, just keep in mind that the finish won’t be as smooth if you skip interim grits.
Step 4: Measure and cut your cross braces
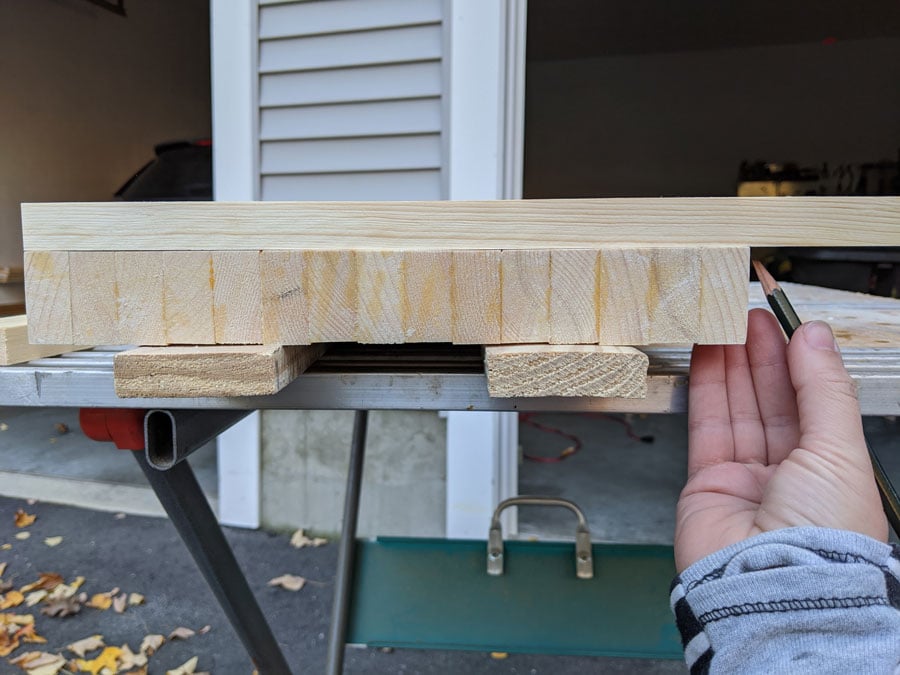
Using your fully sanded top as a reference point, measure and cut your horizontal cross braces. The reason we sanded the top board first is to get an accurate measurement for each cross brace. While the top will be approximately 12″ deep, the sanding removes enough of the wood to make a difference. We want the cleanest, closest fit possible.
You may notice that the top is not completely sanded in the photo. The sides I was measuring from were sanded, but I hadn’t sanded the ends or bottom yet. In hindsight, I should have sanded the entire thing first, so that’s why I’m telling you to.
Simply lay the board across the top, and mark your cut lines with a pencil at each end (see photo). Measure each side separately rather than assuming both sides are exactly the same. Unless you’re a master craftsman or a robot, they probably aren’t 😉
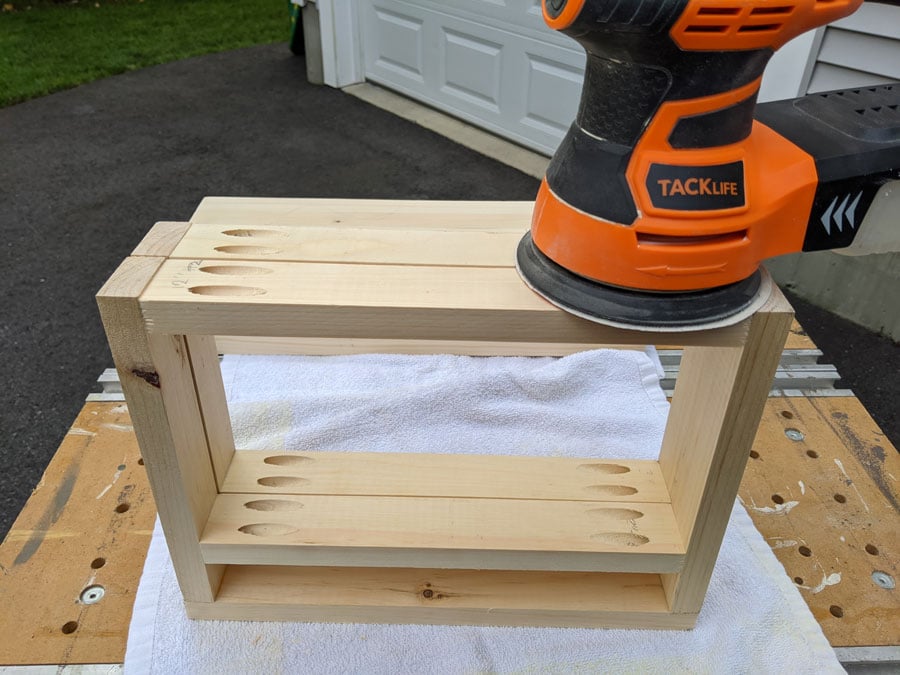
Step 5: Attach cross braces to the legs
Drill pocket holes into both ends of each of the four cross braces, then attach to the legs using your pocket hole screws. Pocket holes are a super easy and secure way to attach wood joints. You do need a special jig, but it’s an affordable tool that you’ll get a ton of use out of if you plan to do more woodworking.
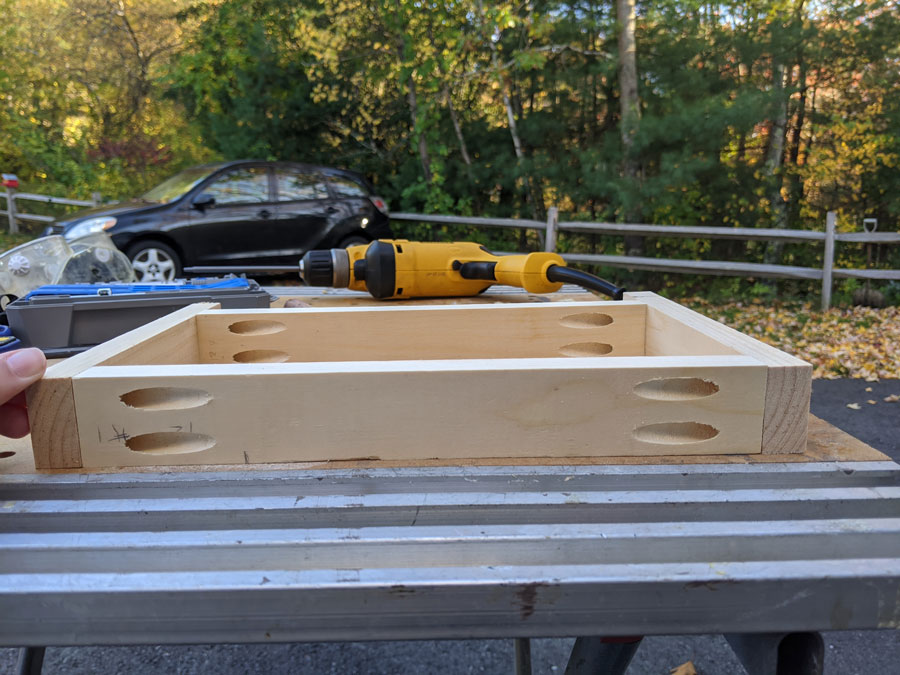
Be strategic about where you place your pocket holes. While you could add wood plugs for a cleaner look, if you simply place them on the underside of the braces nobody will even see them. I’d probably only bother with a plug if I were making this to sell or as a very special gift.
Then it’s just a matter of attaching the braces to the legs with pocket screws. Again, be sure to face the pocket holes down.
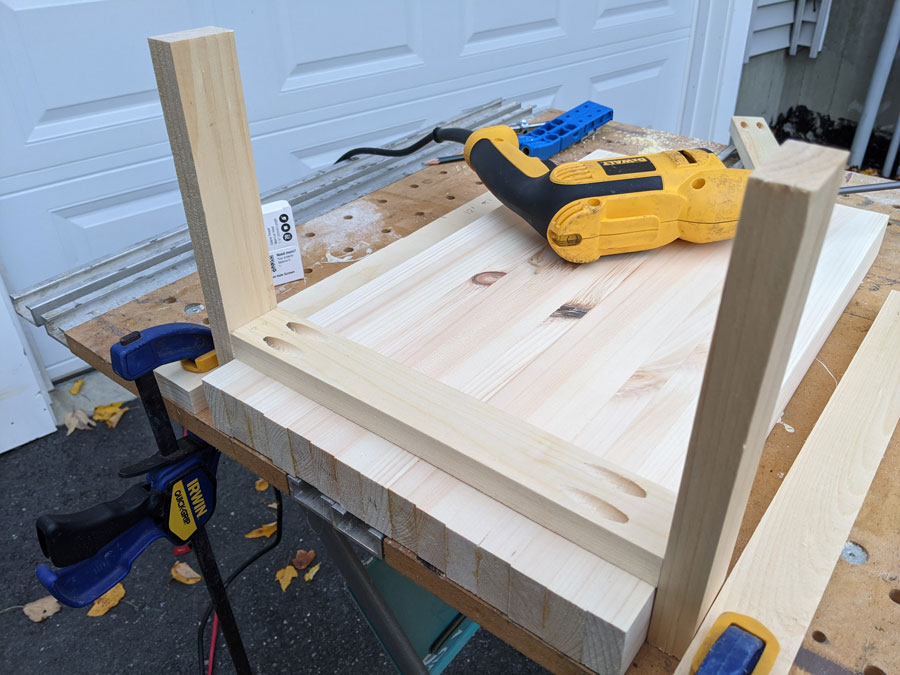
Step 6: Cut and attached the horizontal cap
Using the same measuring technique that we used for the braces, mark and cut the horizontal cap. This piece will be slightly longer than your four braces because it will go across the top of the laptop desk AND the tops of the legs.
Once you have these two caps cut, glue them to the top of the legs and clamp overnight.
Step 7: Sand the assembled leg pieces
Once the glued legs have fully cured overnight, sand the legs using the same method as you sanded the top. Don’t skimp now! Go through all of the grits I mentioned and your legs will look like one smooth, solid piece once they’re painted.
Step 8: Paint and/or stain your laptop desk pieces
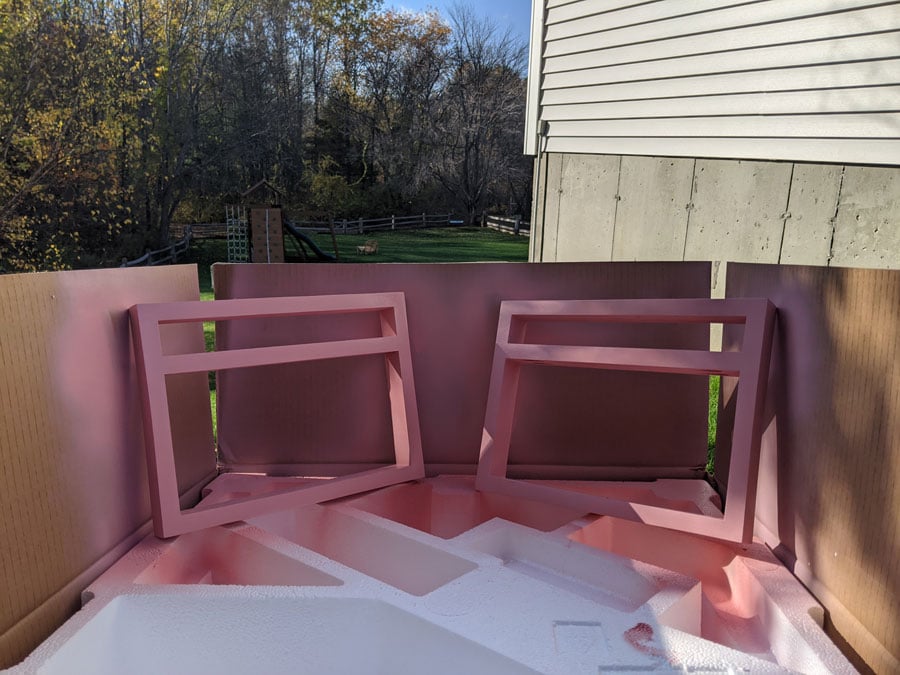
There are a million different ways you could finish this DIY laptop desk, so think about where you might keep it and choose colors to complement the space. This isn’t just a cheap throwaway lap desk — it’s a beautiful custom furniture piece you’ll want to show off!
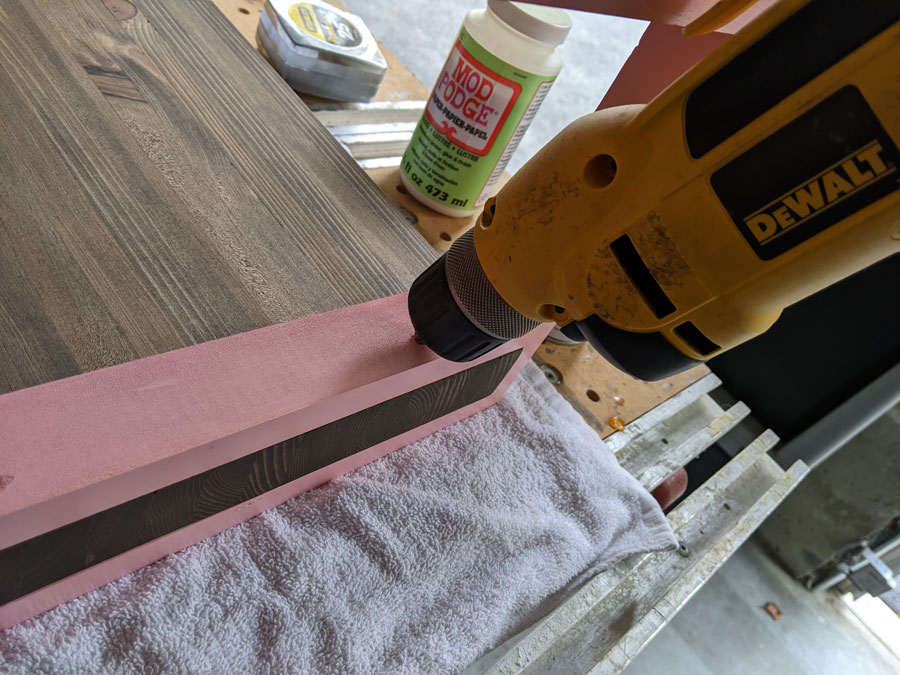
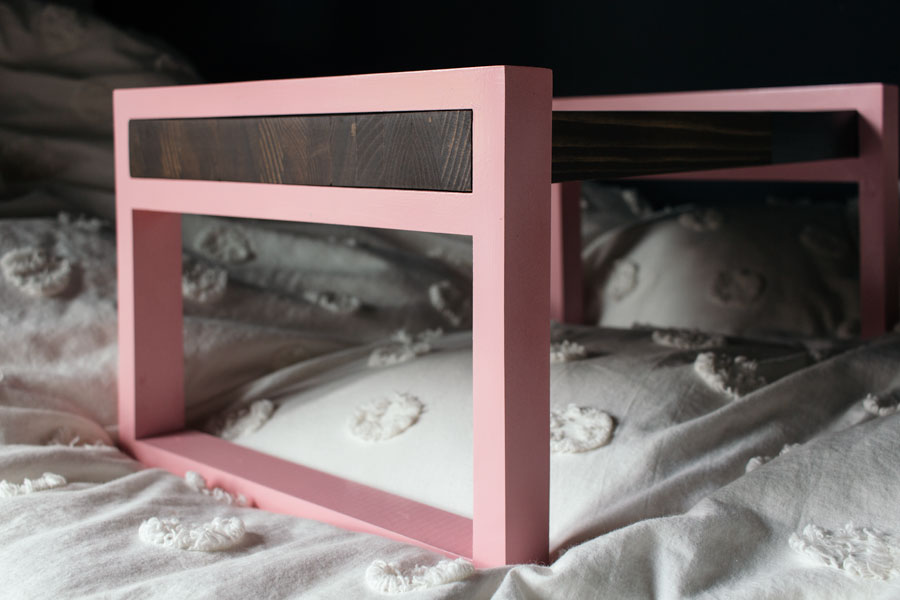
Since I knew ours would live in my girls’ bedroom most of the time, I decided to do pink legs with a color-blocked top in black and stained wood. For my no-fail method on how to color block paint over stain, check out this post on painting two-toned furniture.
For ideas on how to finish this for different decor styles, jump to the end of the post.
Step 8: Attach the legs to the top
Finally, all that’s left is to attach the assembled legs to the laptop desk top. Again, since the screws will be on the underside of the desk (or bed tray, however you decide to use it!), I simply drilled two pilot holes then drove wood screws into the underside of the top brace and into the tabletop. I used 1.5″ screws for this.
For a cleaner look, you can countersink the screws, add wood filler, then touch up the paint. Truly though, you don’t even see the screws unless you flip the bed tray over for some reason.
Finishing ideas for your DIY laptop desk:
- For a cabin-inspired breakfast tray: try a solid stained top with white legs, and Hudson blanket inspired stripes (see this blanket for reference).
- For a midcentury modern living room workstation: try a walnut stained top with gold metallic legs.
- For a boho laptop desk for working from bed: try a blush pink top with russet legs and natural wood cross braces.
- For a bonus desk/table for your guest room: choose an accent color from the room to paint the legs and pair with either a black or a stained top.
Want more? Here’s the full collection of Bloom in the Black DIYs.